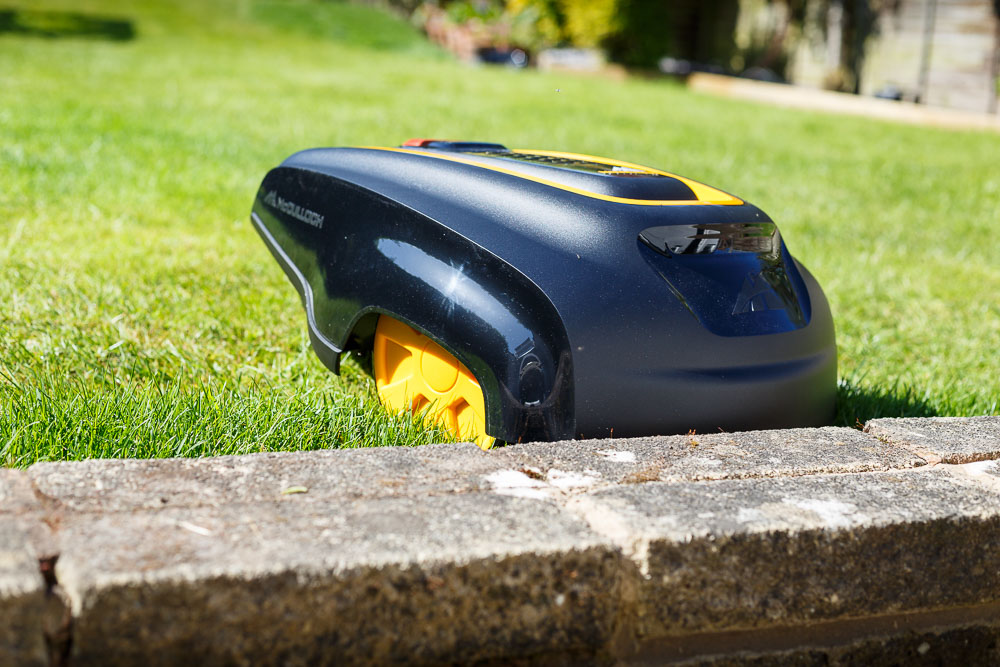
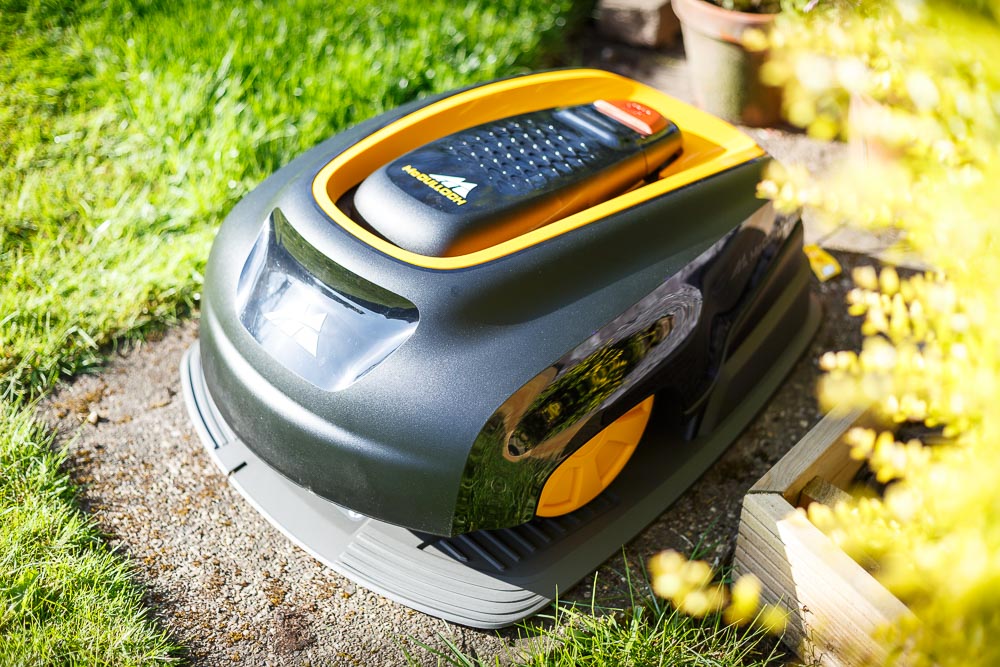
Of course we love cars, but sometimes we like to feature other things with wheels, which will quite frankly make your life a lot easier. We are testing out the McCulloch R600 – 18V Cordless Robotic Lawn Mower.
We will update you over time with the progress of what it is like to live with a robotic mower and also find out if it is as good as the dream sounds. For now, if you have ever wondered what it is like to set up one of these machines, here is our initial setup.
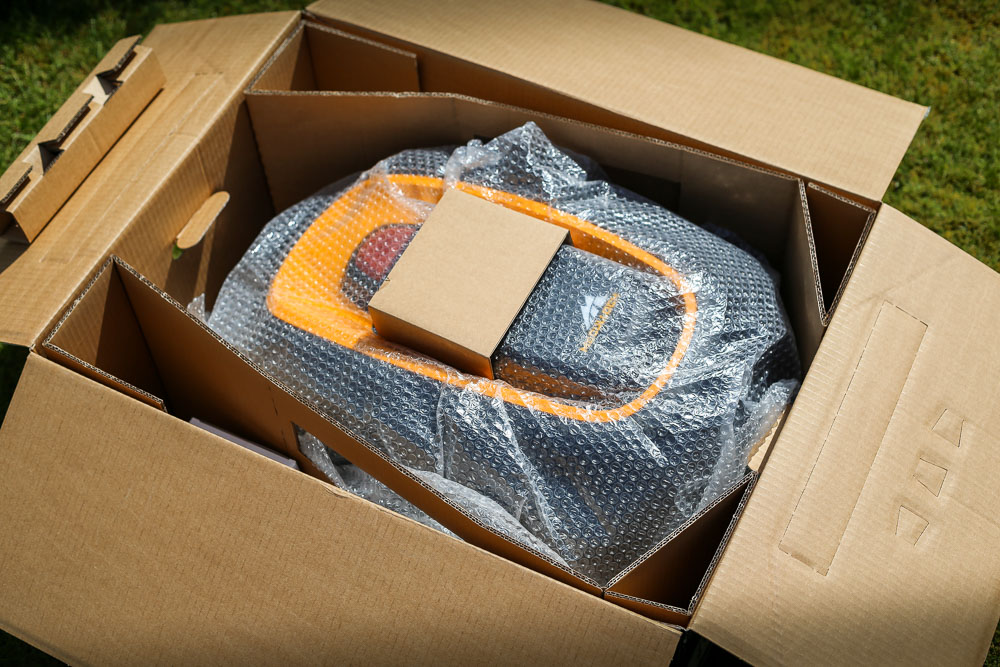
Unboxing
As far as garden robots go, I was expecting a huge box with lots of different things to put together. However, I was wrong. The box was relatively small and it only took me a few minutes to unbox the mower.
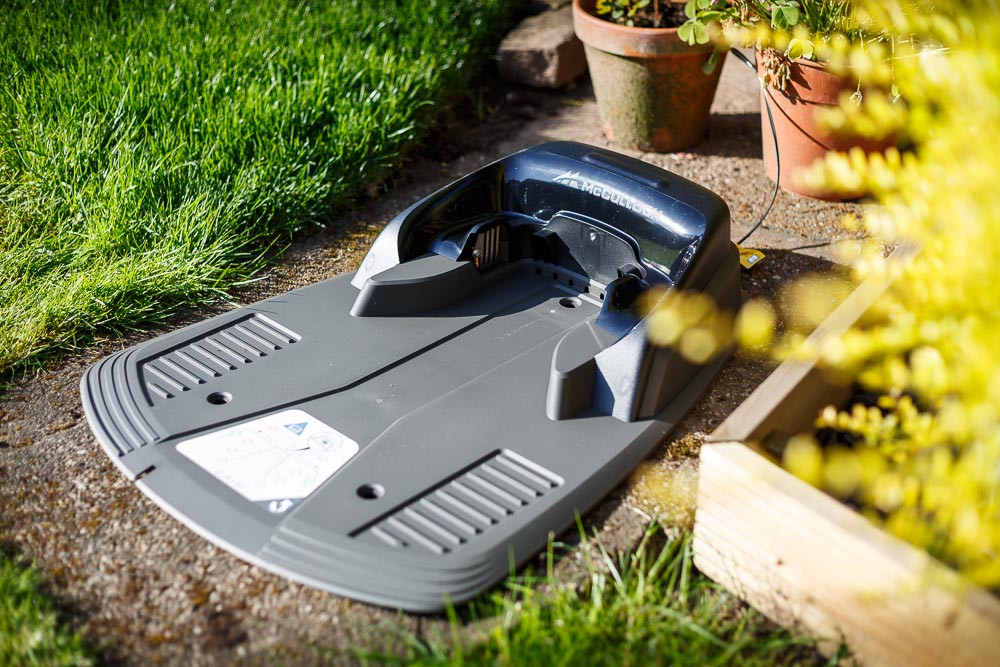
Find A Suitable Place For The Base Station
The mower uses a charging base as it’s home so you need to find a flat bit of ground that has a power socket available within about 10 meters. Once you know where you base is going to be, you can start from there.
Boundary Wire
Next up you need to lay down the boundary wire so that the mower knows where it should and shouldn’t be mowing. Setting this up for the first time, I wasn’t 100% sure on the exact distance to keep from the edge of the lawn as it can depend if it backs on to a flower bed or against a wall. I opted for between 5-20 cms for most of the garden.
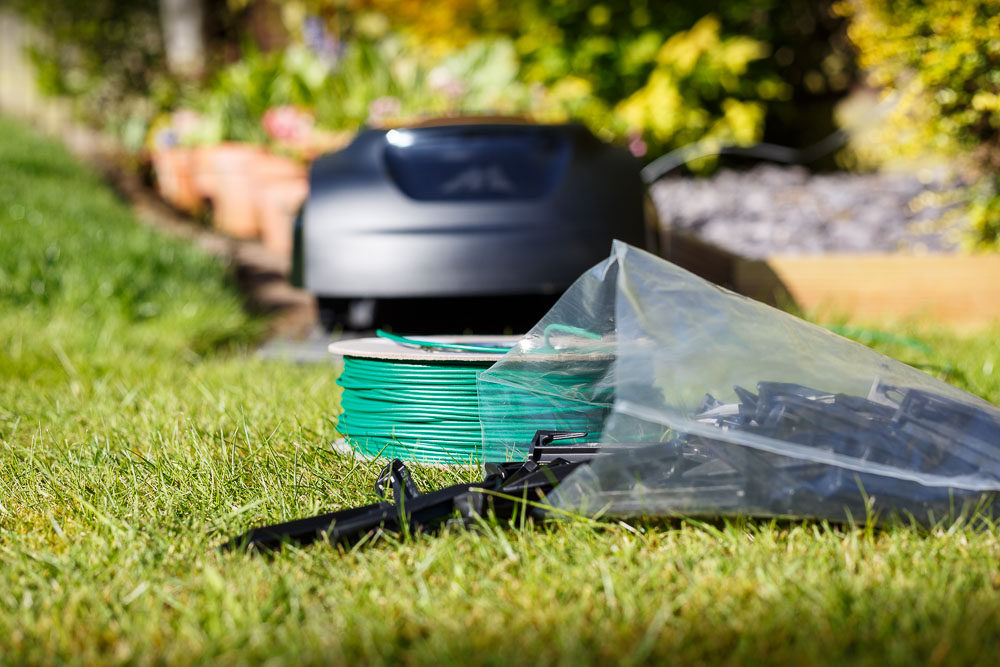
The boundary wire connects to the base station, runs around the entire length of the garden and connects back to the base station. McCulloch supply plenty of pegs to hold the wire in place. Though if you really want to, you can bury the cable in the ground between 1-20 cm.
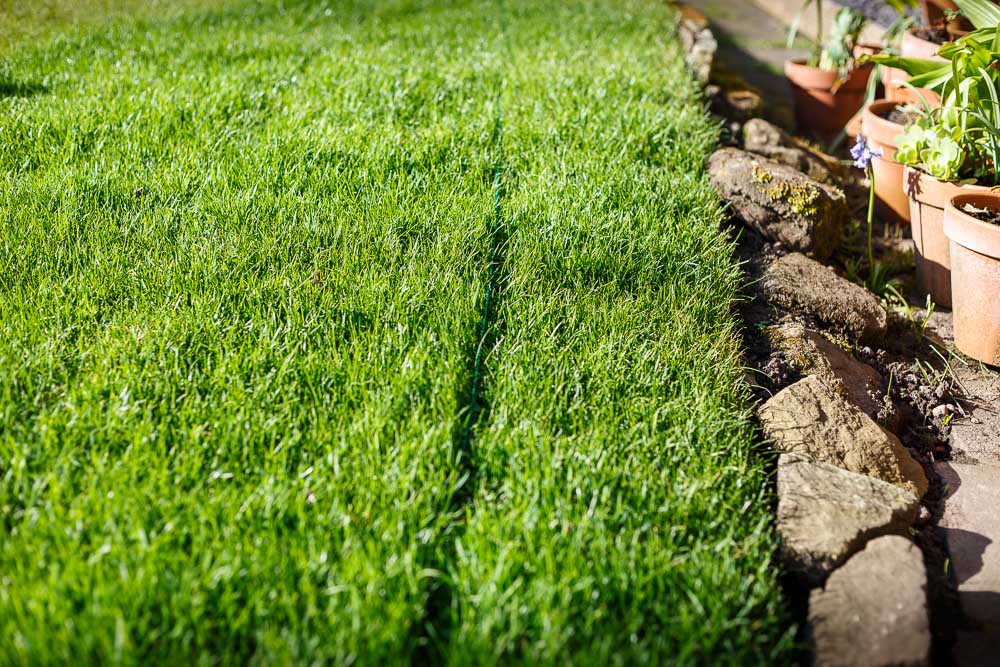
Guide Wire
For the guide wire to easily find the base station, you run a wire straight out of the front of the station. This is used to both guide the mower out and back into the station easily. Also, if you have difficult to reach areas of the garden, the guide wire will show the mower to the difficult areas on a programmed schedule.
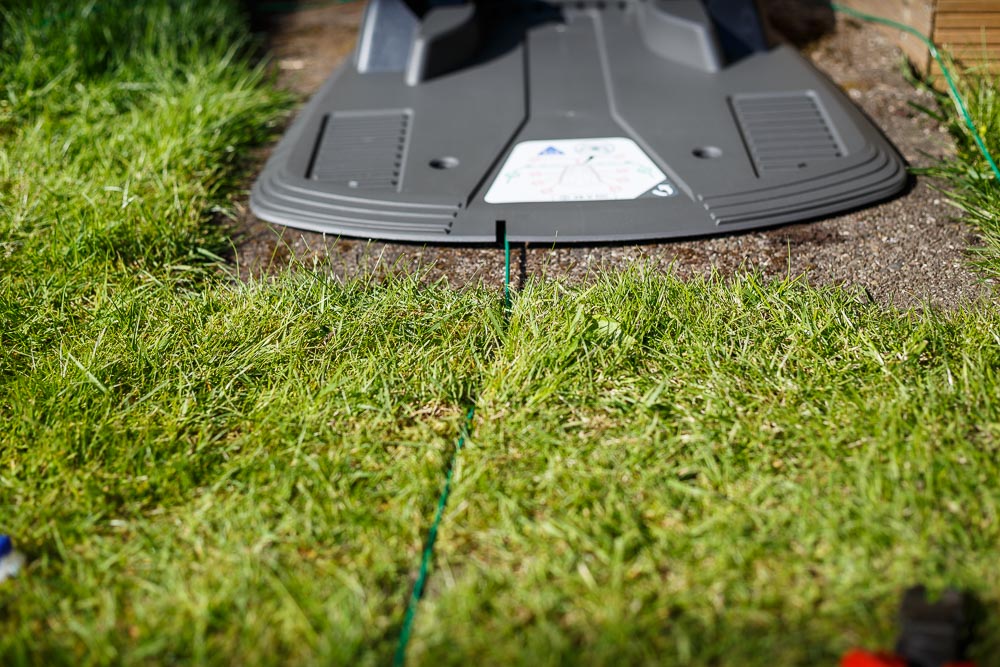
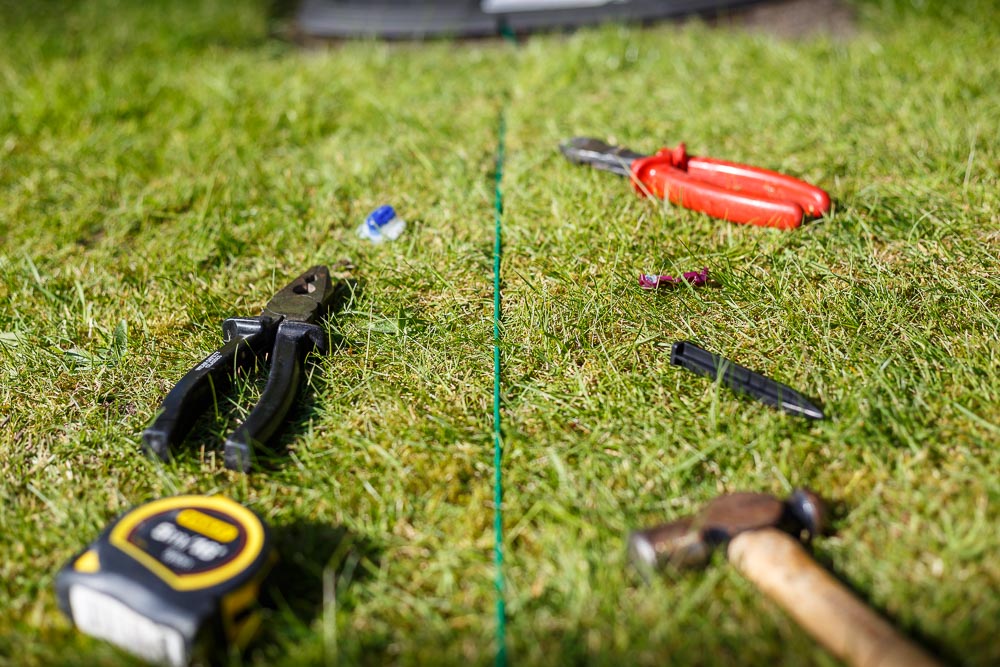
Putting in the guide wire is a simple process and can be done by anyone using the most basic of tools.
Plugin and Charge Up
First, we need to plug in our mains power, turn the on switch on and allow it to charge. First time around it can take between 60-100 minutes to charge.
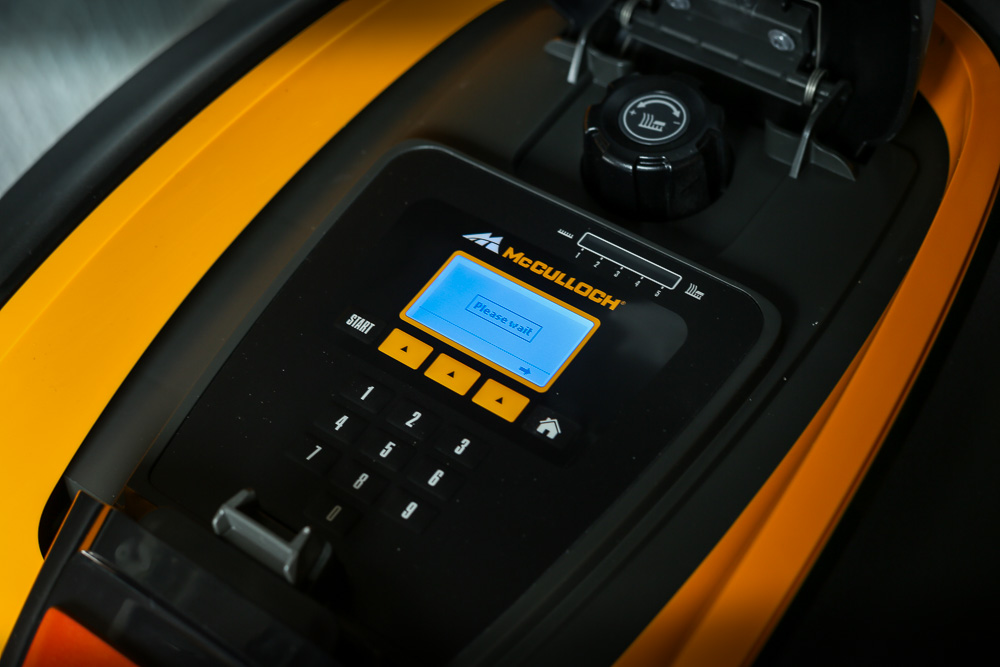
Setup Wizard
Whilst on charge we can go through the basic start up wizard on the R600. This setup process was easy and is typically your time, date and region setup. After that, you can select the operating times of the robot and what days you would like it to run.
Notice at the top there is a dial to allow you to adjust the height of the cut. For the first run, I thought I would start high on setting number 5 (max).
You’re Off – Grass Cutting
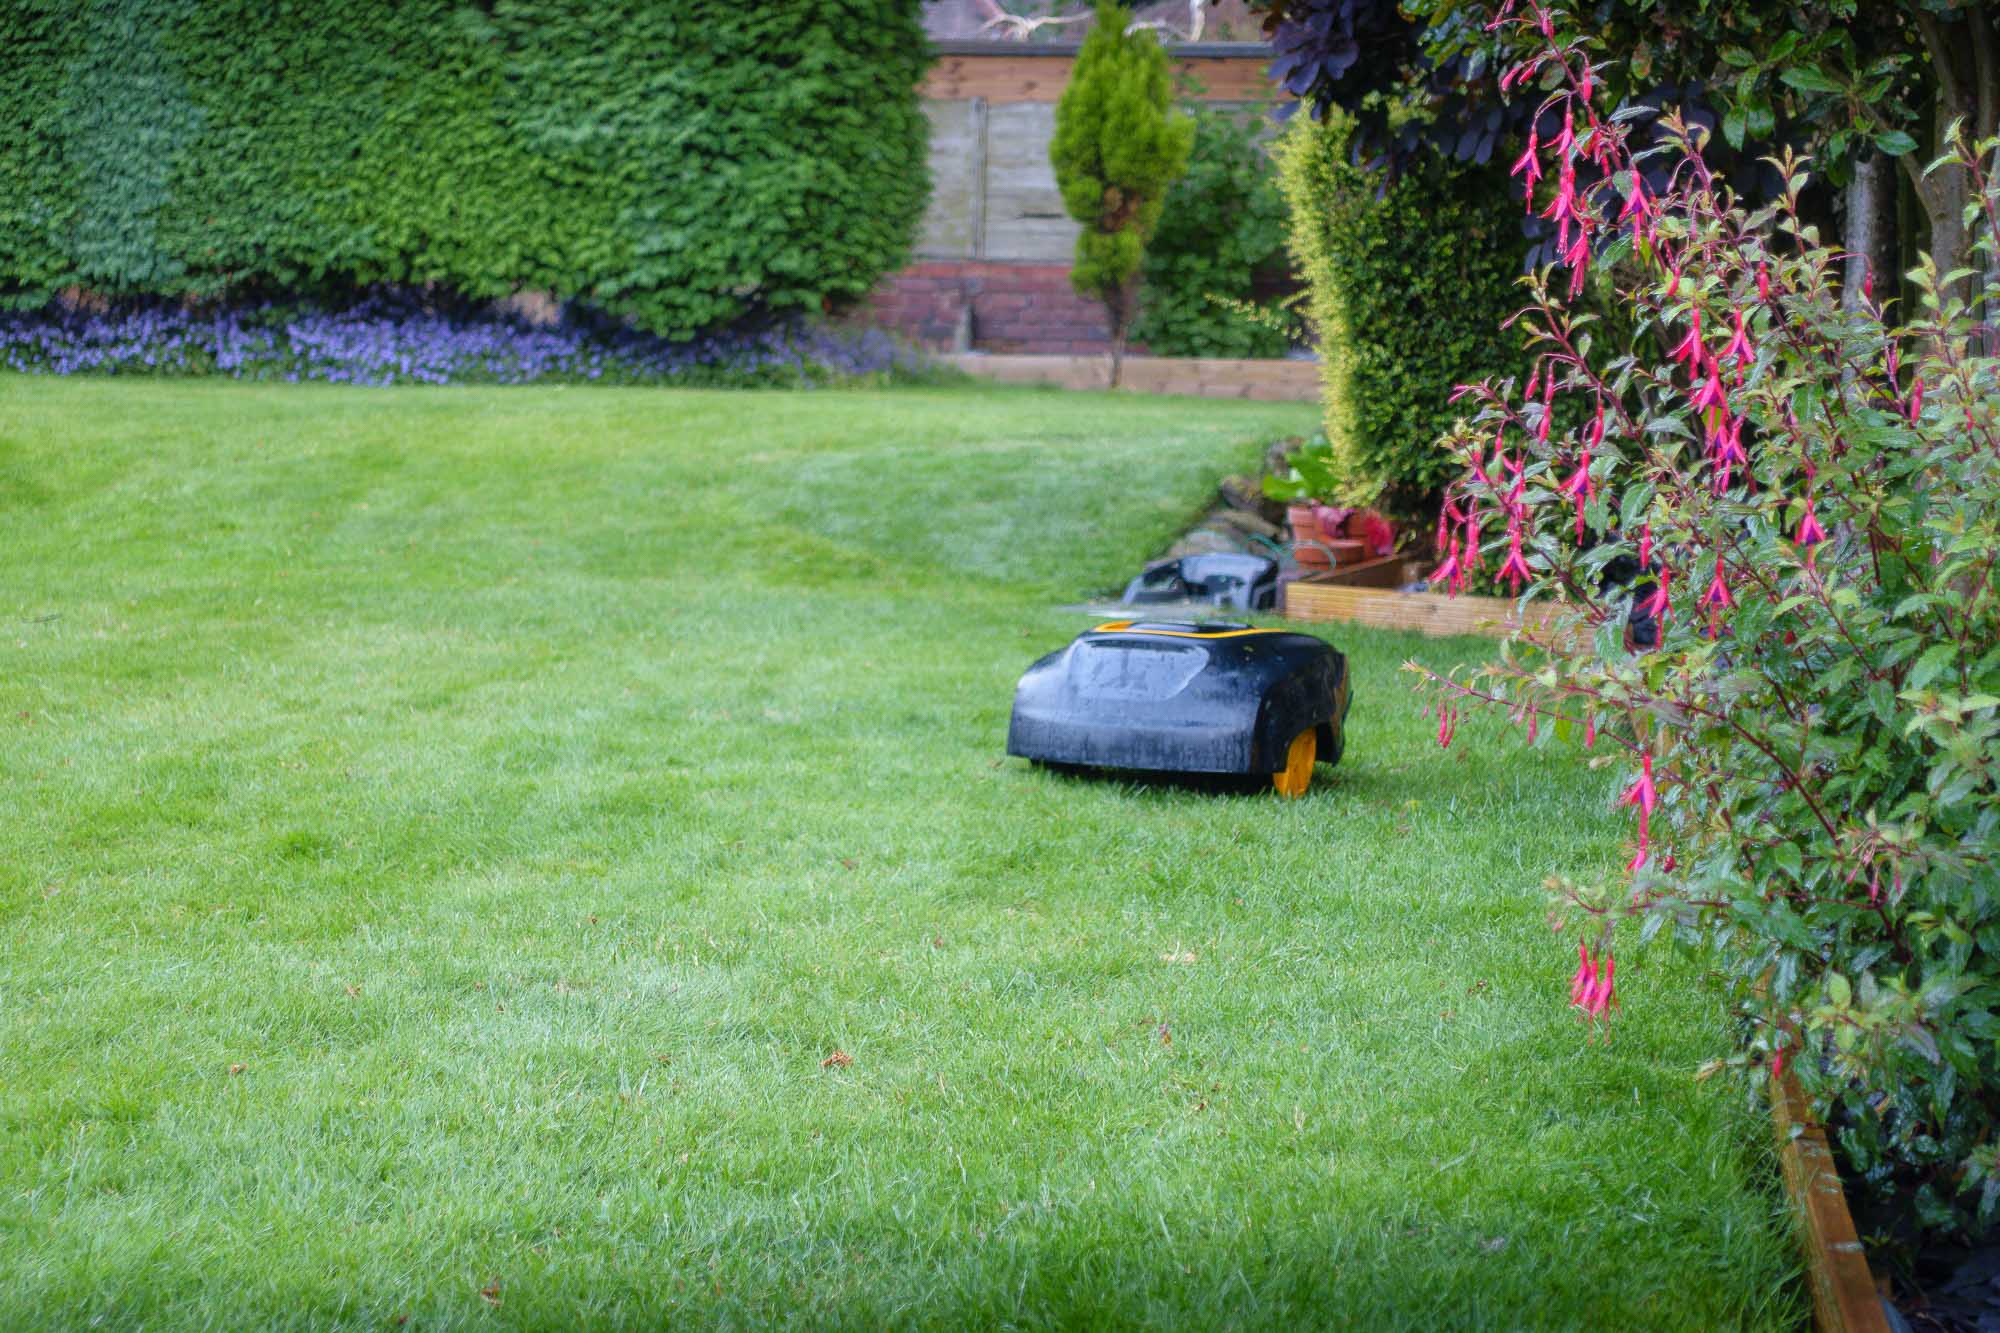
Once fully charged and on schedule, the mower will commence cutting. Being the first time using the mower and not sure on my boundary settings I followed the mower around to make sure it didn’t bump into anything or mow down a flower bed. After around 10 minutes the mower had tested most of the boundary and I was happy to let it do its thing for a while.
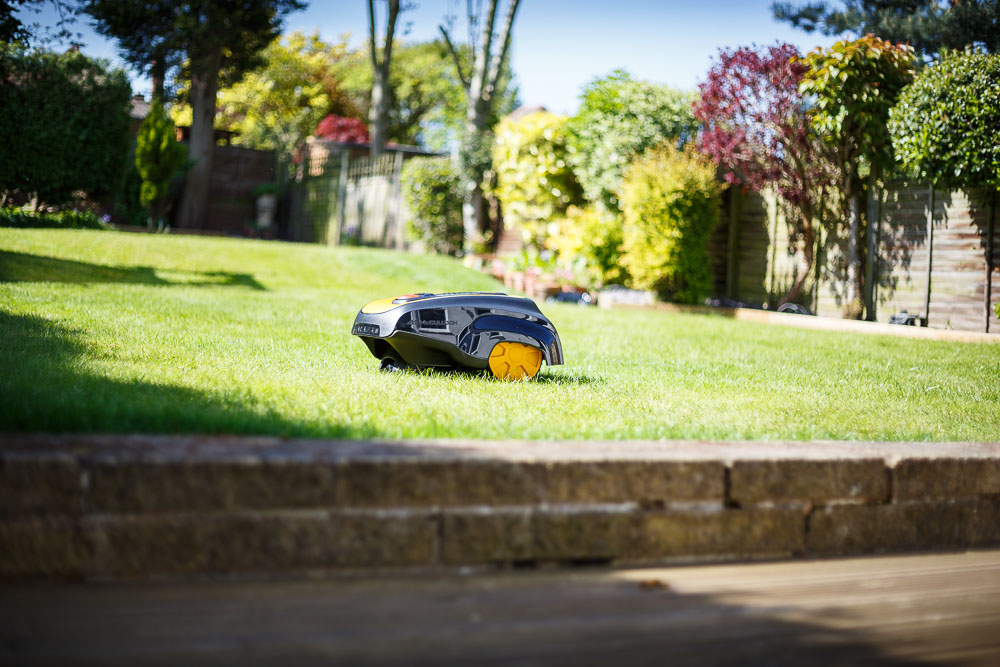
Take a look at the time-lapse video below to get an idea of how the mower moves around the garden. The darker shades of grass have recently been replaced, but the mower is going over them no problem at all.
McCulloch R600 – First Impressions
After letting the McCulloch R600 cut the lawn for a few hours I could instantly see the effect. The mower is very quiet and is literally a set-and-forget piece of kit. However, the first lesson I have learned is the mower will only work as good as the boundary line installed. After watching the mower operate I can see a few improvements I can make to help the R600 robotic mower get closer to the edges.

Further Updates – Month 2
So after the first month with the Mcculloch R600 mower, I have learnt a lot about robotic mowers. It has taken me around a month to really fine tune things and get it working as I want it to. But of course. as a first time user, this should be expected.
What Was I Doing Wrong?
The success of the robotic mower will be one hundred percent related to how well the guide wire is fitted around your garden. After initially fitting the wire, I realised the mower was getting nowhere near the edge of my garden. I then extended the wire so that it went a little closer to the edge, where possible. This caused a few issues where occasionally the mower would drop the wheel into a flowerbed and get stuck. So testing over a month I found the optimum location to fit the wire and ensure that I got the maximum amount of lawn cut, without having to worry about the mower getting stuck.

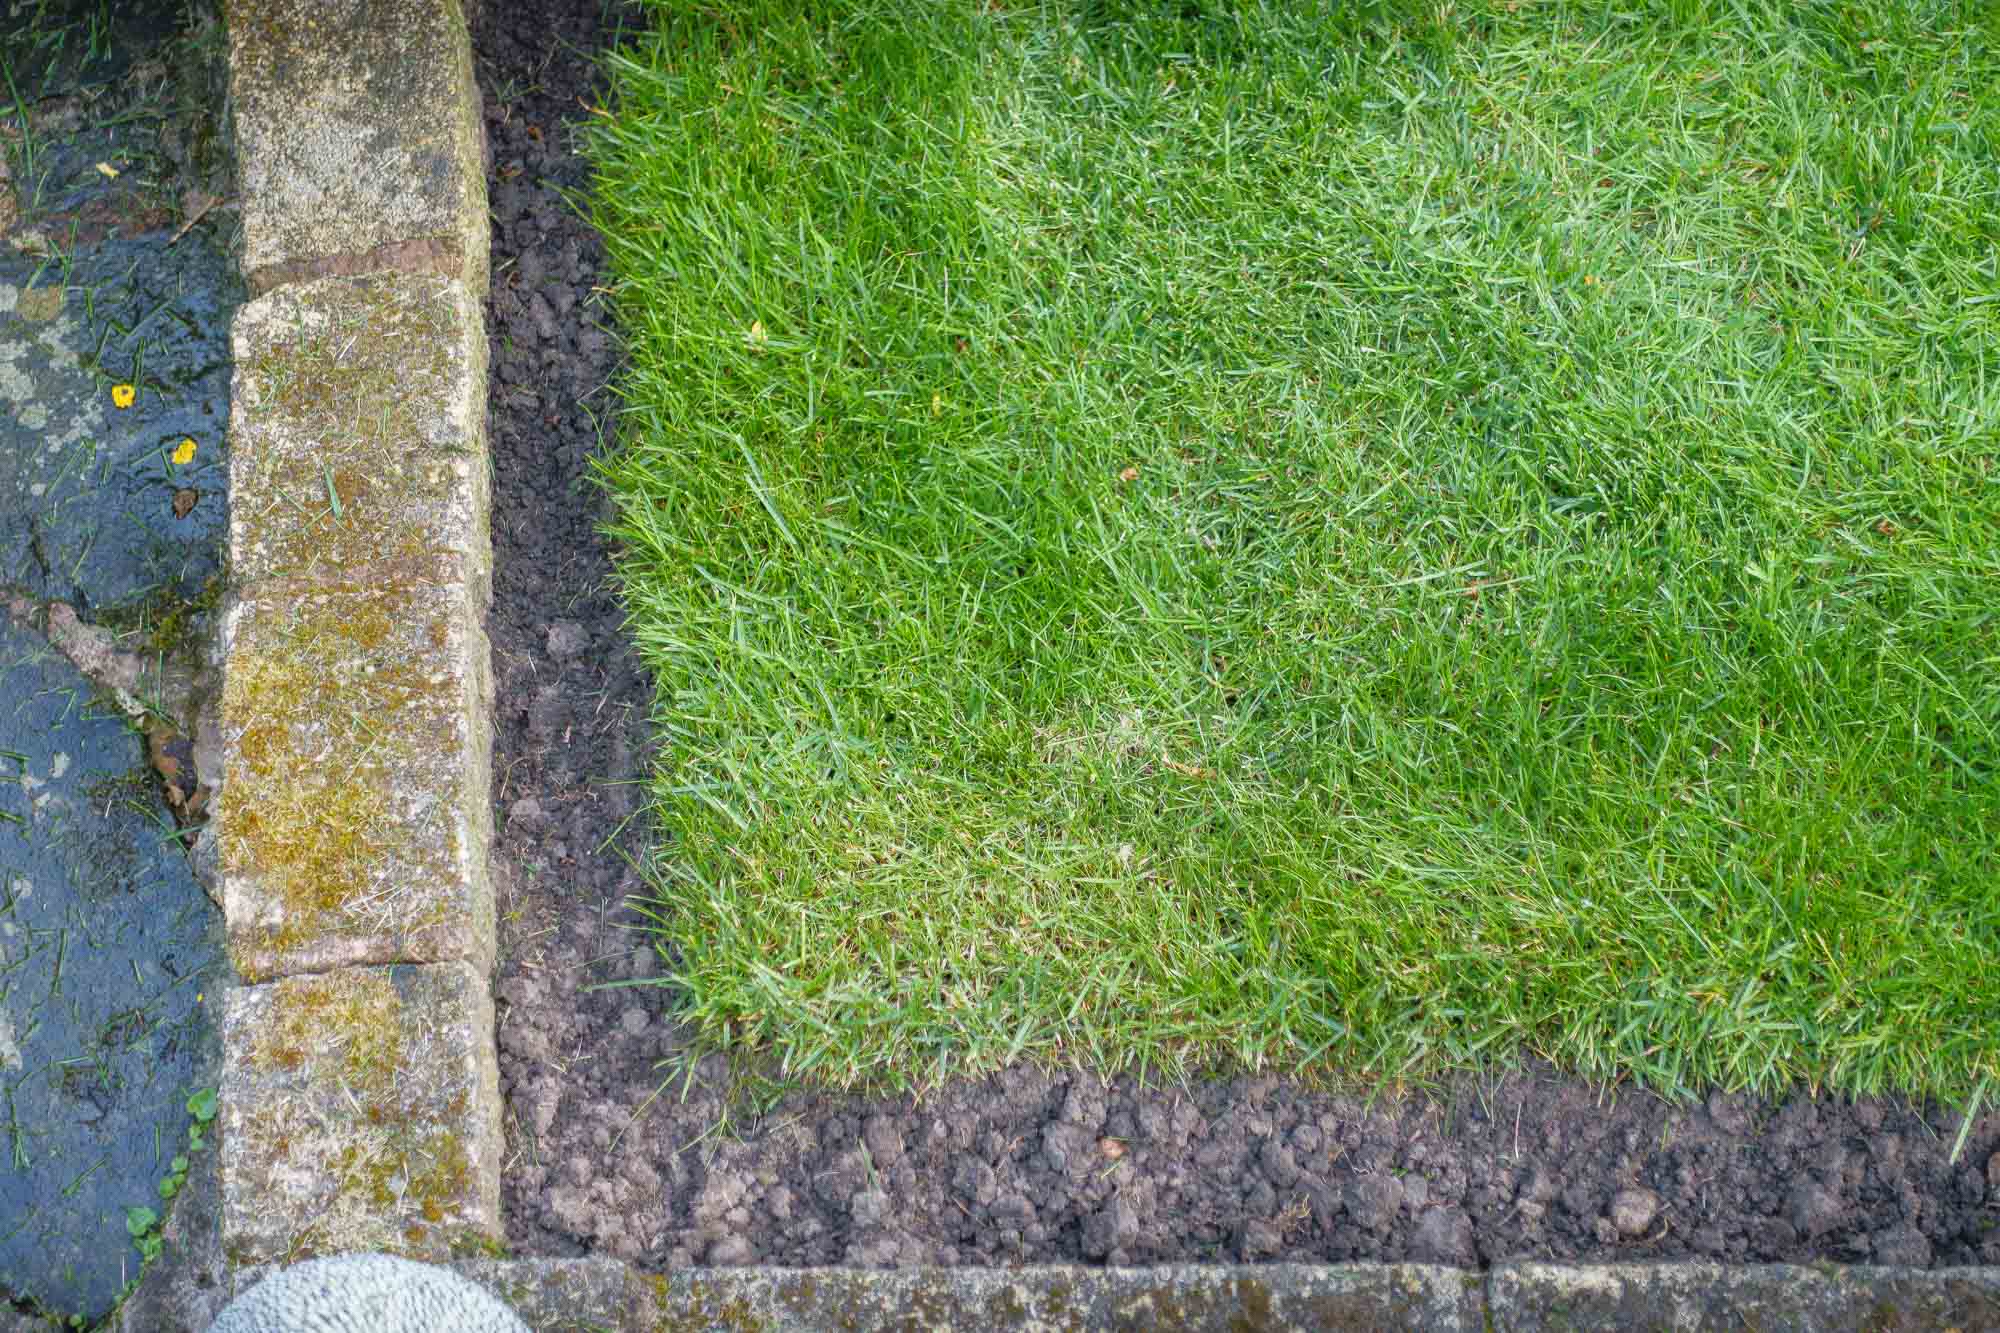
It Doesn’t Cut The Edges
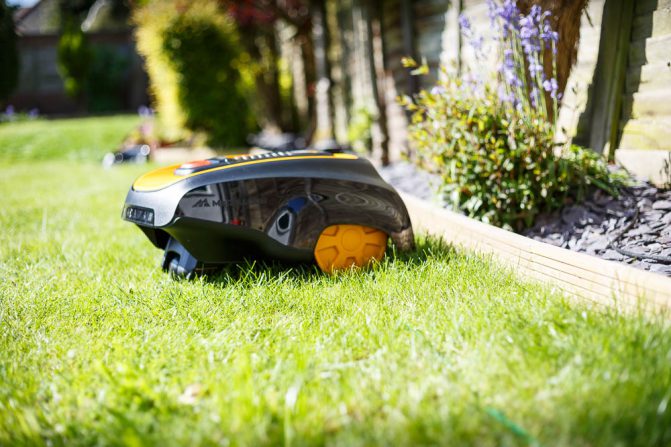
As good as this lawnmower is, sadly the closest it will get to the edge of the lawn, in my case, is around 6 inches. This isn’t the end of the world, it just means every couple of weeks I need to run around the edges with a strimmer. Which only takes around five minutes so there is still fantastic time saving using this mower.
Mulching
Before using the robotic mower, I previously had a petrol mower that would collect the grass trimmings and they were then thrown away into the recycling. However, now I have been using a robot mower, it uses mulching. I have the robot scheduled to run for an hour and a half Monday through Friday. And each day it will take a tiny little cutting off the top of the grass that will drop down into the lawn. The benefits of this, in theory, are that you don’t remove any nutrients from your lawn. I thought this was going to be a bit of a gimmick rather than having a positive effect on the lawn. However, within a month I did notice that my lawn was noticeably greener. The only real change occurring is the use of the mower, so it has had great benefits.

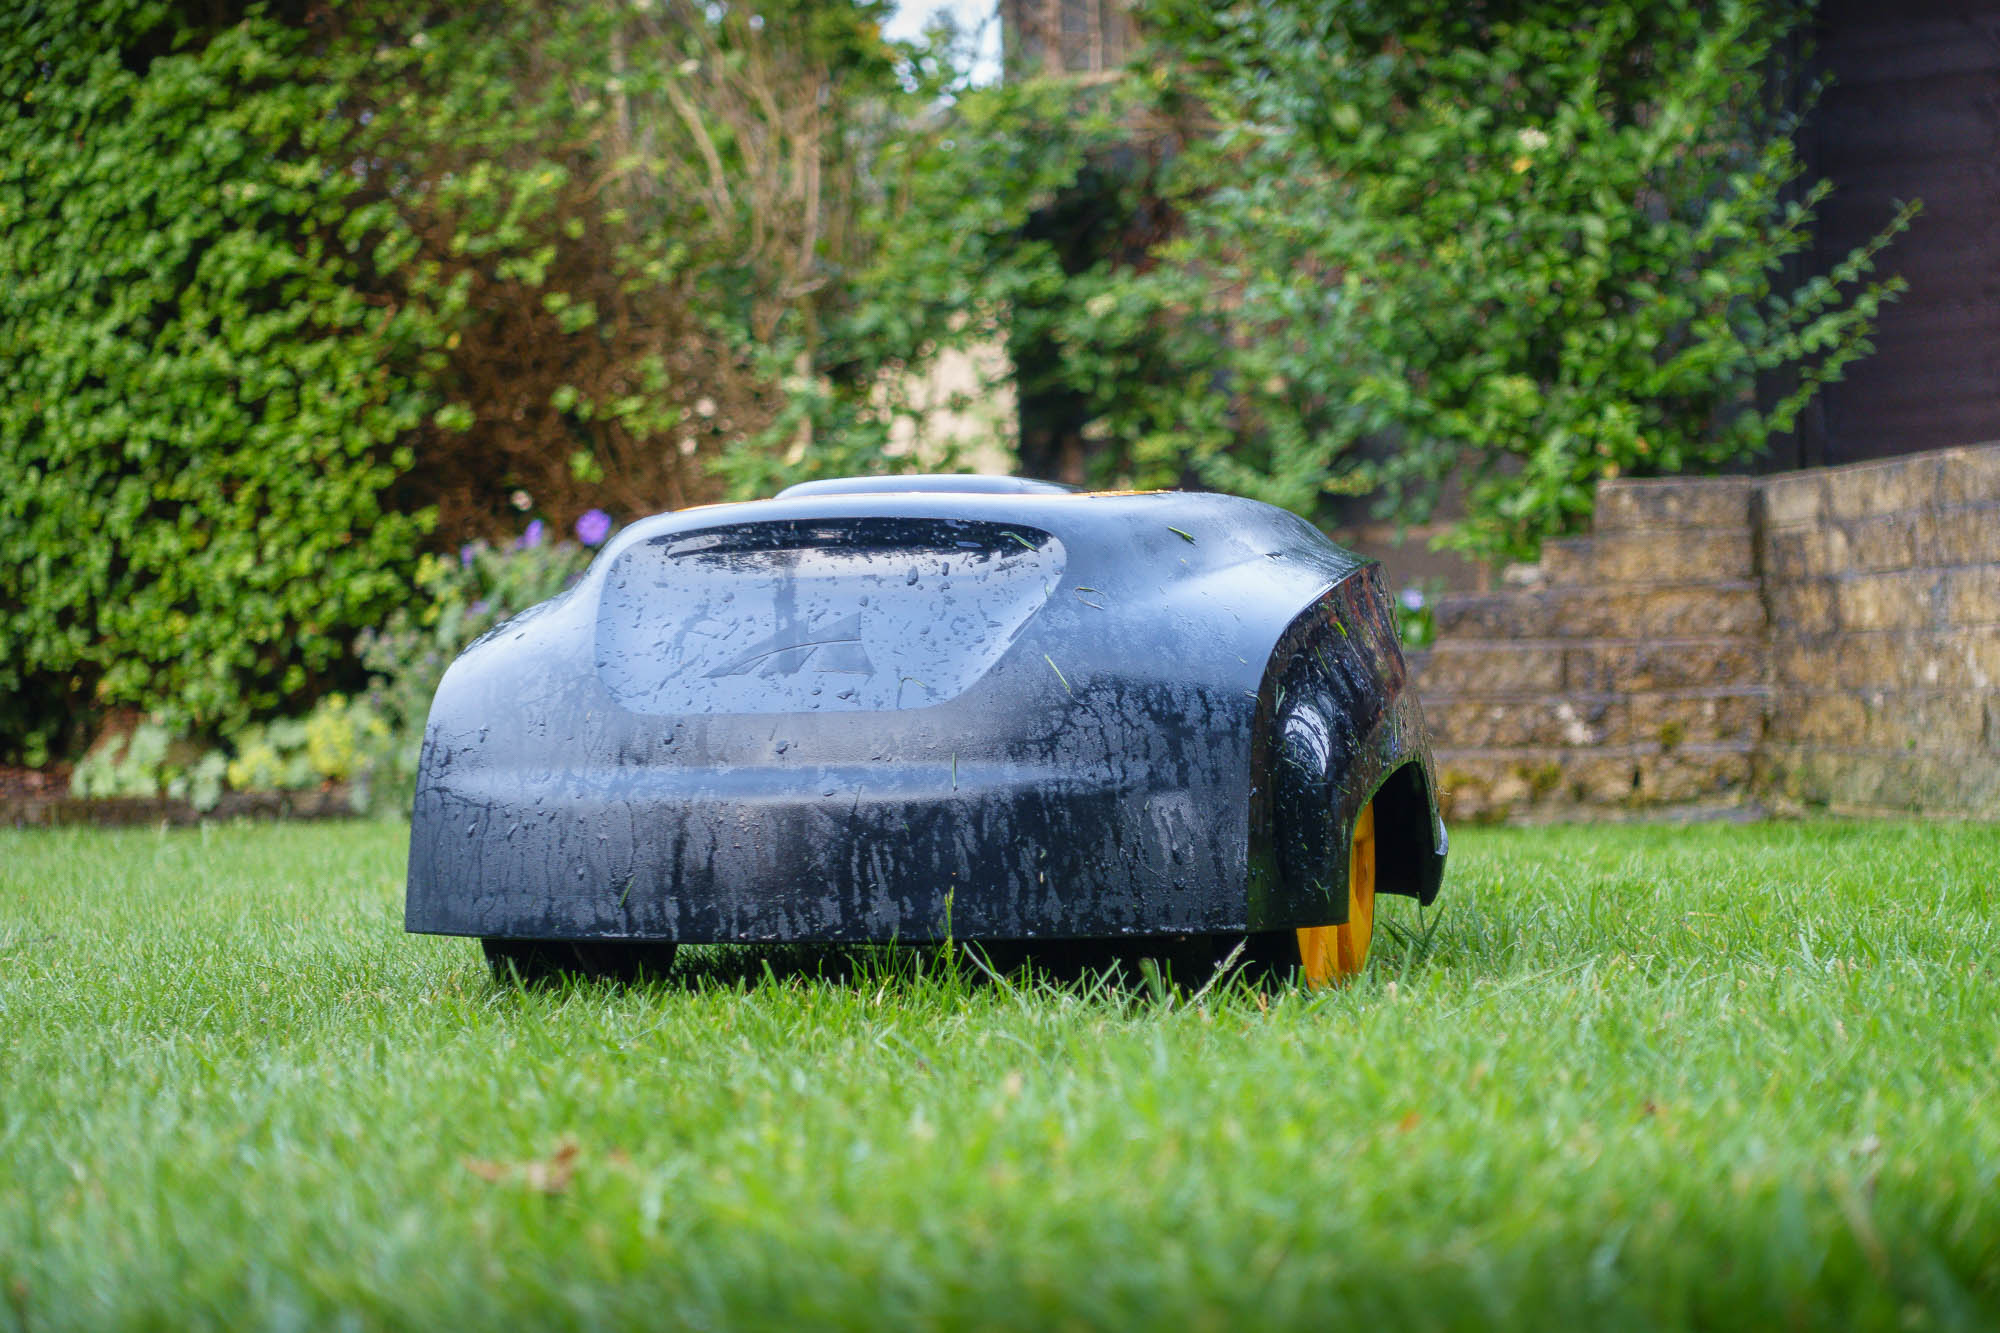
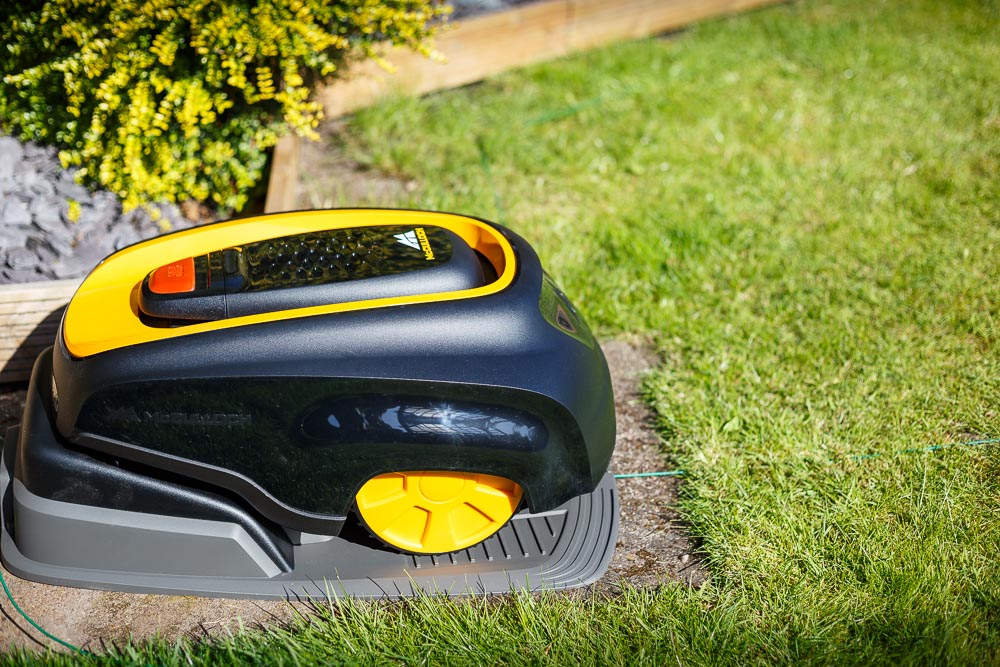
Set and Forget
After a month of learning about how the mower works in my garden and what the optimum set up would be, I have got to the point where I can forget about the mower now. I don’t need to maintain it or make sure it’s working correctly. It’s on a schedule and just runs. The beauty of it is that it really operates whatever the weather, It can be heavily raining and be pitch black and the mower will go out and ensure your lawn is cut and looking fresh.
Further Updates – Month 3
We are now 3 months into the robotic lawn mower experience and things have really settled in.
Truly Set and Forget Lawn Mowing
I now feel like I’ve gotten over the bedding-in stage and I’m happy to say that the McCulloch R600 Robotic Mower just runs when I tell him to, with no problems at all. Initially I made a few errors installing the edge wiring which you can read about here, but once I had the mower installed properly, I didn’t give it a second thought.
I have the McCulloch R600 Robotic Mower set to run Monday to Friday between 7.30pm and 9pm. We hang laundry out in the day and I wanted to avoid the R600 accidentally going over the top of any fallen items, so he starts at 7.30pm and finishes at 9pm. Of course, if it gets dark the robotic mower can still function so the timing works well for me.
After endless successful runs without a hitch in the garden, I’m incredibly pleased with how the robot is working. I don’t even have to touch it anymore.
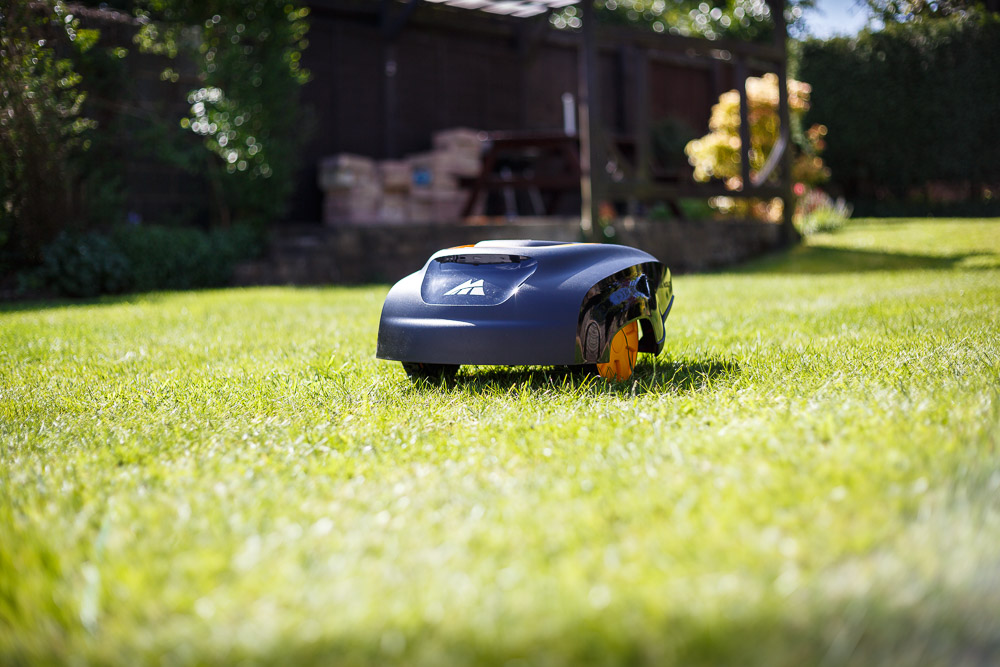
Keeps the Lawn Looking Fresh
We’re all used to the classic grass lines you get from a conventional mower – but, by design, the Mcculloch R600 doesn’t make those traditional marks. The mower operates in random directions rather than straight lines and has a circular cutting device that mulches the grass, to give a different look to the lawn once it’s been put. For around 12 hours after mowing the lawn, the grass looks like it has been gently combed. The best way I can describe it is to compare it to a freshly vacuumed carpet – looking fresh after every cut.
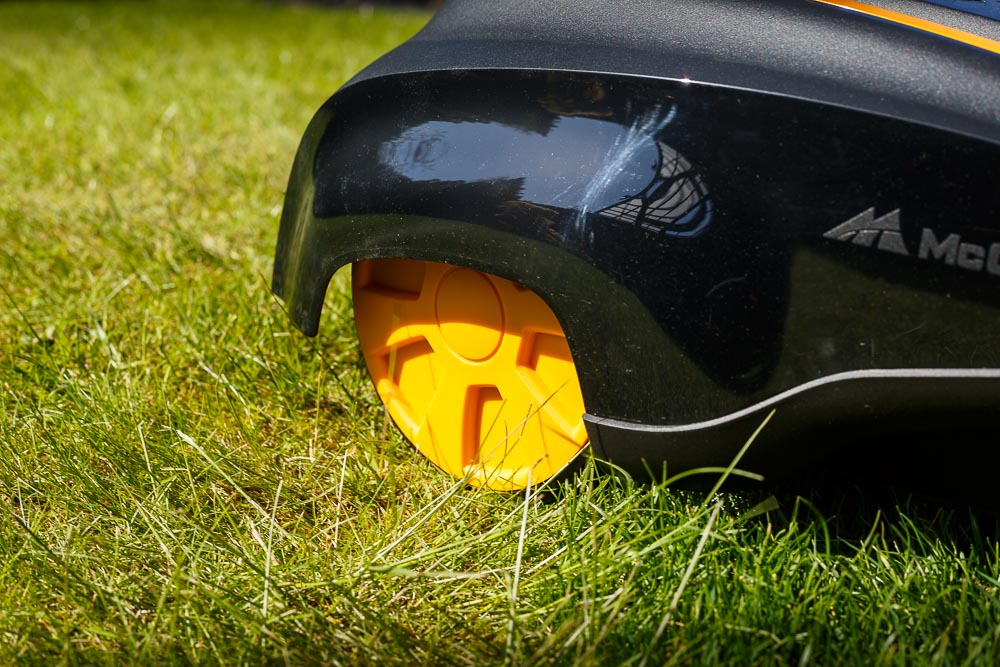
Mower Maintenance
3 months into using the McCulloch R600, I took some time to take a closer look at the robot to see if it required any maintenance or care. Its front has picked up a few scratches during use, but it’s still in great shape. The wheels and rotor had a very small amount of grass build-up, but nothing significant enough to require cleaning. The blades were still freely moving a super sharp. You could probably run an entire season of grass-cutting with no problems at all from the mower.
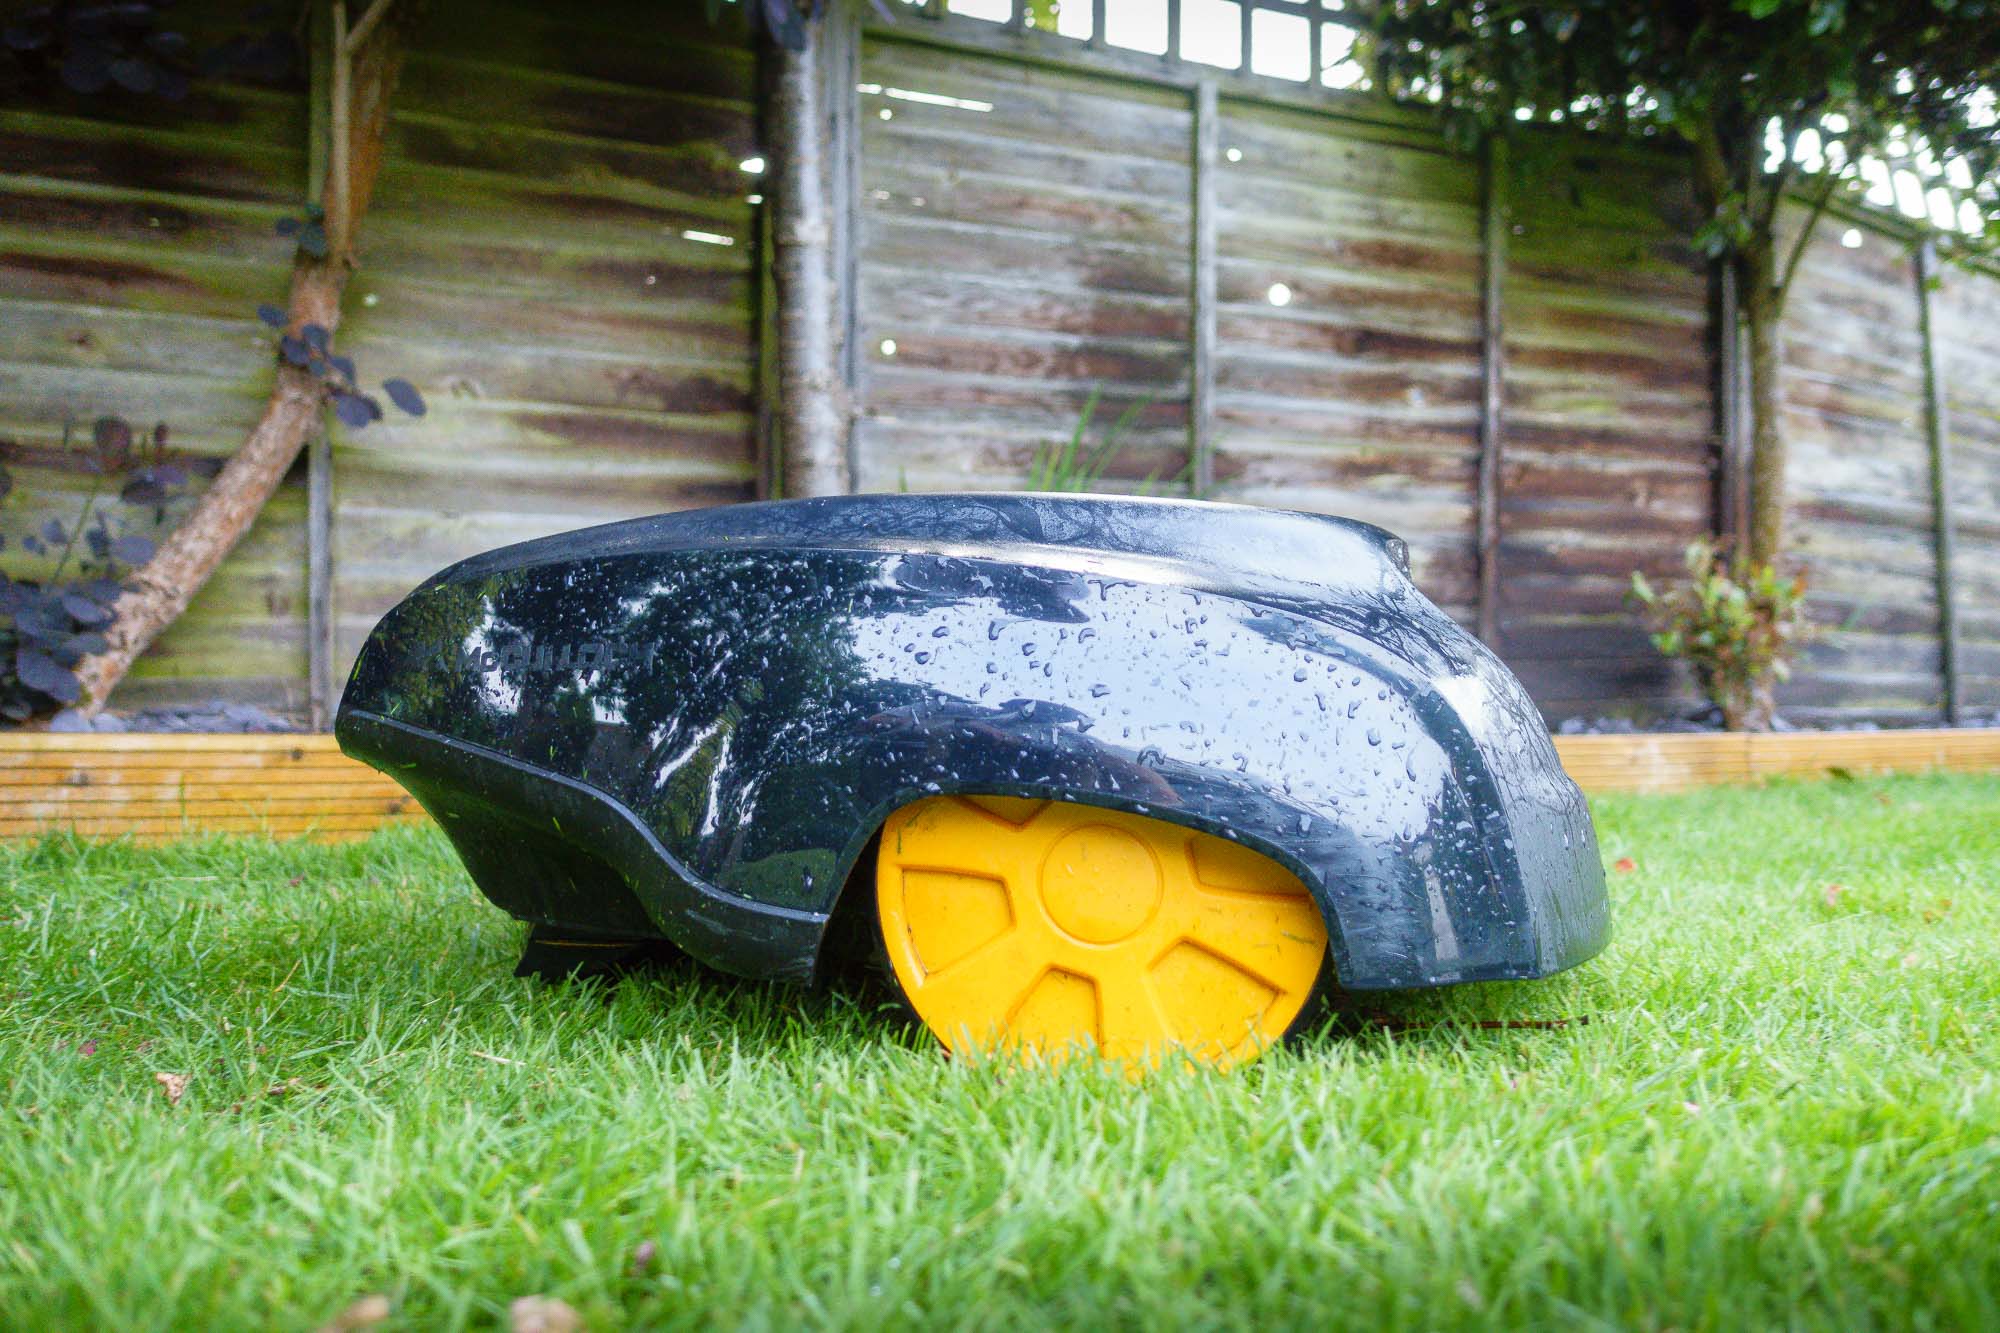
With the robot off the charging base I briefly brushed off some grass offcuts that had gathered in the mower and must have dried when the robot was charging on its base. It’s probably a good idea to brush the base down every few months with my current settings.
So Far, Would I Recommend a McCulloch R600 Robotic Mower?
I would, but remember these McCulloch R600 mowers are £679.99 – a significant investment compared to standard lawn mowers. To be really honest in most cases you’ll still have to cut the edges of your lawn anyway.

But from my experience testing the mower, the grass constantly has a freshly-cut look, and because none of the cut grass is being removed from the mulching process the lawn is much greener in just 3 months. I am very impressed with the McCulloch R600.
6 Months of Testing – I Am Converted
After a season of using it, why would I ever go back to manually mowing the lawn again? I find it bizarre the fact that I now have to distinguish between manually and automatically mowing the lawn. I have the robot on schedule and I no longer have to worry about the next time I go and mow it. It is all done for me. The robot goes out 4 evenings a week and just takes a little off the top of the grass, to keep it trim. All I have to do is when I’m ready occasionally take a strimmer to the edges of the lawn.
Greener Grass
Since using the mower with its continuous mulching action, no nutrients are ever removed from the lawn which means the grass in my case has got greener and greener over time and in some areas I think the regular mowing may have also helped remove the moss. Either way, one season in and I can see better results already.
Conclusion
I started out being not to sure about robotic lawn mowing to moving to being full on converted. You will need to invest a couple of hours at the start of the process to ensure the guide wire is correctly installed and to wire the charging base up. Then simply set the schedule on your mower and you can set and forget it. It will come out and mow your garden at a set time and once finished it will go home for a recharge. Maintenance free lawn mowing, this is exactly what I was after.