

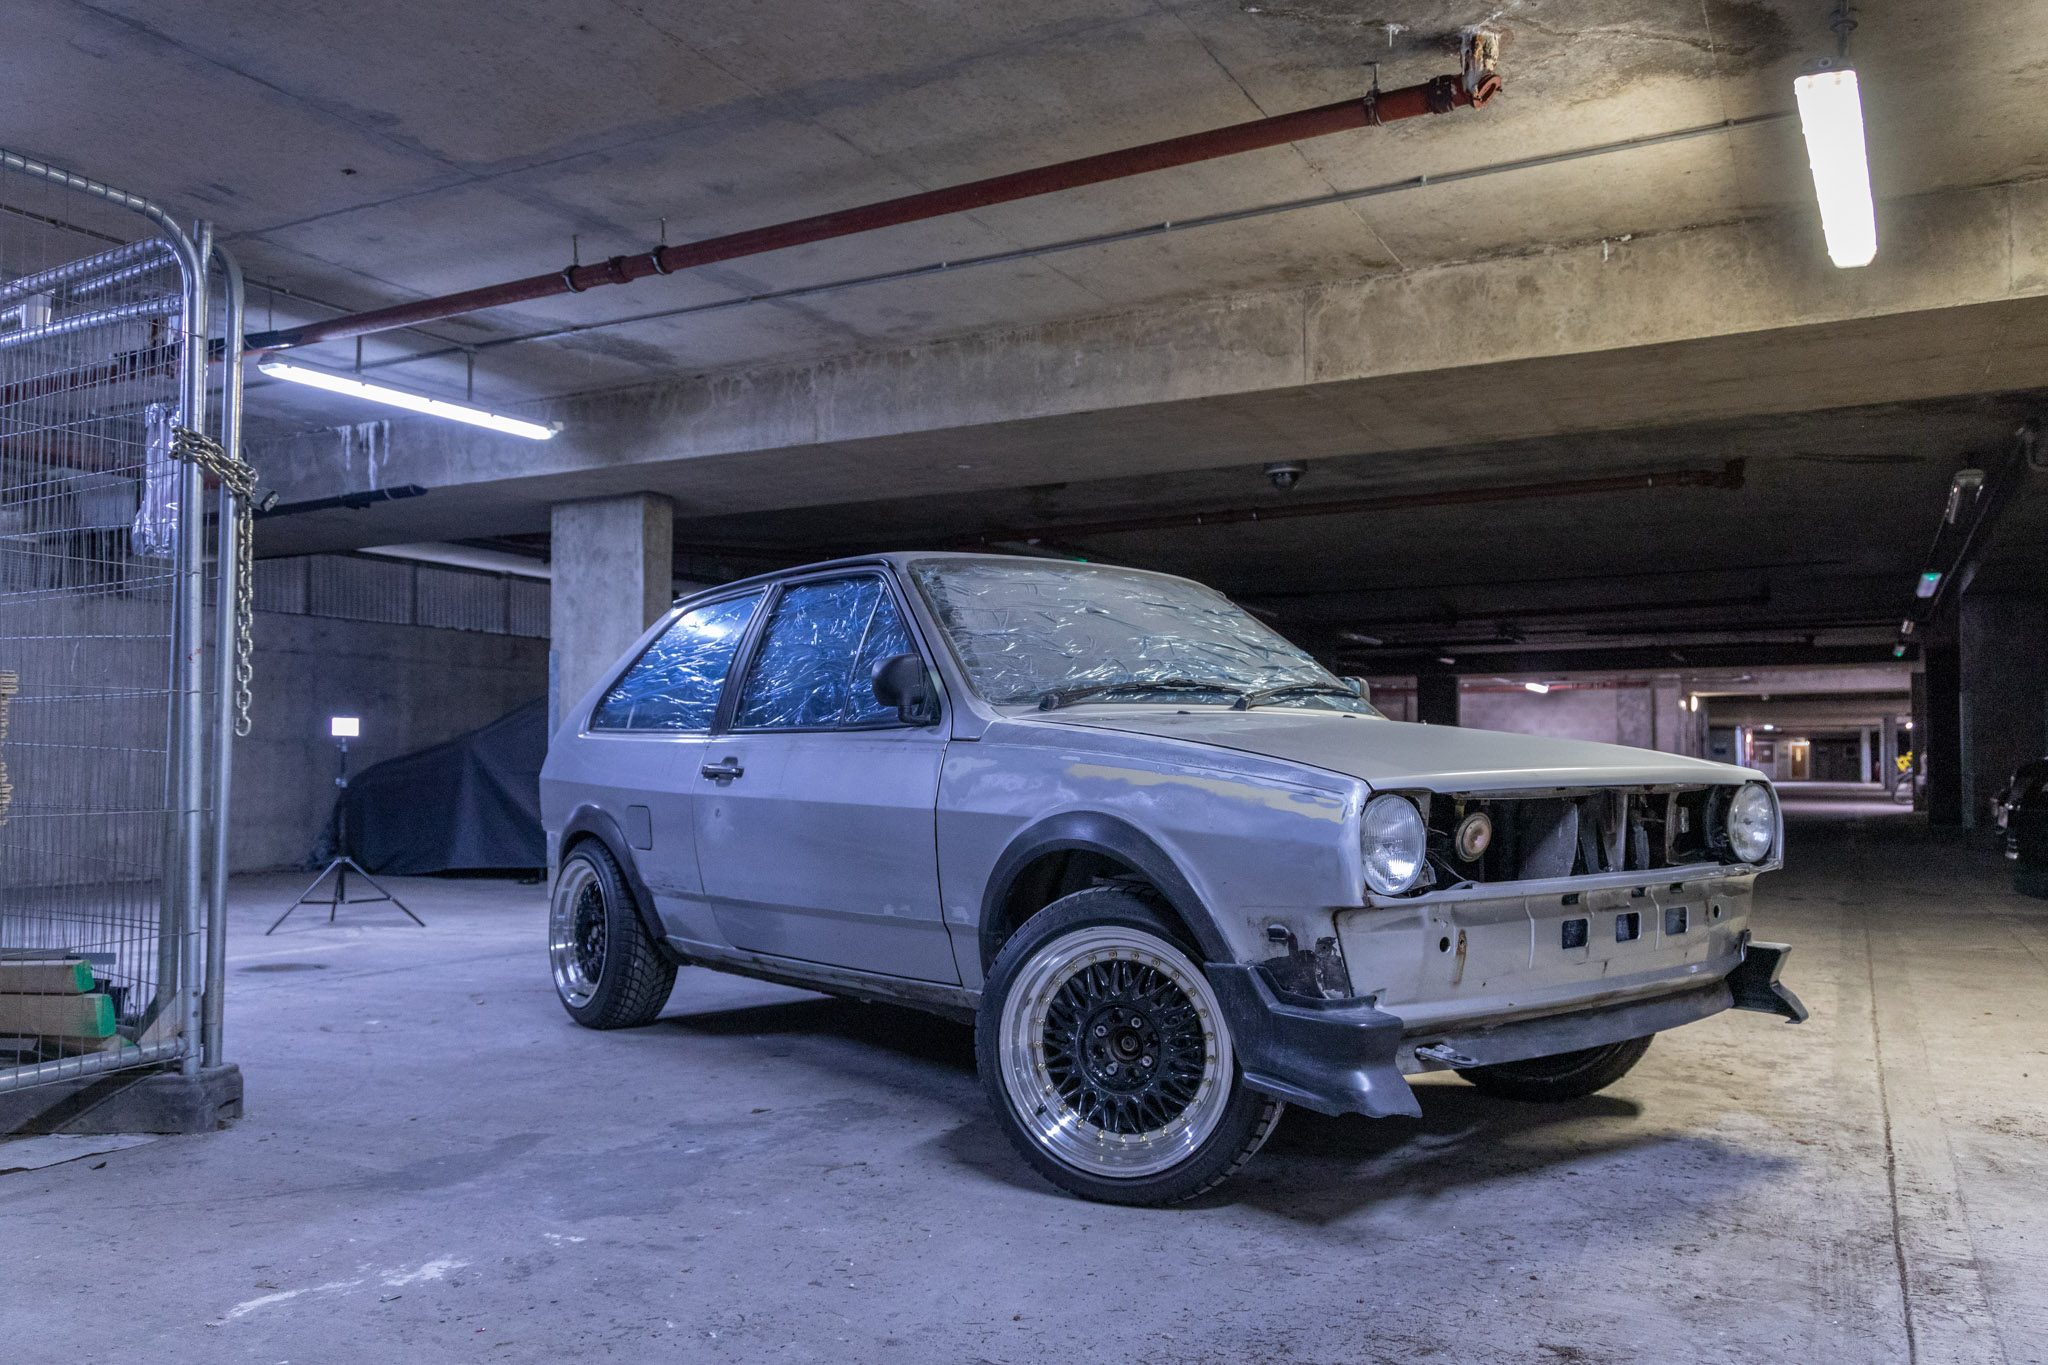
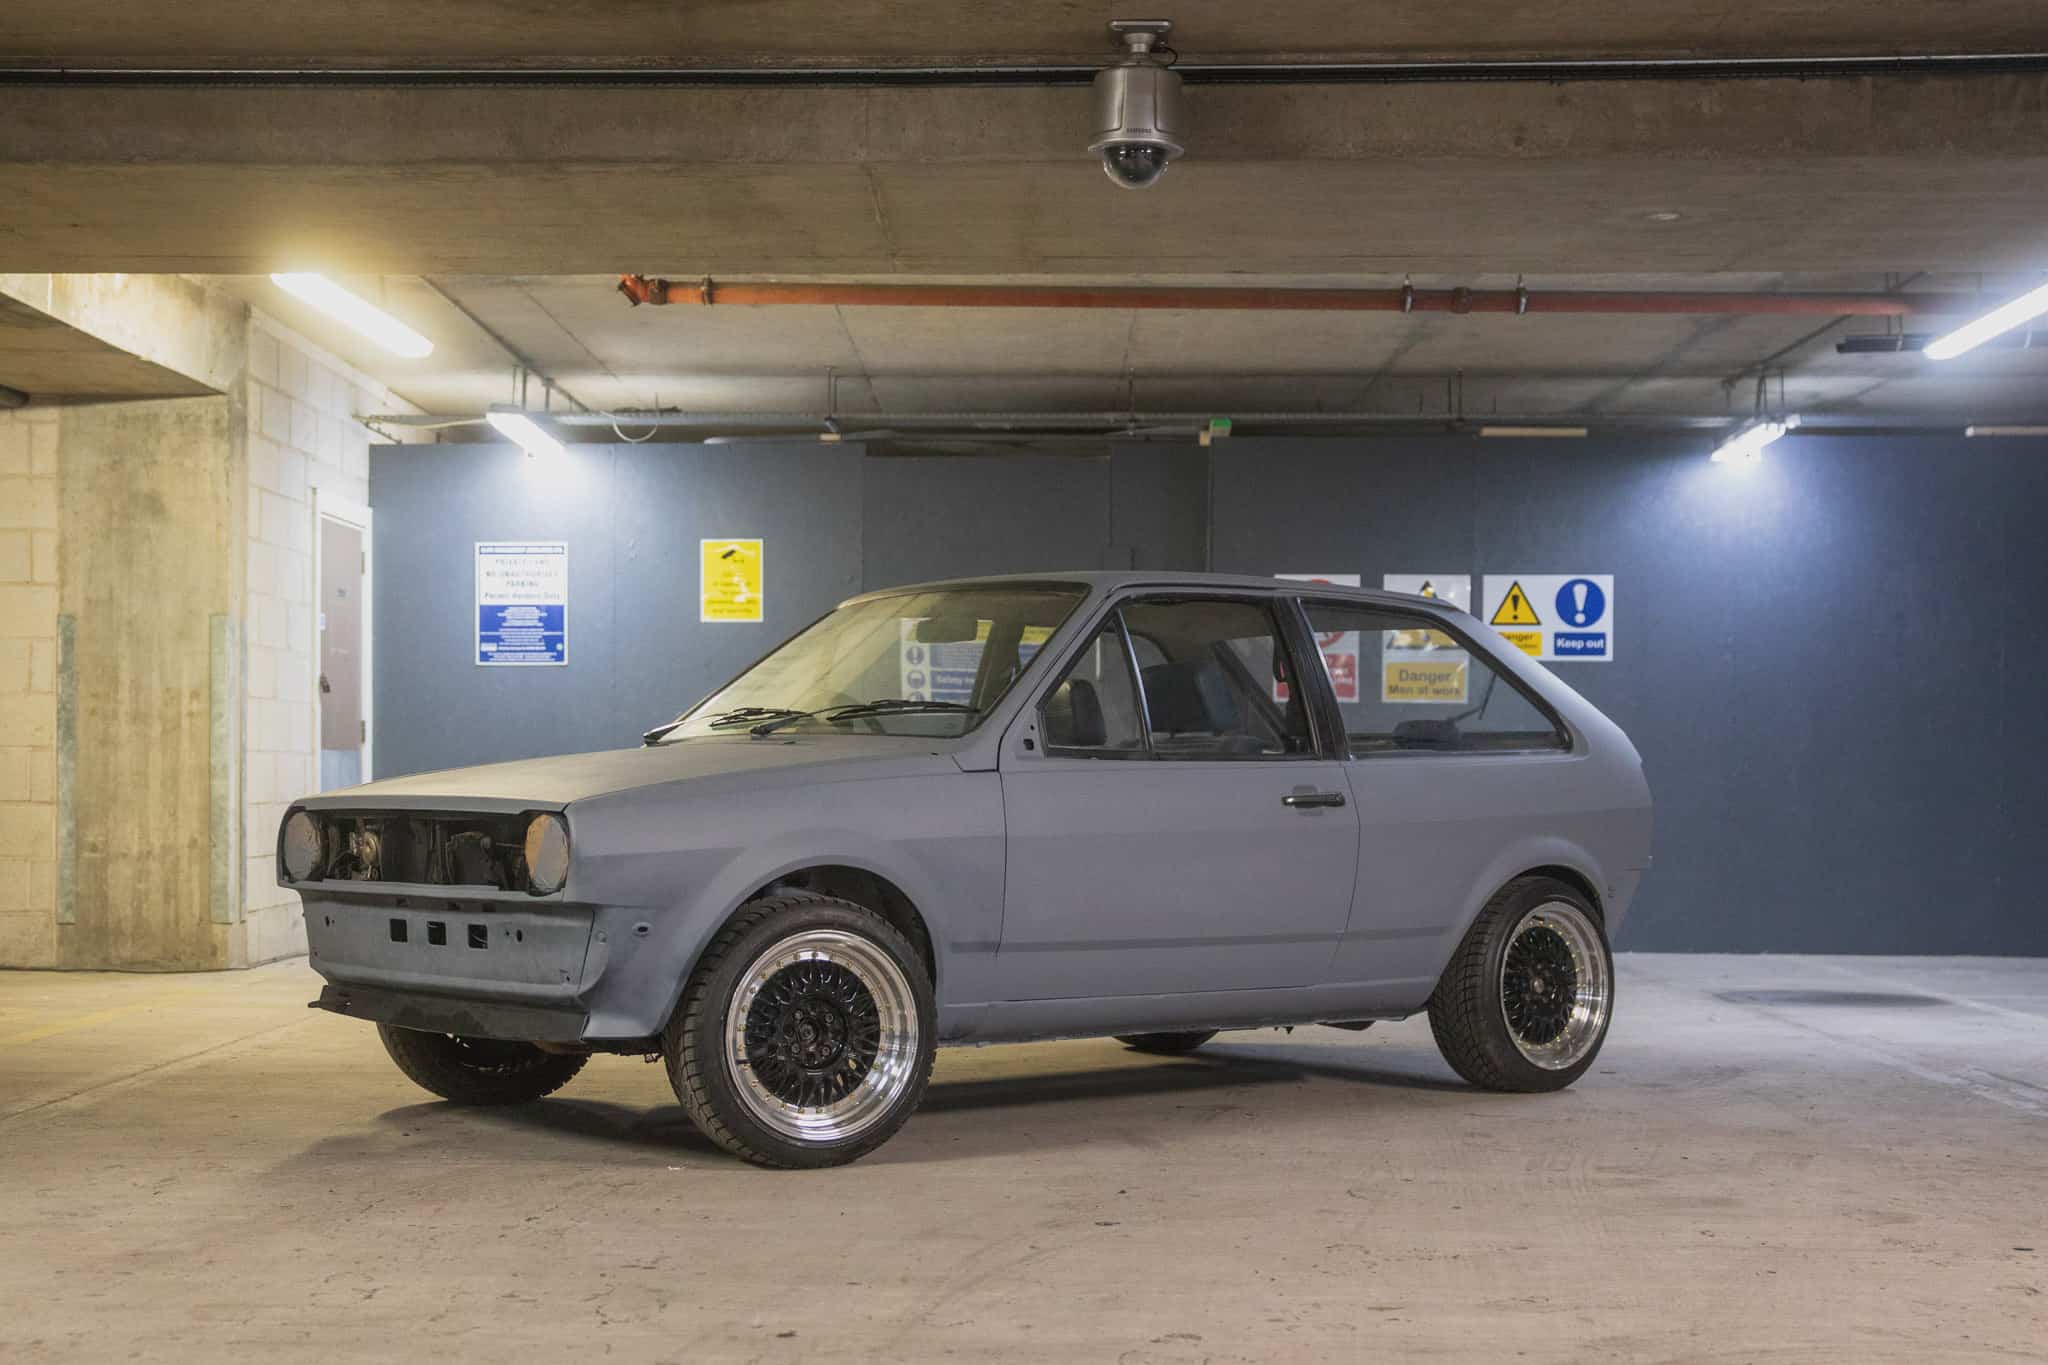
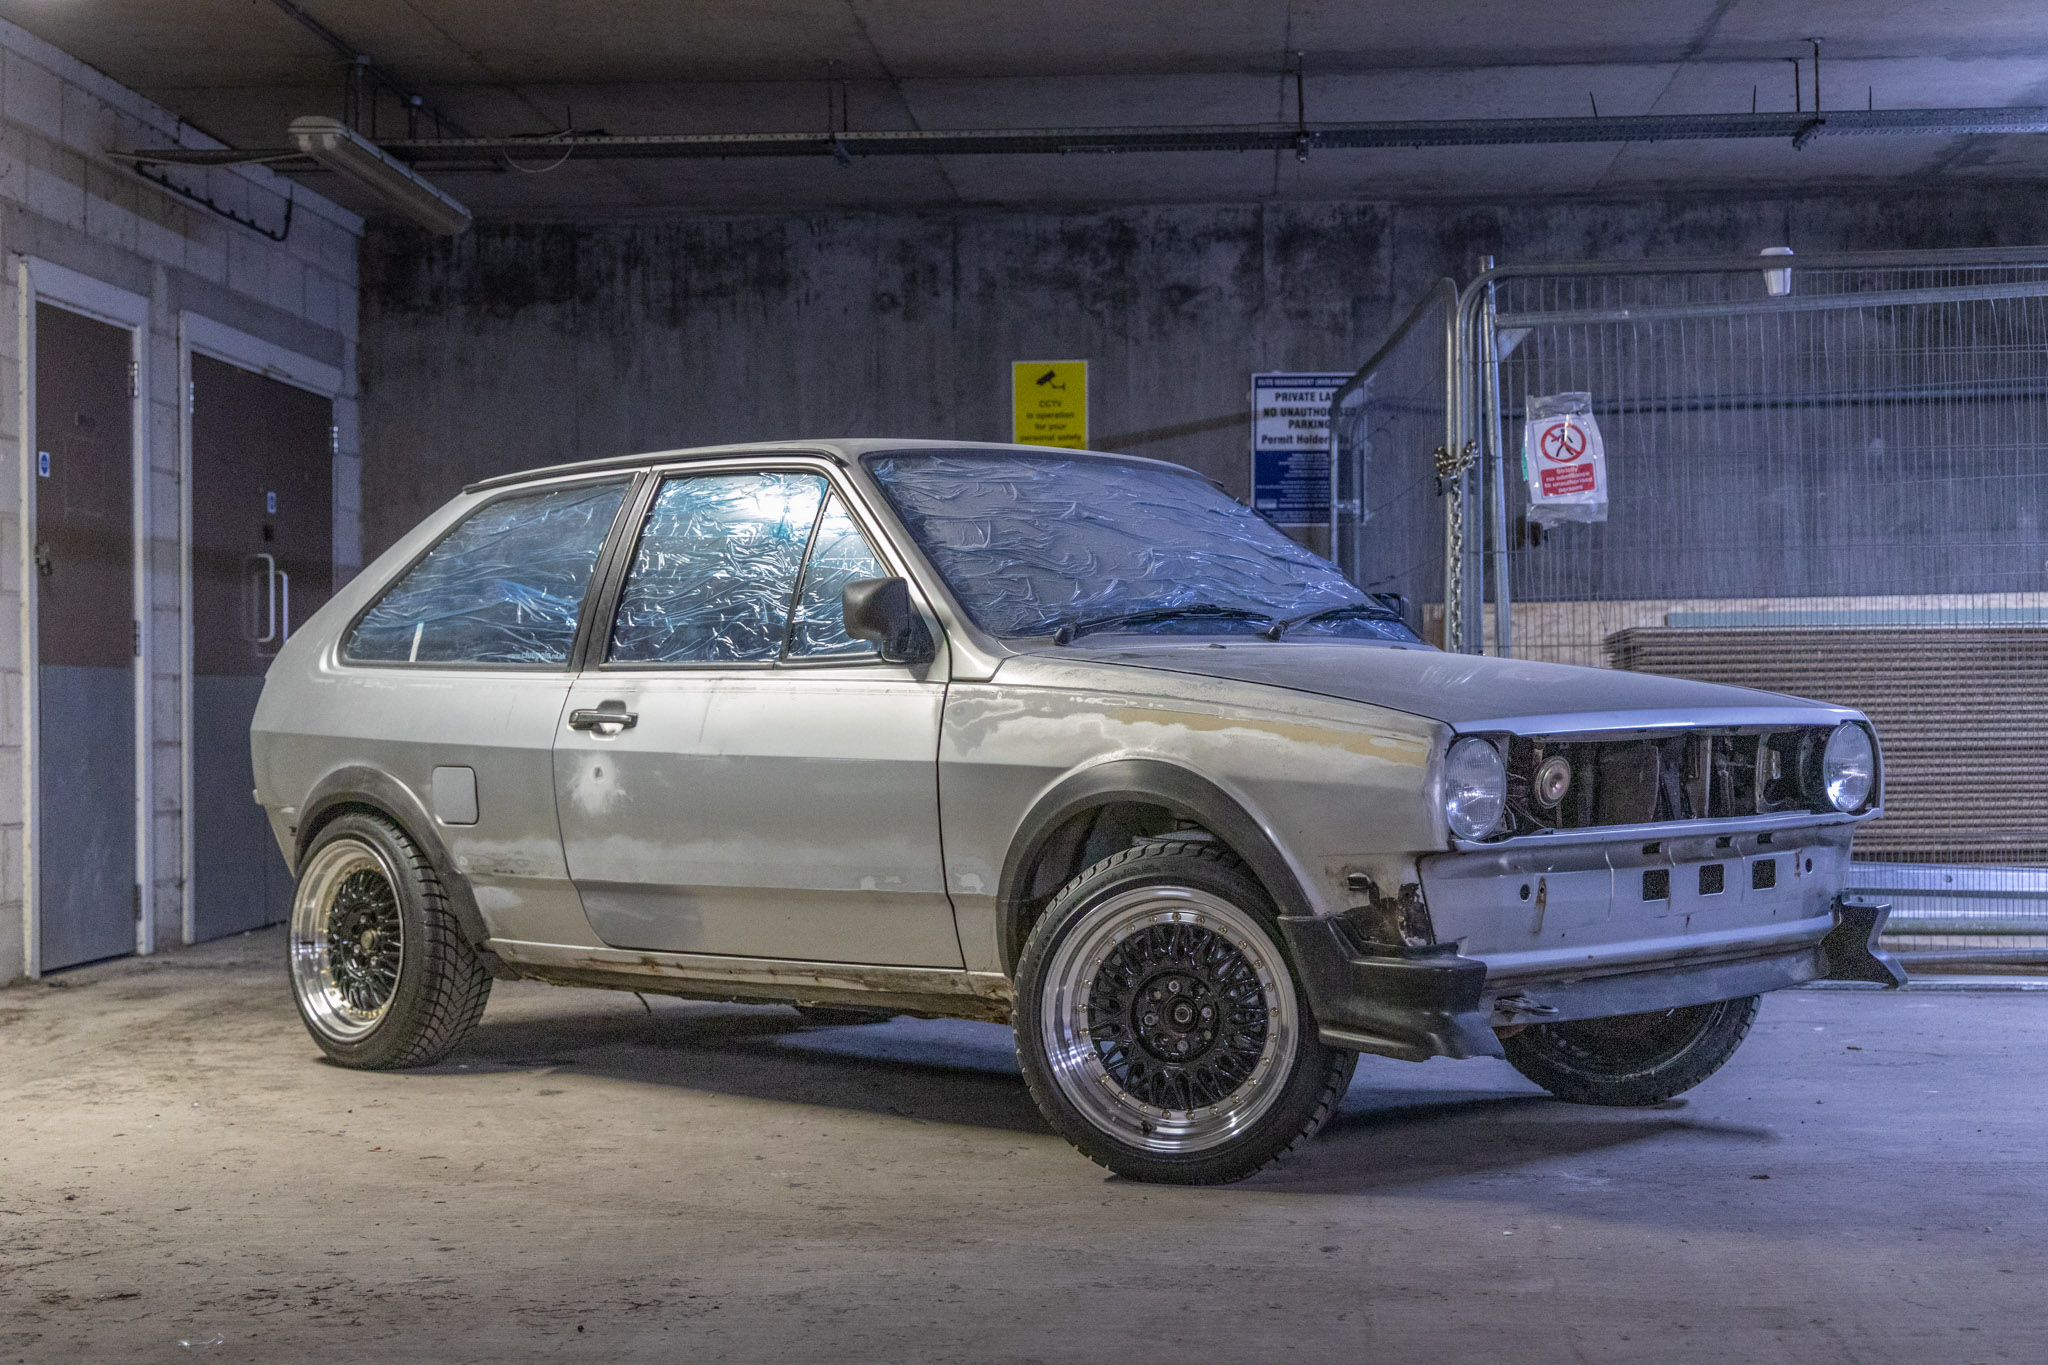
If you have any interest in cars at all, you probably have memories of that one car that you always loved. Whether it was the first car that you owned or the one that you saved all you money for and finally slapped a deposit down on, there is always the ‘one’. For me, it’s this, a 1984 Polo Coupe. The bitter twist being, for the last 20+ years, it hasn’t moved! However, all that may be about to change!
We all know that life has a way of getting in the way of the fun stuff. There is nothing I would love more than to quit the day job and spend all of my time ‘tinkering’ on the Polo, but I don’t think that is going to pay the mortgage! For one reason or another, these things just fall into life’s ‘I’ll get round to it one day’ category, never to be seen again.
A Brief History Of My 1984 Polo Coupe
The Polo first came into our family via my brother, who brought from one previous lady owner who had lovingly cared for it. My brother, being a car fan, continued the Polo love and used it daily, but took great care of it. Apart from a few minor ‘bumps’ it was always kept in good condition. Somehow, way too many years ago to remember the full details, it came to me, and for too many reasons to explain, it was ‘stored’ outside in the garden. There is stayed for many years, occasionally moving from place to place with each house move, but always sat outside, exposed to the elements.
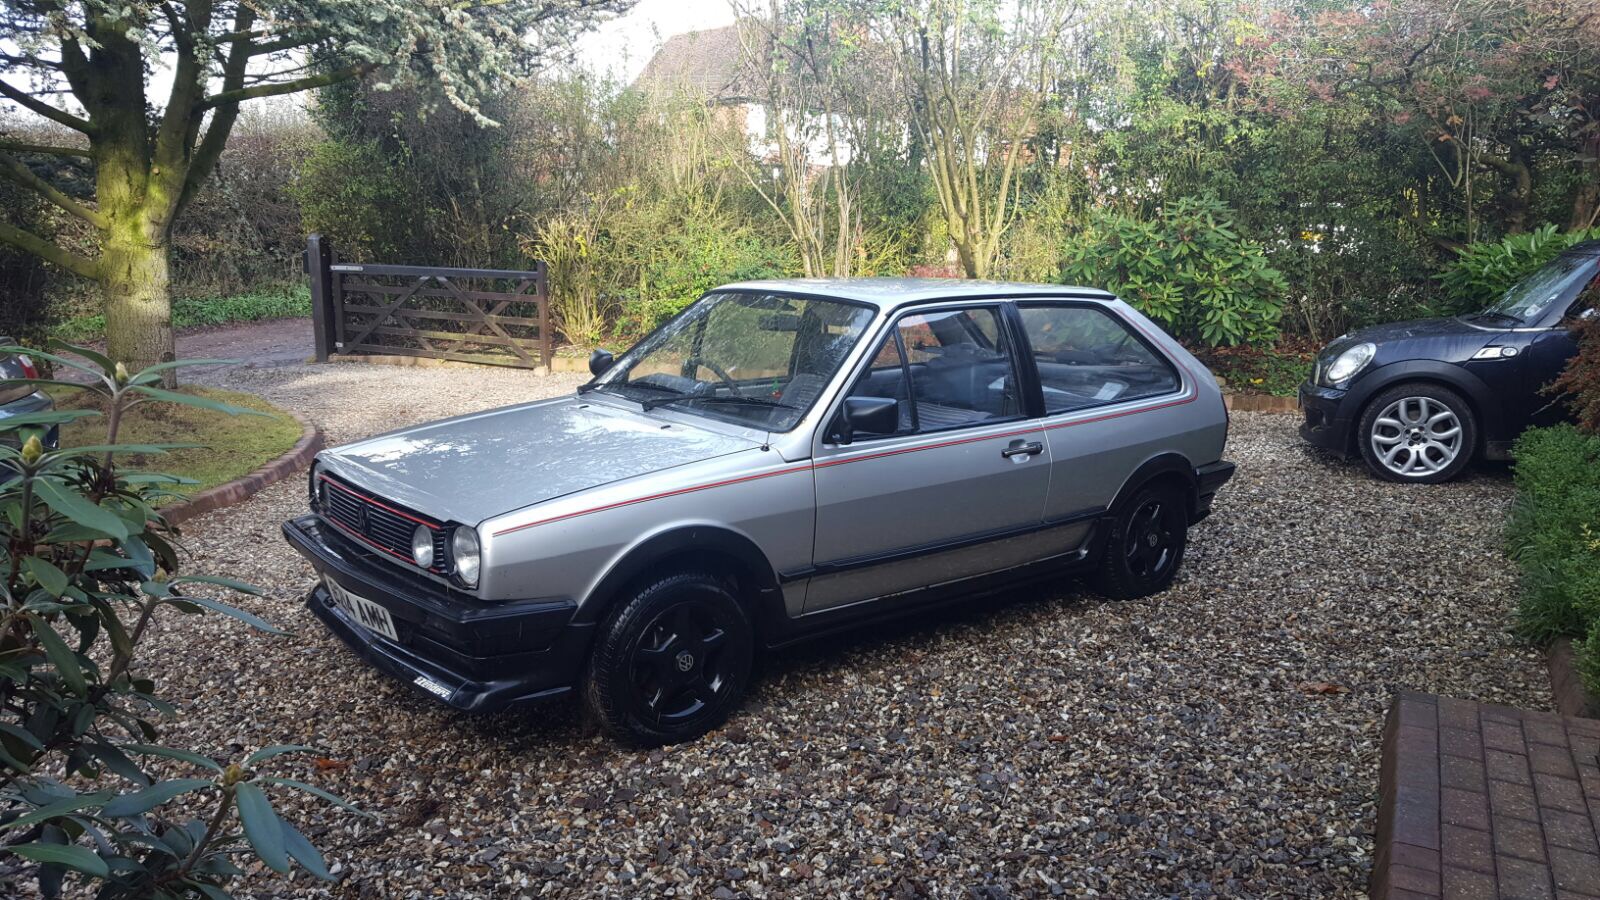
Fast forward twenty years and when I finally moved to a place with it’s own secure (and equally importantly, dry!) parking, I knew that this was my final chance to either fix her, or flog her. I took one look at her and knew instantly that it had to be fix! Sometimes, cars feel like that have personalities and underneath that beautiful eighties bodywork, I see a poor little orphan child that needs my help. How could I just throw her out on the streets!
Classic Polo Coupe – An Intervention
Before moving to my new apartment and arranging a parking space, I had to get the Polo literally dug out of my brother’s garden, where she’d sat for the last few years and moved to her very own parking spot. I knew though, that it would be a waste of money to have her moved, only to move it again if I ever decided to have any ‘real’ work done on her. So I contacted a mechanic friend of mine who arranged to take her into his garage and priced up what it would need to get her moving again. The aim wasn’t to get the Polo to a roadworthy state, it was more to be in a good position for the car to be stored in the dry.

After getting the car moved, the harsh reality started to sink in when Pete, the mechanic, started to list all the work that would be needed. I was aware that the motor might need a bit of work and the brakes would need replacing, but the ‘little’ things like a rusty fuel tank, new exhaust, countless bits of electrical work etc. soon added up. The quote for the works was a little eye-watering, but it was a ‘now or never’ situation. With absolutely no discussion with my girlfriend, I said ‘do it my man!’ and Project Polo kicked into action! Queue the ‘A Team’ music…
A New Beginning…
Pete the mechanic quickly set about spending my money, I mean doing the necessary work. As ever, the little surprises kept coming but nothing too serious. That was until he mentioned a four letter word that no ‘classic’ car owner wants to hear, rust. I knew there were patches and to be honest, was amazed that she was even pulled onto a flatbed without the chassis pulling into pieces. However, Pete’s verdict on inspecting the underside of the car was a heartwarming ‘she’s not in bad nick’, which is mechanic terminology for, ‘your car is OK but I’ll still charge you for something anyway’. It was agreed the rust would need to be attacked at a later date to keep the funds from spiralling out of control.

Pete and his team at the garage worked tirelessly on the Polo, or so they told me, until the big day arrived when he whispered those magical little words, ‘she’s passed her MOT’ – I was stunned. The goal had always been to get the Polo to a position where she could continue to be SORN but to actually be in a position where she was running and safely, this was some kind of miracle! Pete had certainly gone the extra mile!
So What Is Next?
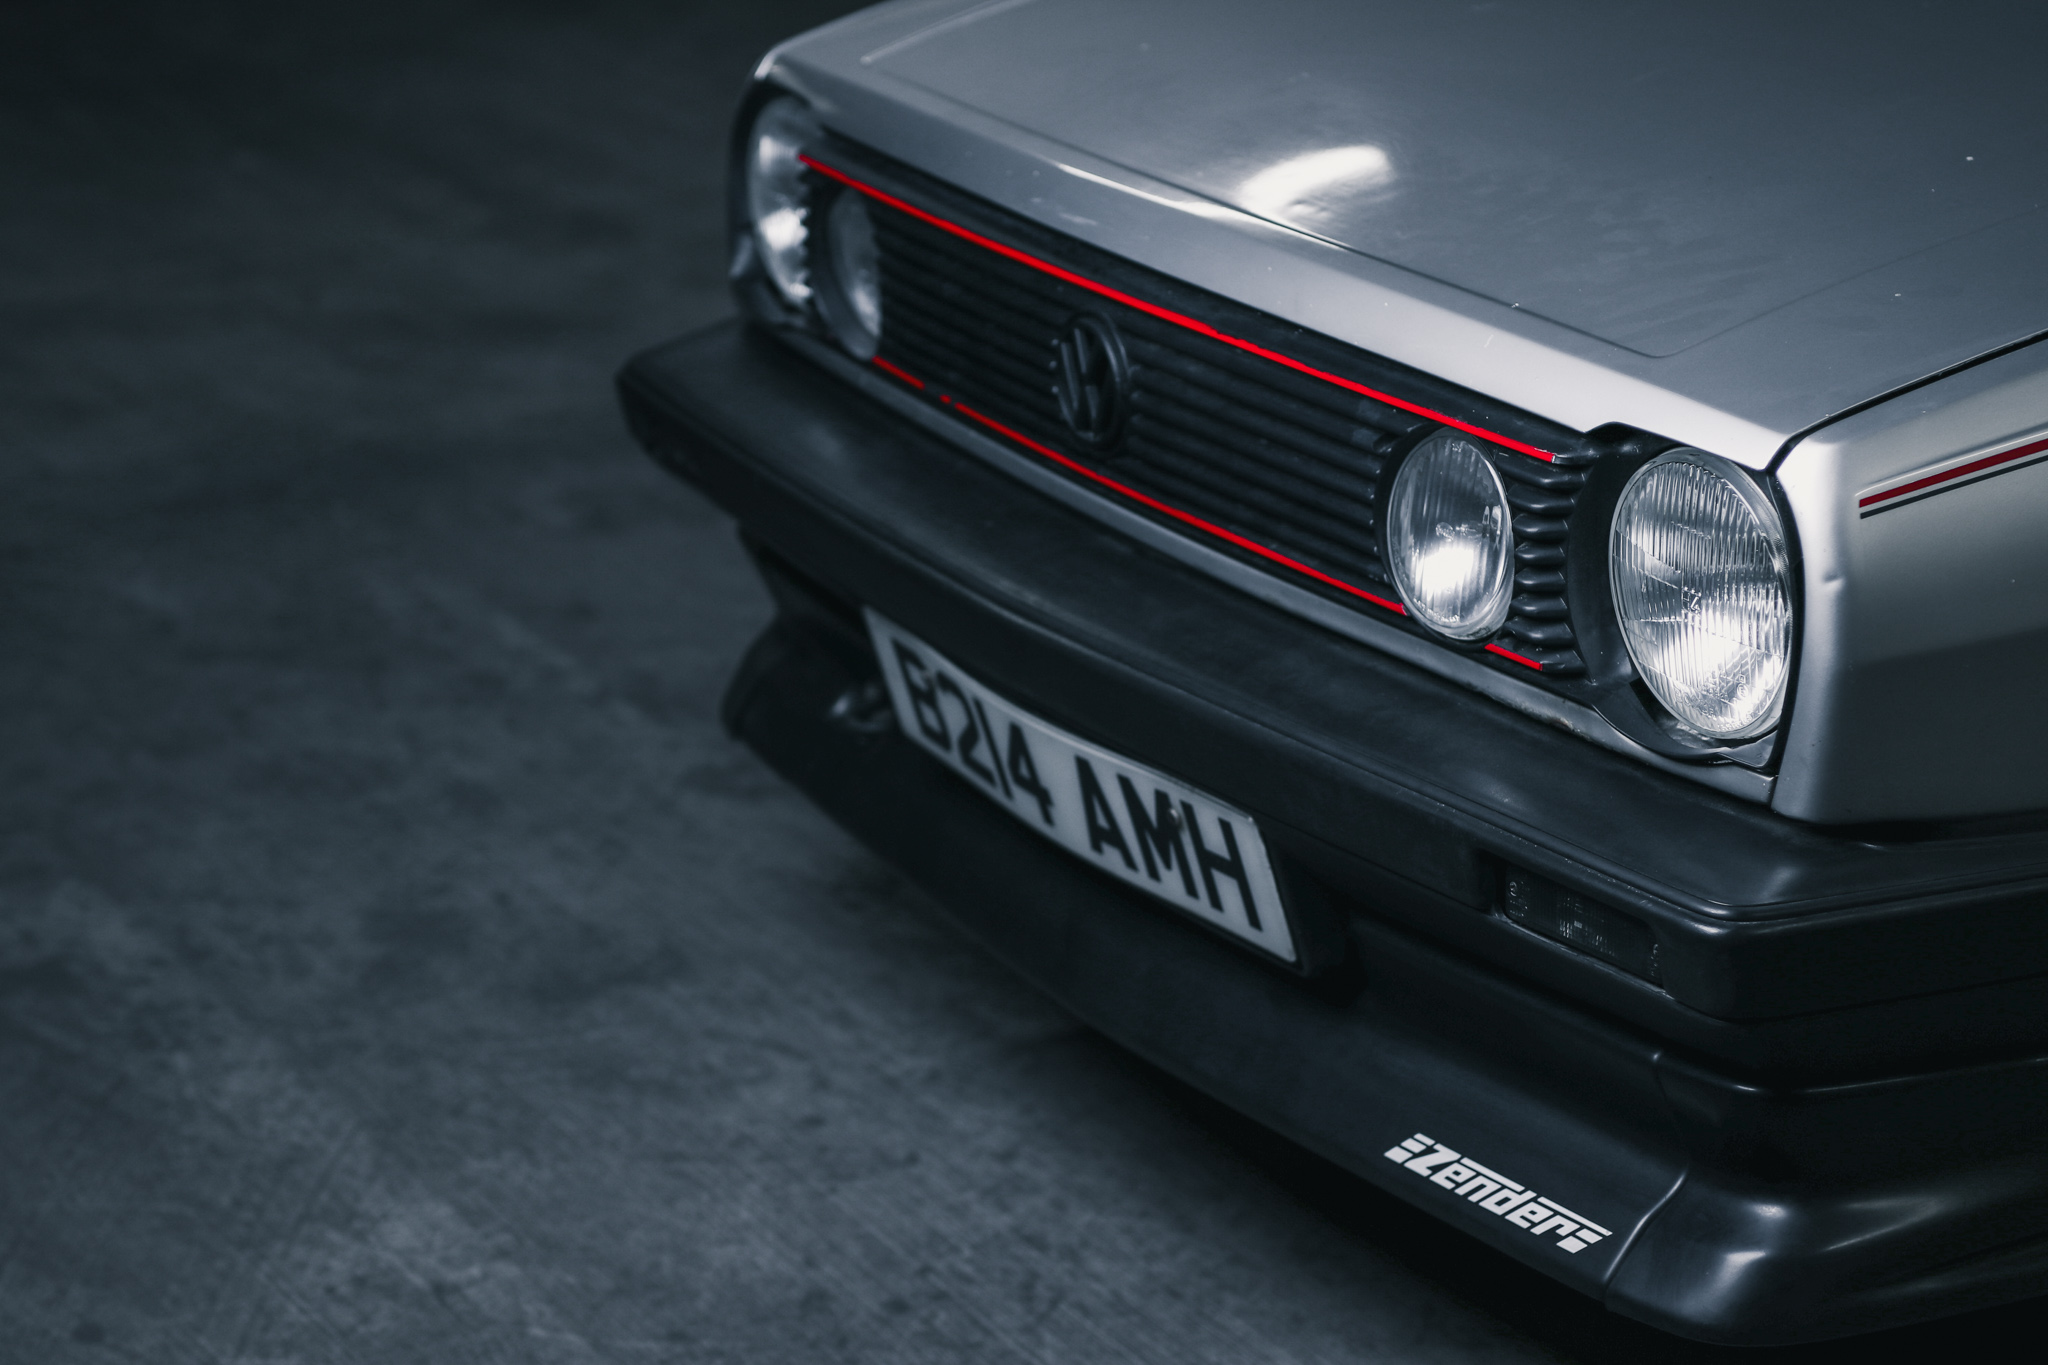
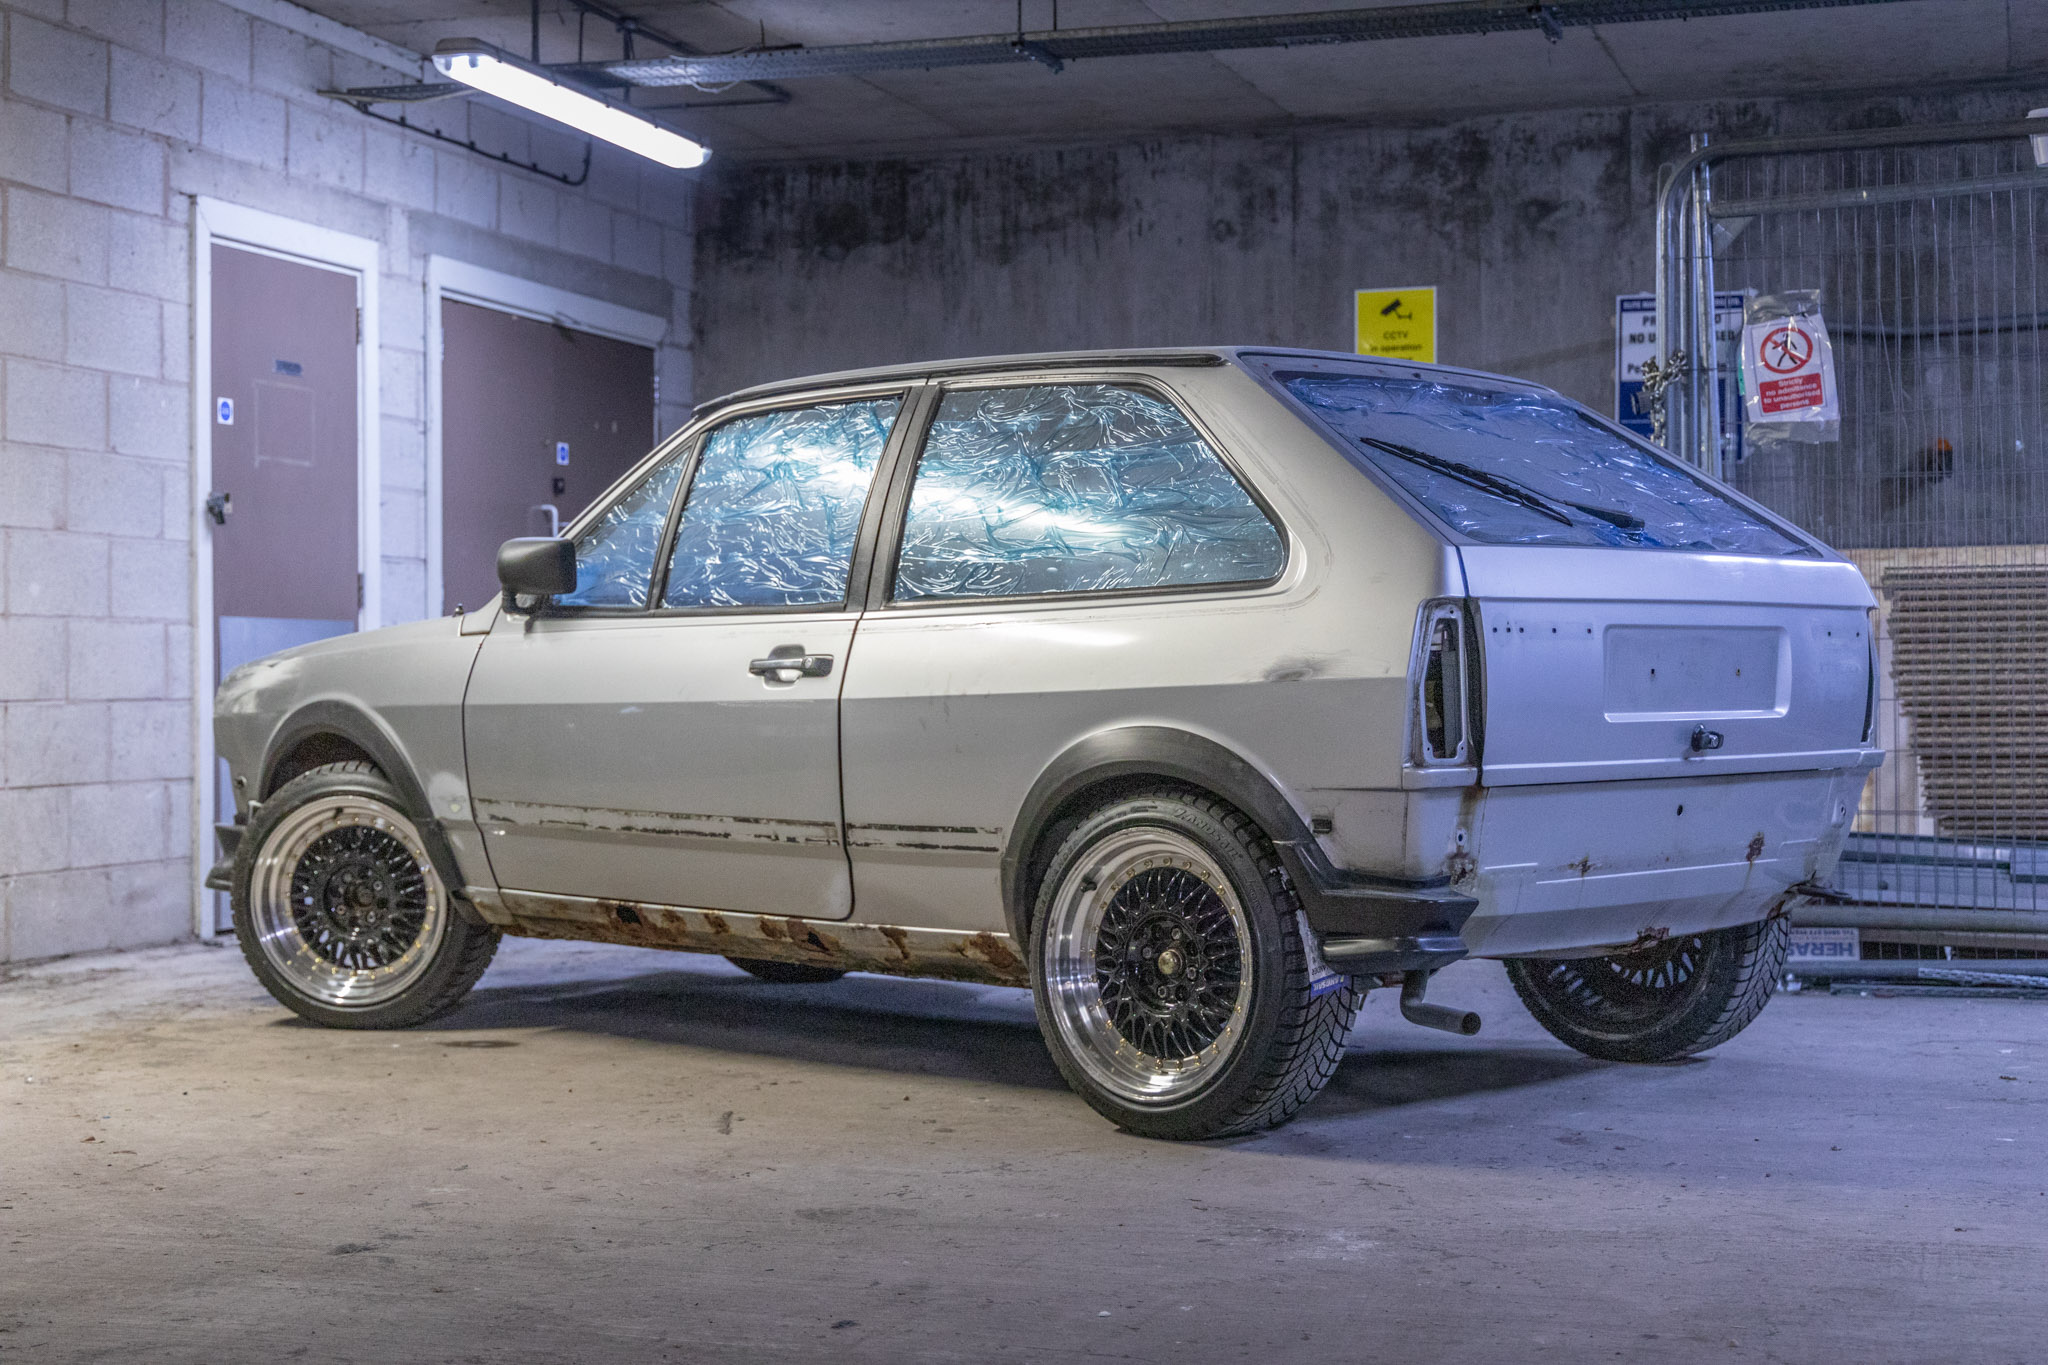
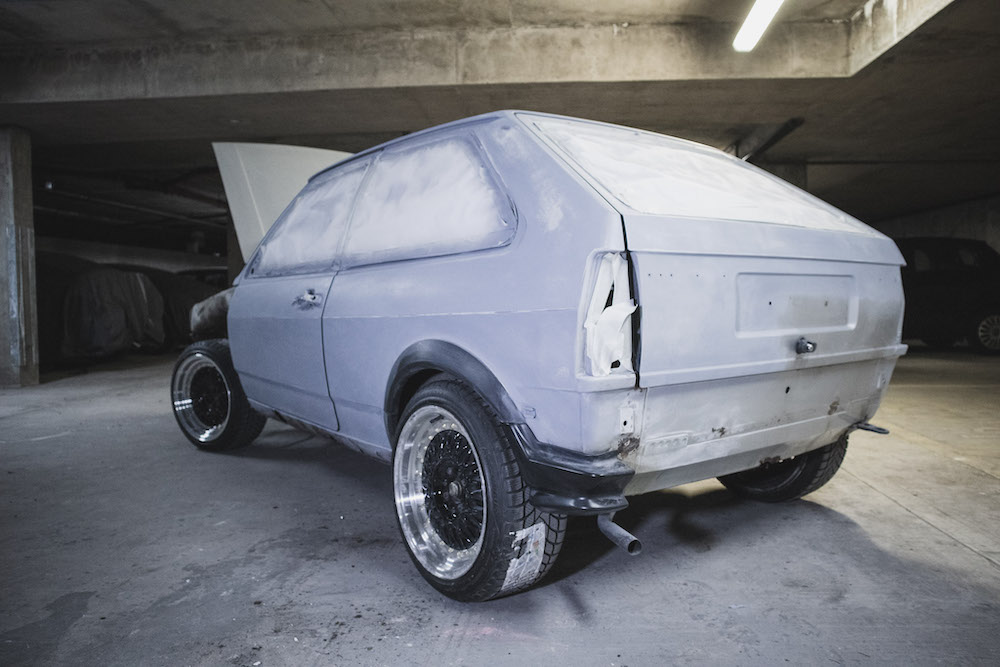
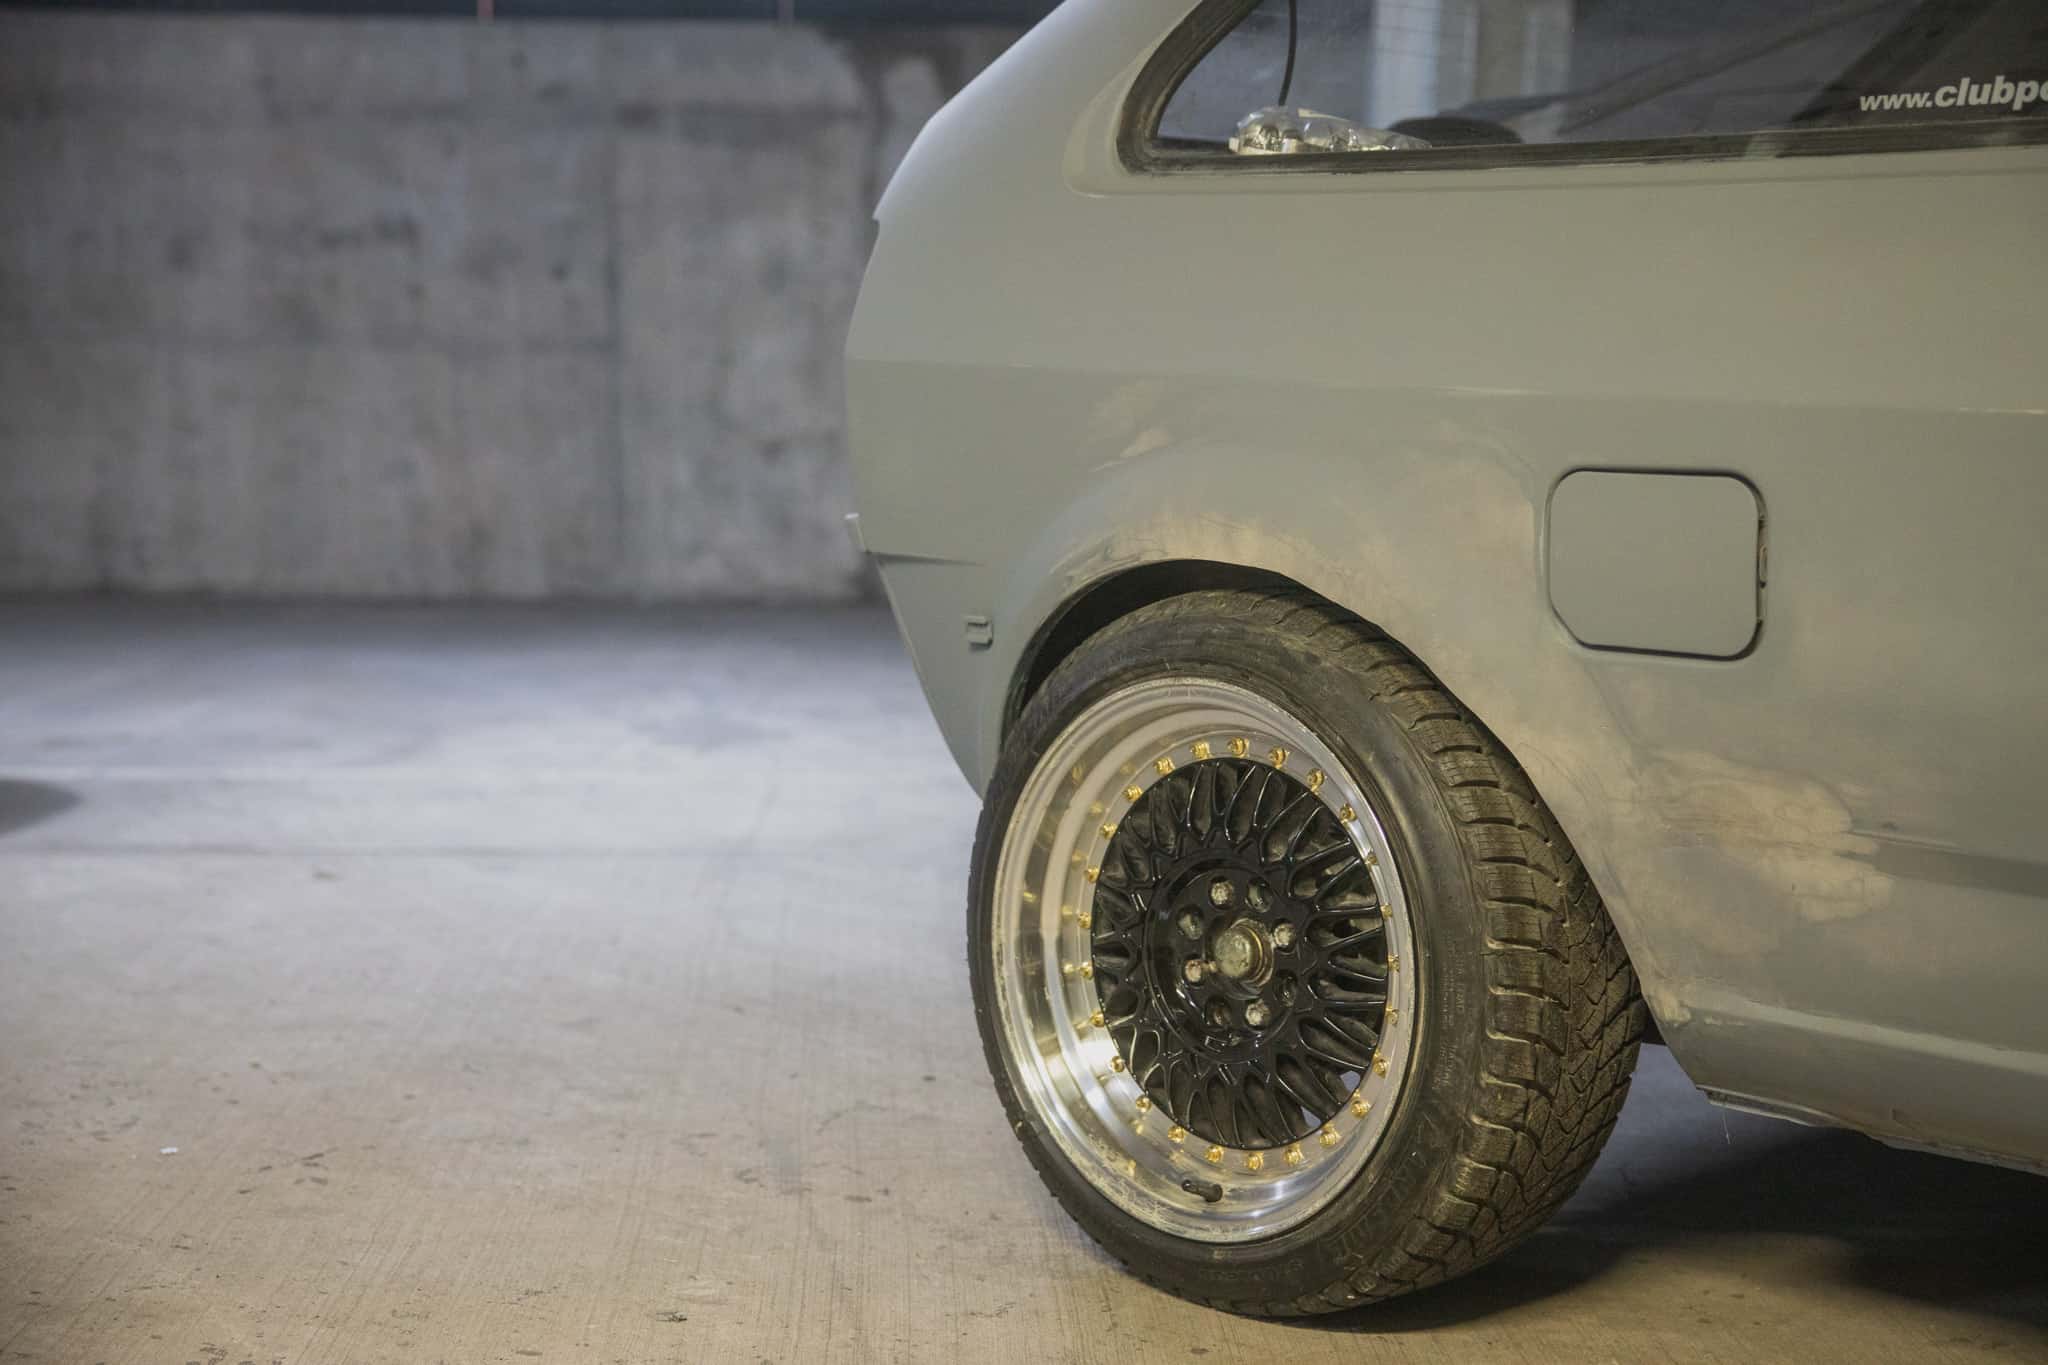
The plan was never to use the Polo as a daily driver, though all good plans change! She’s far too precious to me to run the risk of crashing or having her stolen, in particular as there is no chance of replacing the incredibly rare body kit! So with fresh life breathed into the little beauty, it’s time to bring her kicking and screaming back to showroom standard, or at least give her a decent clean and maybe a lick of paint!

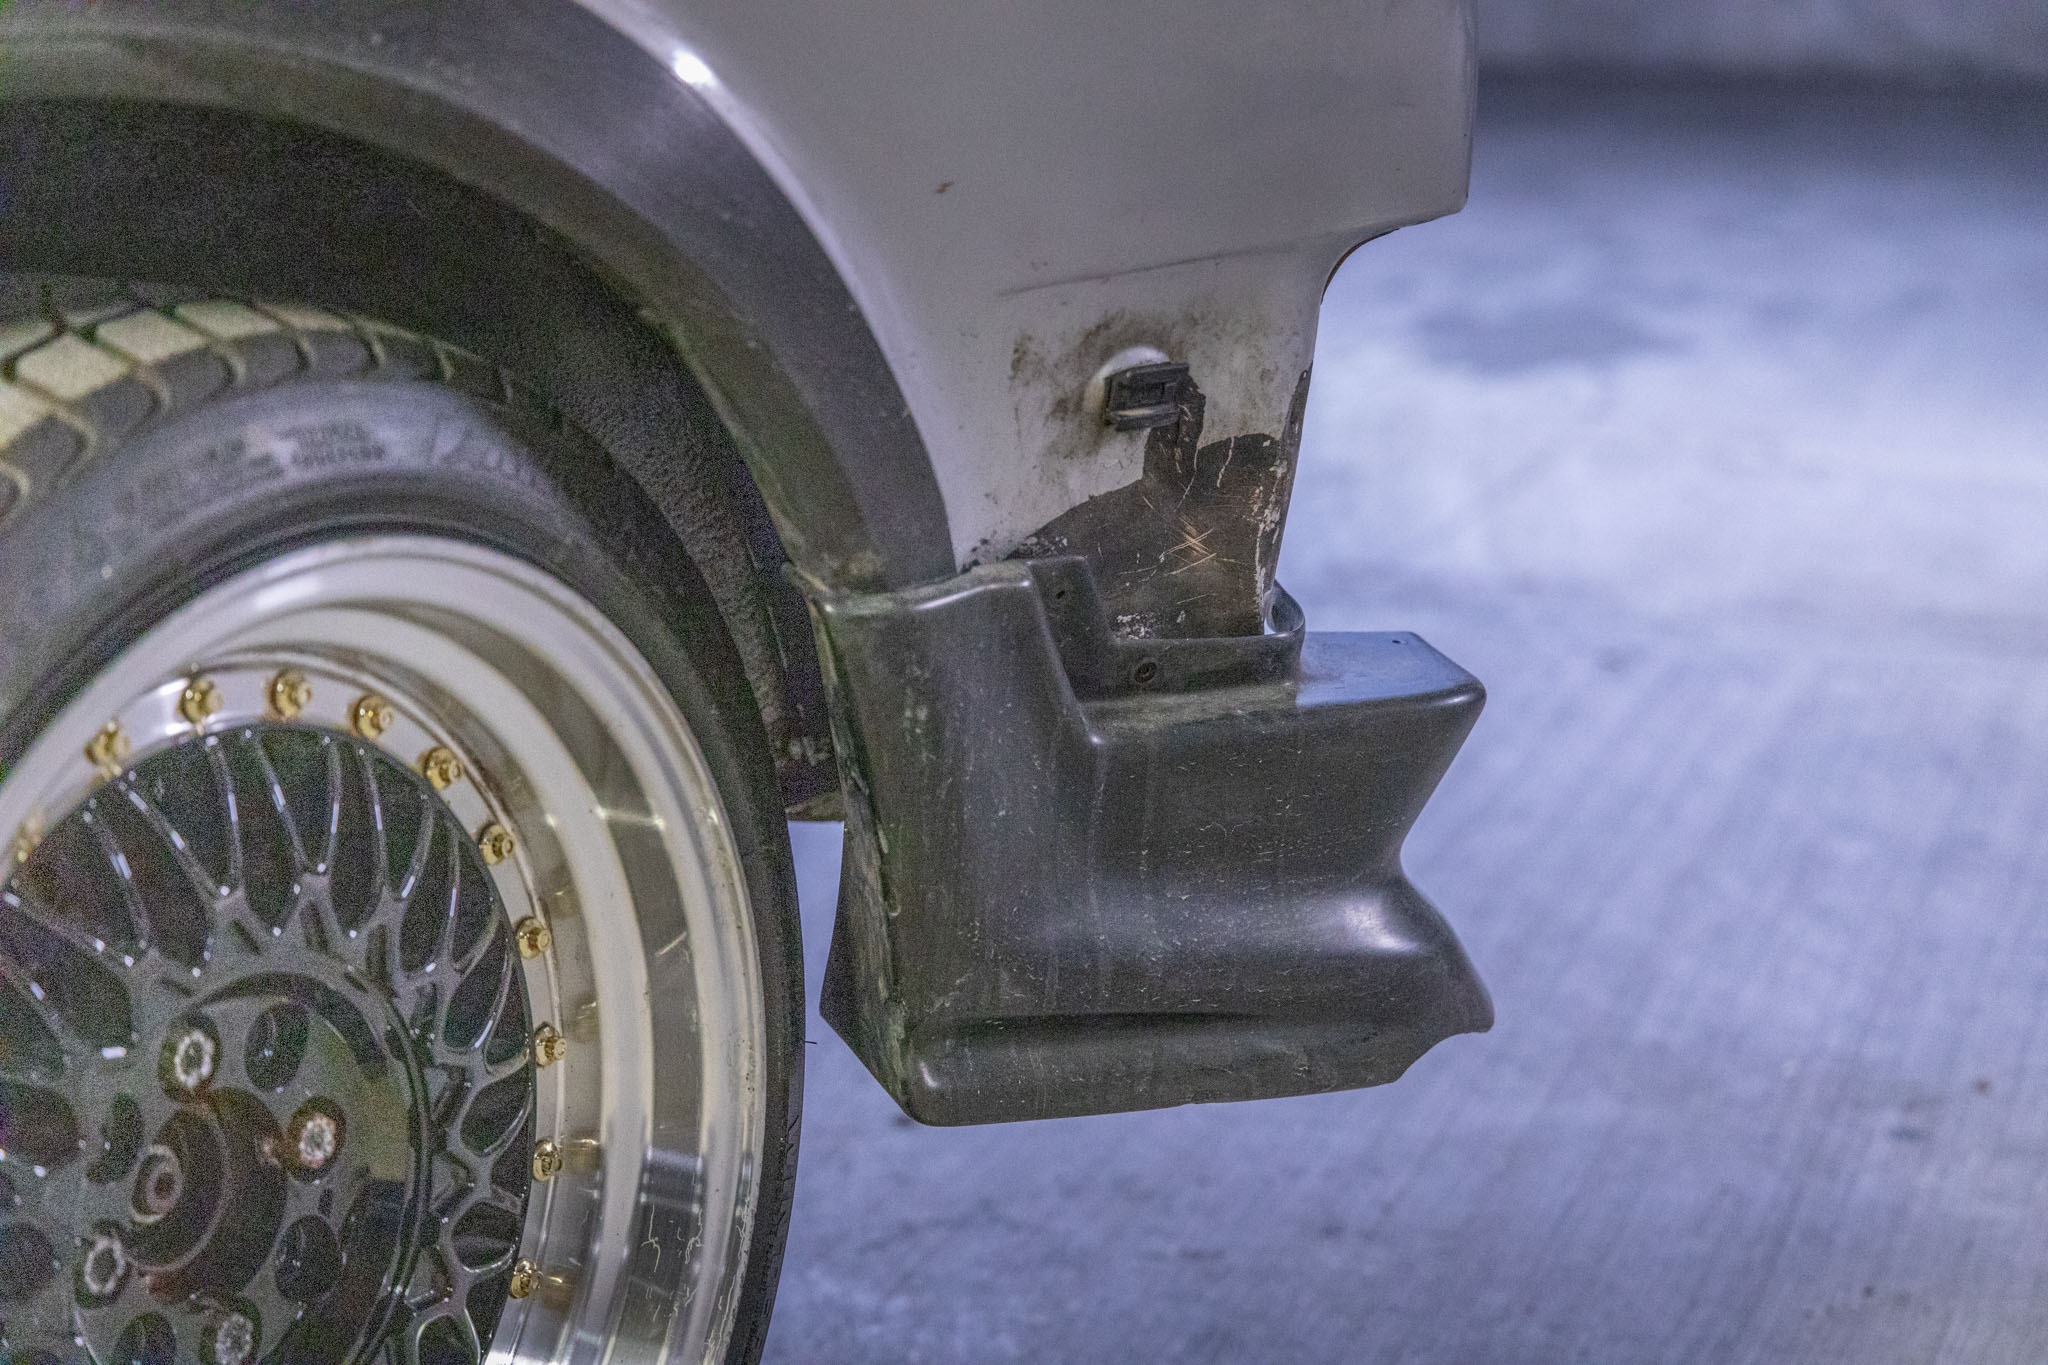
I know there are certain things that I want to do (I’ve never liked the front wheel arch gap, god knows what’s going on there) but I do want to keep her fairly ‘original’. Dealing with the rust is the next big step and she may need to be sent away to have a few patches welded, but it looks like there may be life in the old girl yet!
So what would you do? Scrap her or save her? Leave a comment below with how you’d change her or even put some details about your own project!
Exposing the truth…
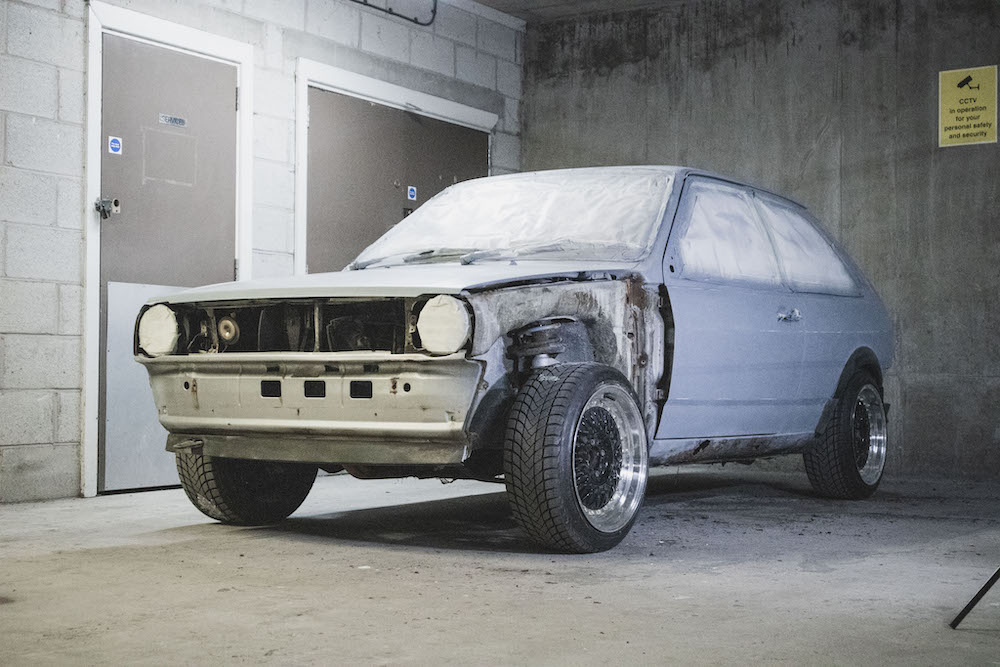
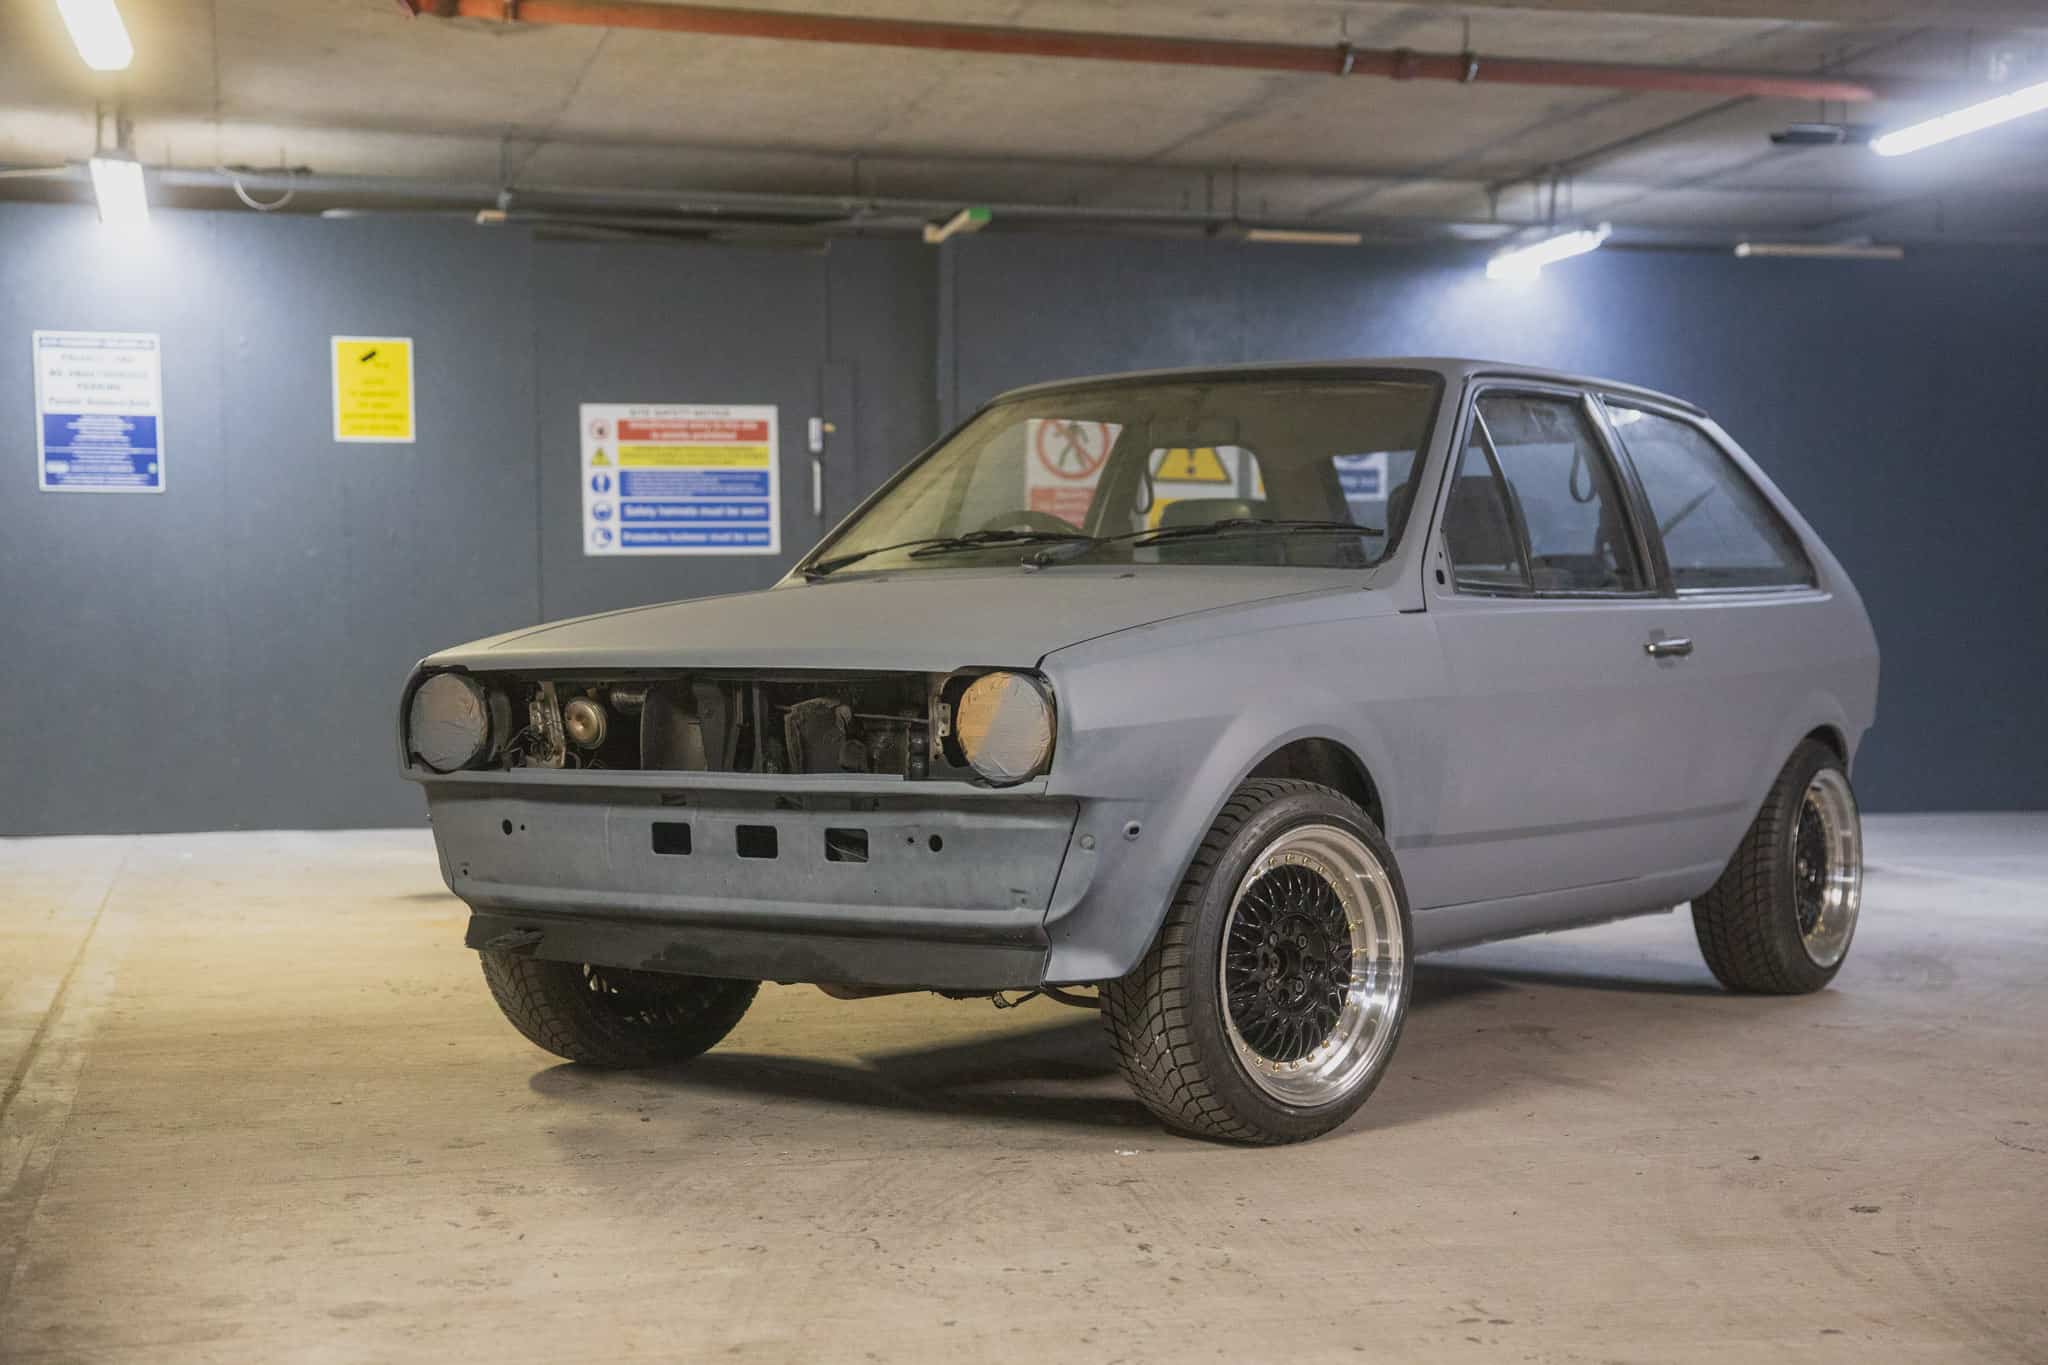
Fast forward to October 2019 and it’s time to get stuck into the project. With the old saying ‘Fail to plan, plan to fail’ ringing in my ears, I draw up a quick idea of how I want to approach the next phase of the refurb. It’s quite simple, strip the car, deal with the rust and the knocks and see where I go from there. Now I’m under any illusion that I have anything less than a few months work in terms of getting the bodywork straight. However, the major concern is obviously ‘rust’ – that could ruin everything, literally!
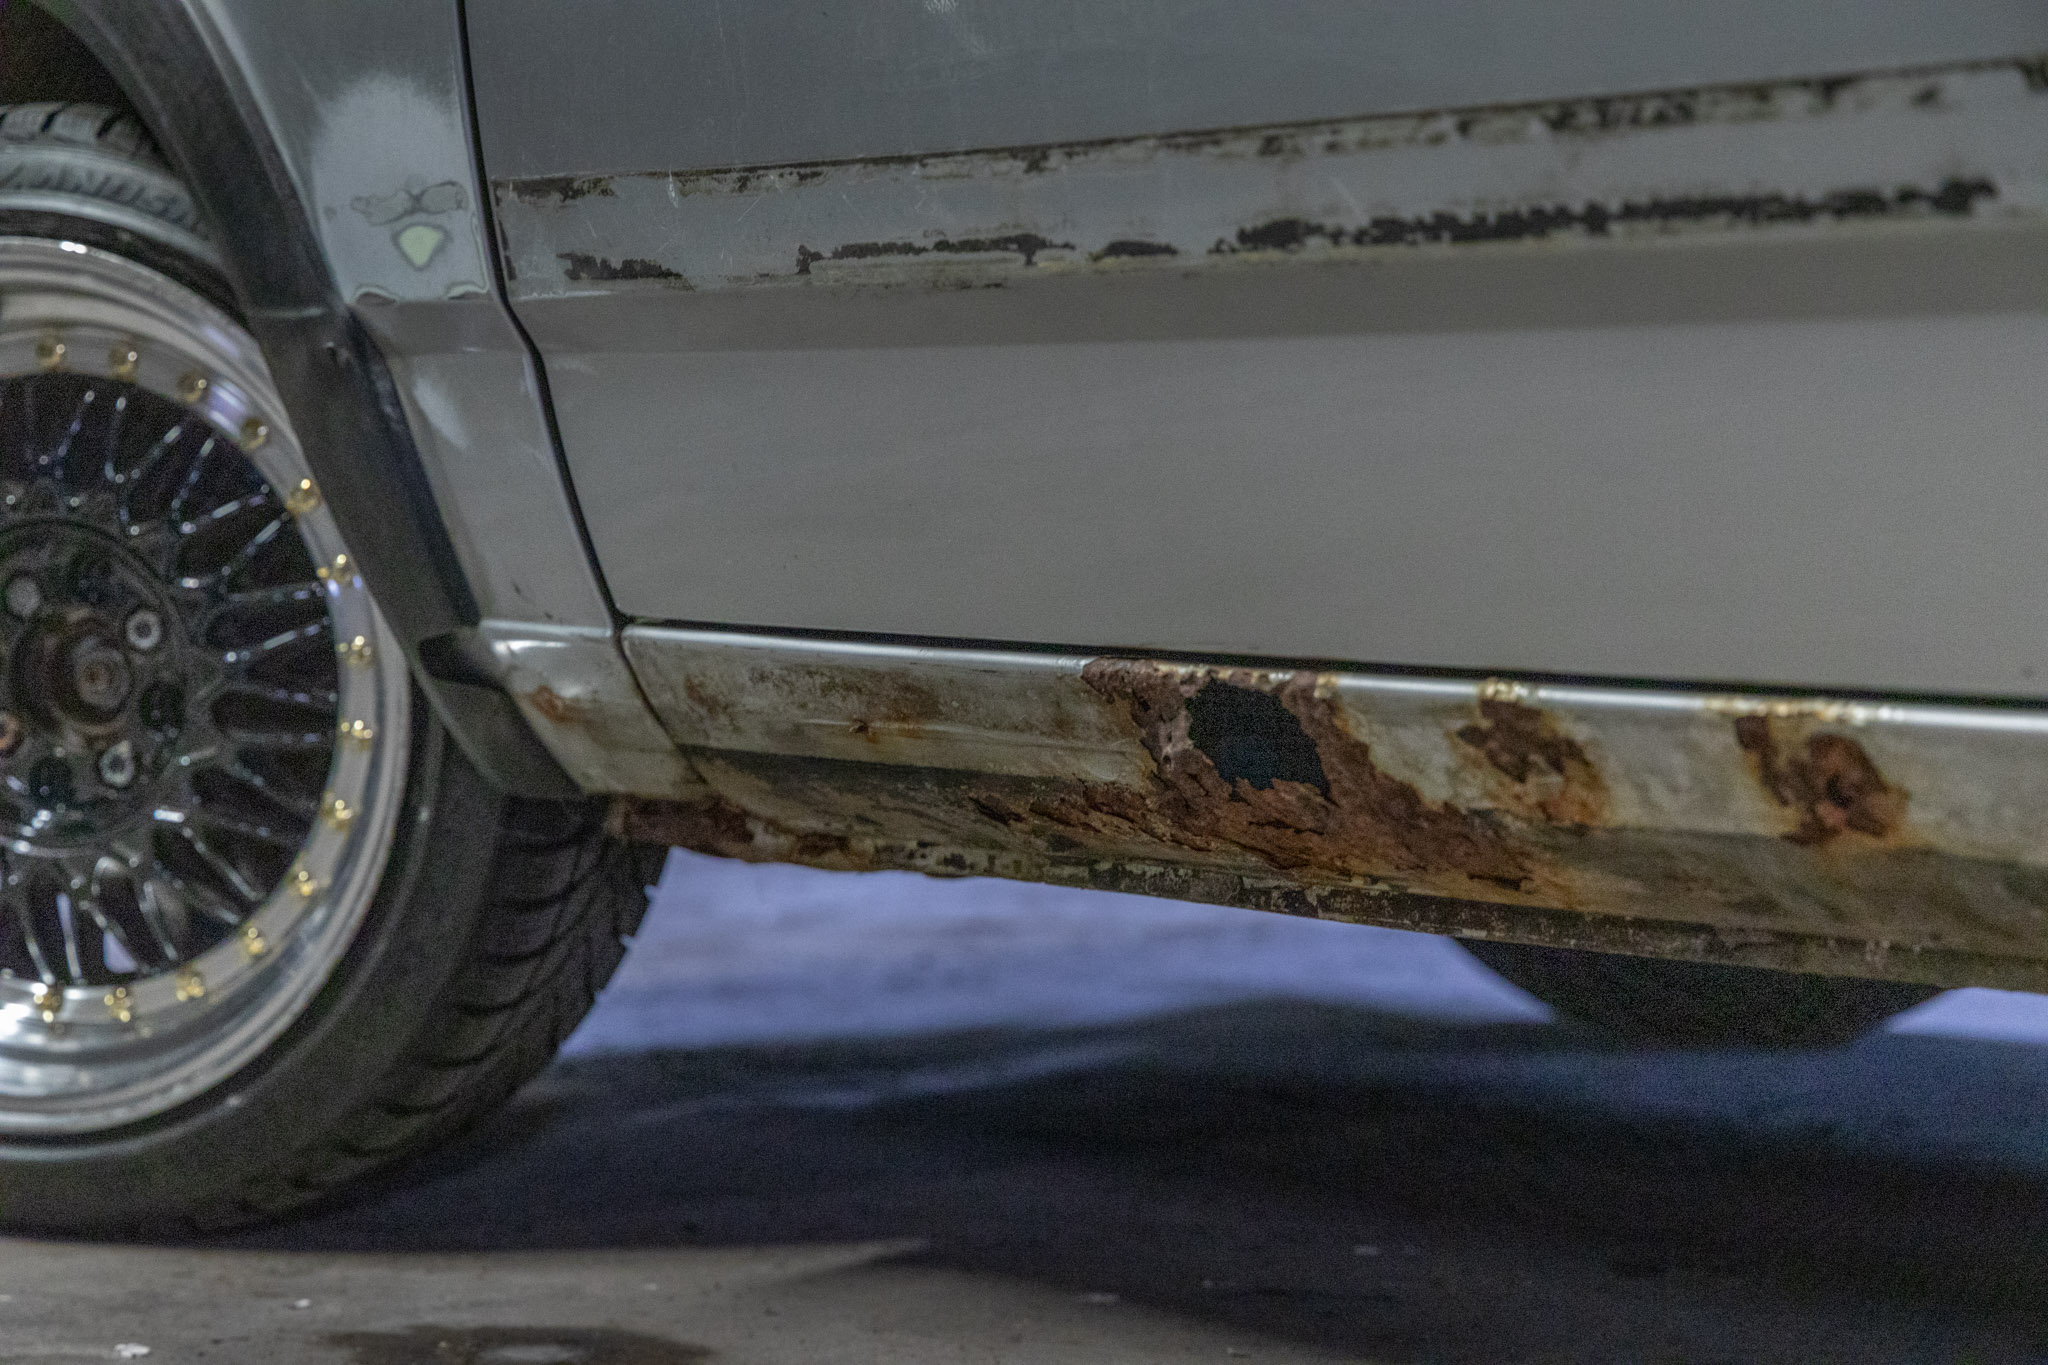
As I start to remove the very rare and delicate body kit, ensuring that I don’t break any of the near-impossible to replace parts, I am relieved to see that actually, the bodywork isn’t too bad. One sill is pretty bad and could potentially need patching or entirely replacing. Apart from a few bits here & there, it’s really not too bad – which comes as a massive relief.
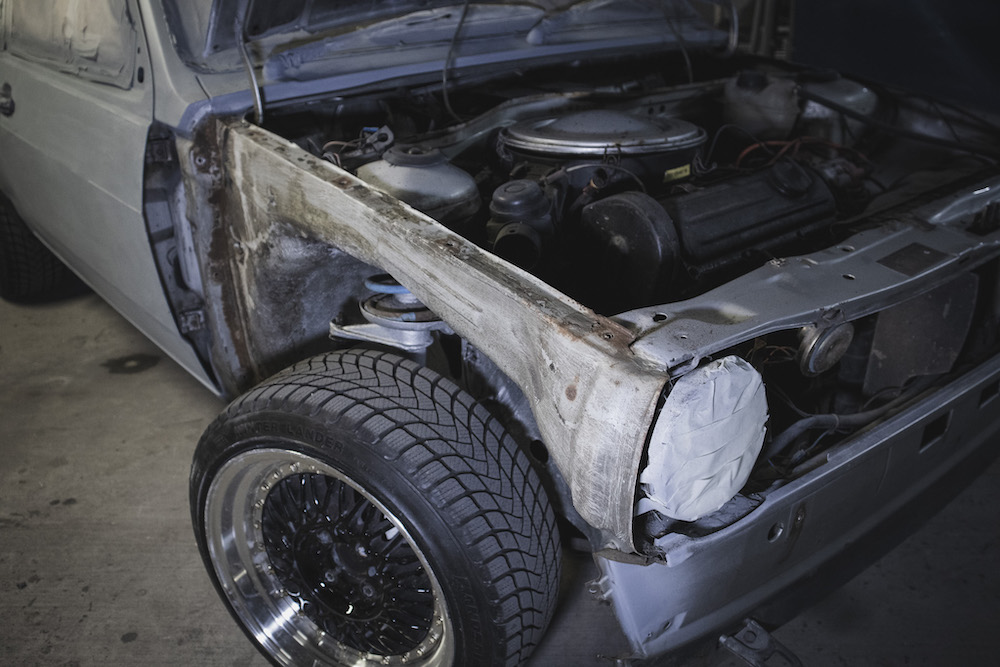
On further inspection of the bodywork, there are quite a few knocks and bumps that should be easily enough fixed. One major concern is the front driver-side wing which has clearly had a bump and may not bend out – but if that’s the worst of it, it’s not a bad result. So with that in mind, I was quite happy to get started on the epic task of sanding the bodywork down, starting with the roof.
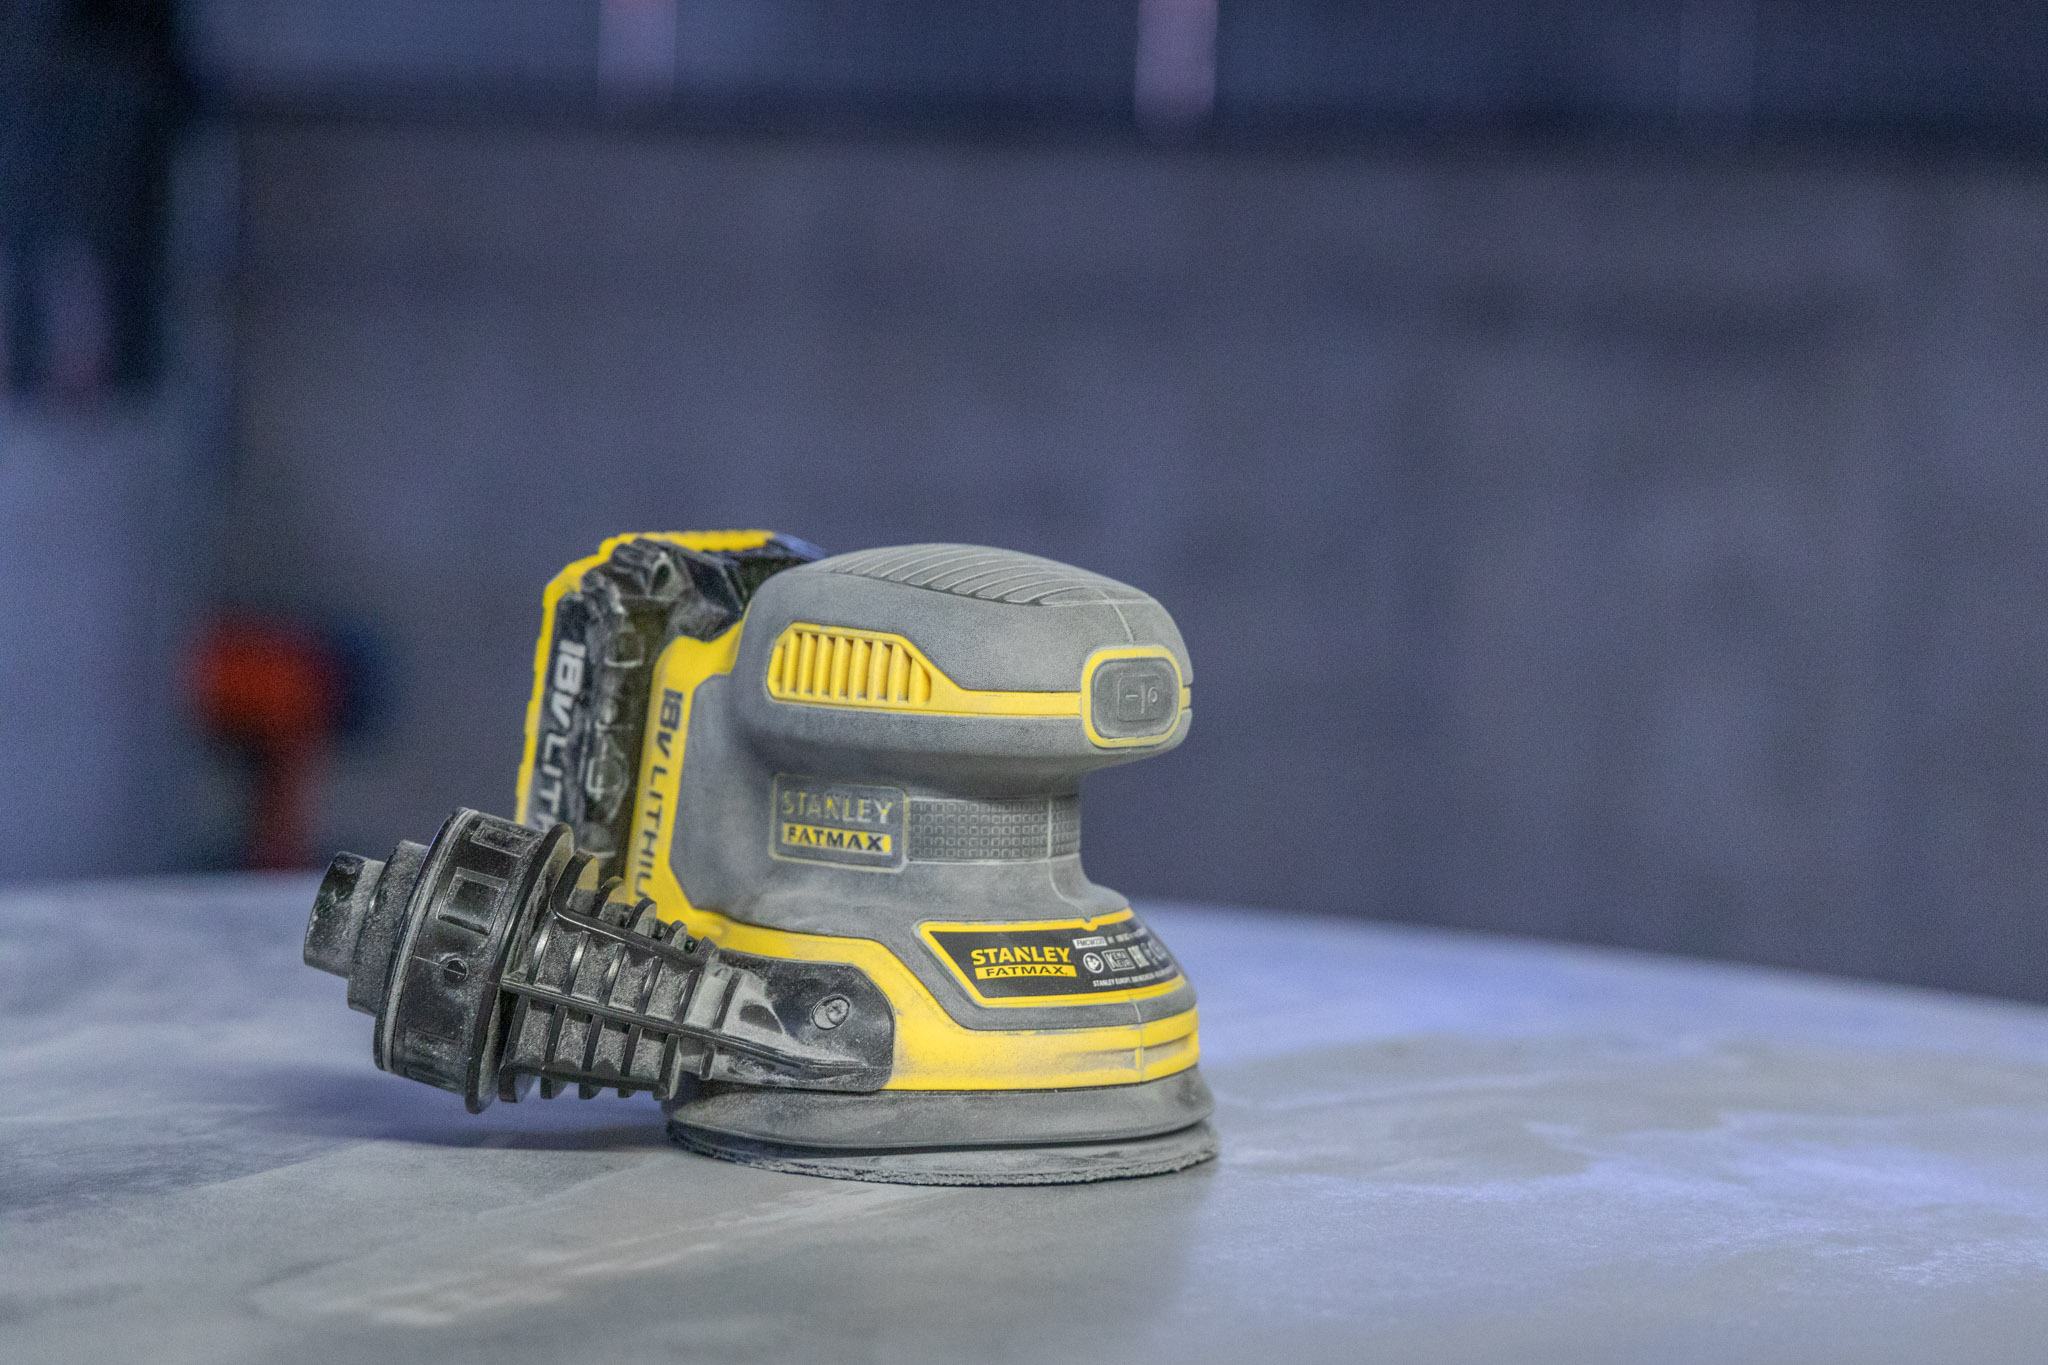
Right tool for the job
It’s fair to say that I don’t have a lot of budget so being careful where I spend money is an absolute ‘must’. However, one minor essential indulgence was investing in a good quality orbital sander. I ended up going for the Stanley ‘FatMax’ and a variety of sanding pads. These things just chews through the work and as the space that I am working in does not have a power socket, the long-lasting battery is a lifesaver! It’s fair to say that me and ‘Stanley’ will be very good friends over the next few months, so having a great quality, reliable tool will certainly make life easier.
The clear coat on the roof had failed many years ago and where the car has previously been stored, it had ended up with tree sap resting on the exposing paint and basically hardening onto the bodywork. It was fairly easily chipped off but the remainder did take a lot of sanding. It soon became clear that if the roof was an indication of how long each panel was going to take to repair, then I’d be looking at at least 40-50 hours on the body work alone – it will remain to be seen if that is anywhere near accurate!
Feeling rusty…
As much as I’m itching to get the bodywork stripped and start getting the car primed – I still have the giant hurdle of identifying and fixing all of the rust issues. Ironically, it is the big, gaping holes that concern me less than the little patches hidden away under window rubbers etc. One thing is for sure, to save even more effort in the future, sorting the rust now is essential. For now though, it’s back to sanding, filling and yet more sanding…
Are you religious? You’re certainly holy…
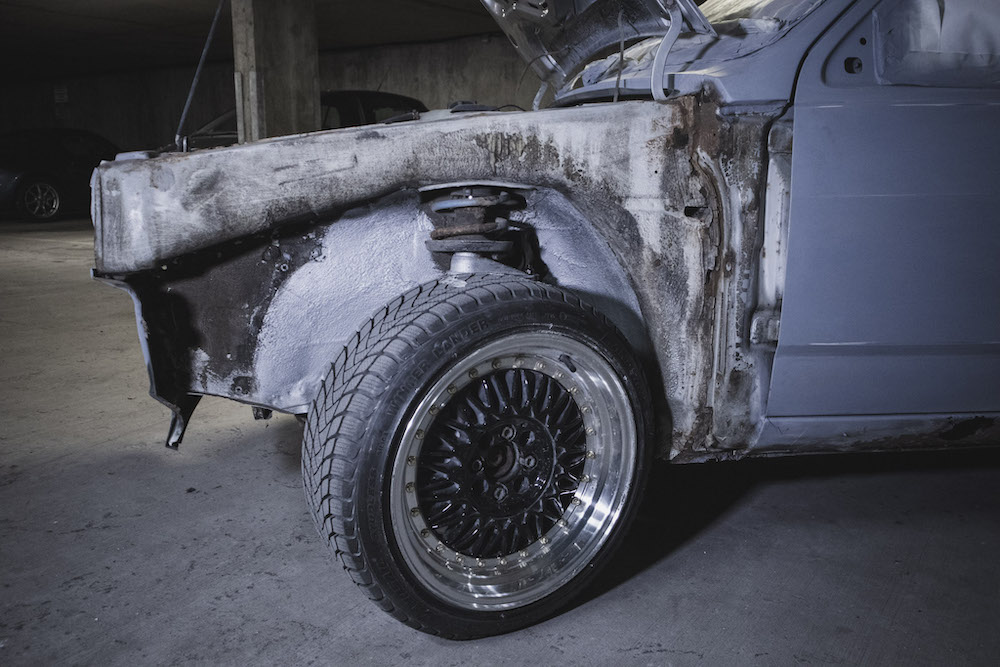
As the stripping picked up pace, the car has started to release it’s dirty little secrets and and there are rust spots and holes appearing all over the place. As expected, the real horrors lay below the surface and the sills are completely rotten but there are also some pretty nasty holes below the spare wheel and also up inside the wheel arches. A common area for Polo’s to go all ‘Swiss Cheese’ is the battery tray, and good as gold, mine has gone too.
With the fear of the car being held together with more rust than metal, I decided to start peeling away some of the layers to reveal the extent of the problem. I started with the interior, as if the battery tray is leaking, there stands a good chance that water has dribbled down and collected in the drivers footwell – again, ‘Polo issues’.
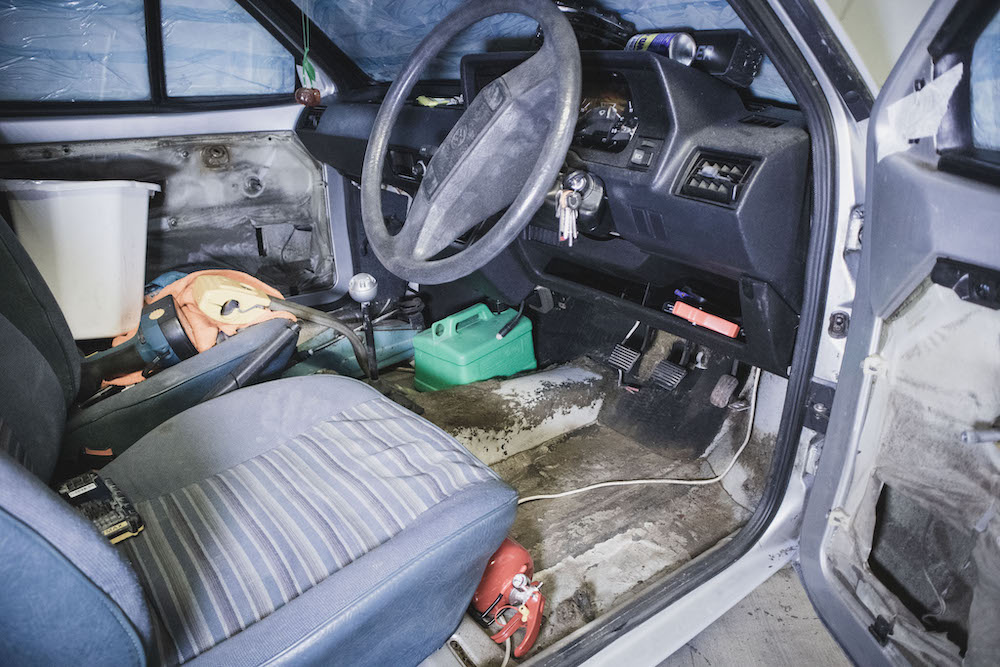
After stripping out the front carpets, I was pleasantly surprised to find that the footwell was actually in pretty decent condition. That being said, the rubber lining had perished and that is just one of a thousand other little jobs that will need doing ‘at some point’.
More body parts than Frankenstein…
As the areas that needed replacing started adding up, I decided to take the plunge and replace rather than repair. After many hours of Googling and forum trawling, I found a reputable dealer of old VW parts and placed my order – VW Heritage had everything I need in one place and I was genuinely pleased with how quickly the items turned up. In fact, they were so quick that I hadn’t even thought about how they were going to be stuck to the car – I can use hot glue right??
In truth, I need a welder next so the car will be going off to be done properly. This is great, but paying to have a car shuttled around is always quite painful. So with this in mind, my thoughts turned to ‘what else needs doing?’ and one of the big things is actually getting her running again. The car was previously MOT’d but with the car not have run in over twelve months, it’s undoubtedly going to mean the engine will need some love. Call in Pete the mechanic!!
Fail to Plan and Plan to do stuff to the Polo…
So as we head towards the middle of November and the car is reaching a tipping point, thoughts can start to turn to some of the ‘nice to haves’. Whilst I arrange for the welding and engine to be tinkered with, I may as well kill as many birds as possible with one ‘Pete the mechanic’ shaped stone! With the front panels off, it makes sense to do as much ‘protecting’ of the chassis, engine bay and anything else I can reach while I’m at it! So bring out the wire brush, the Kurust and the Bilt Hamber and let’s have some fun!! Maybe…
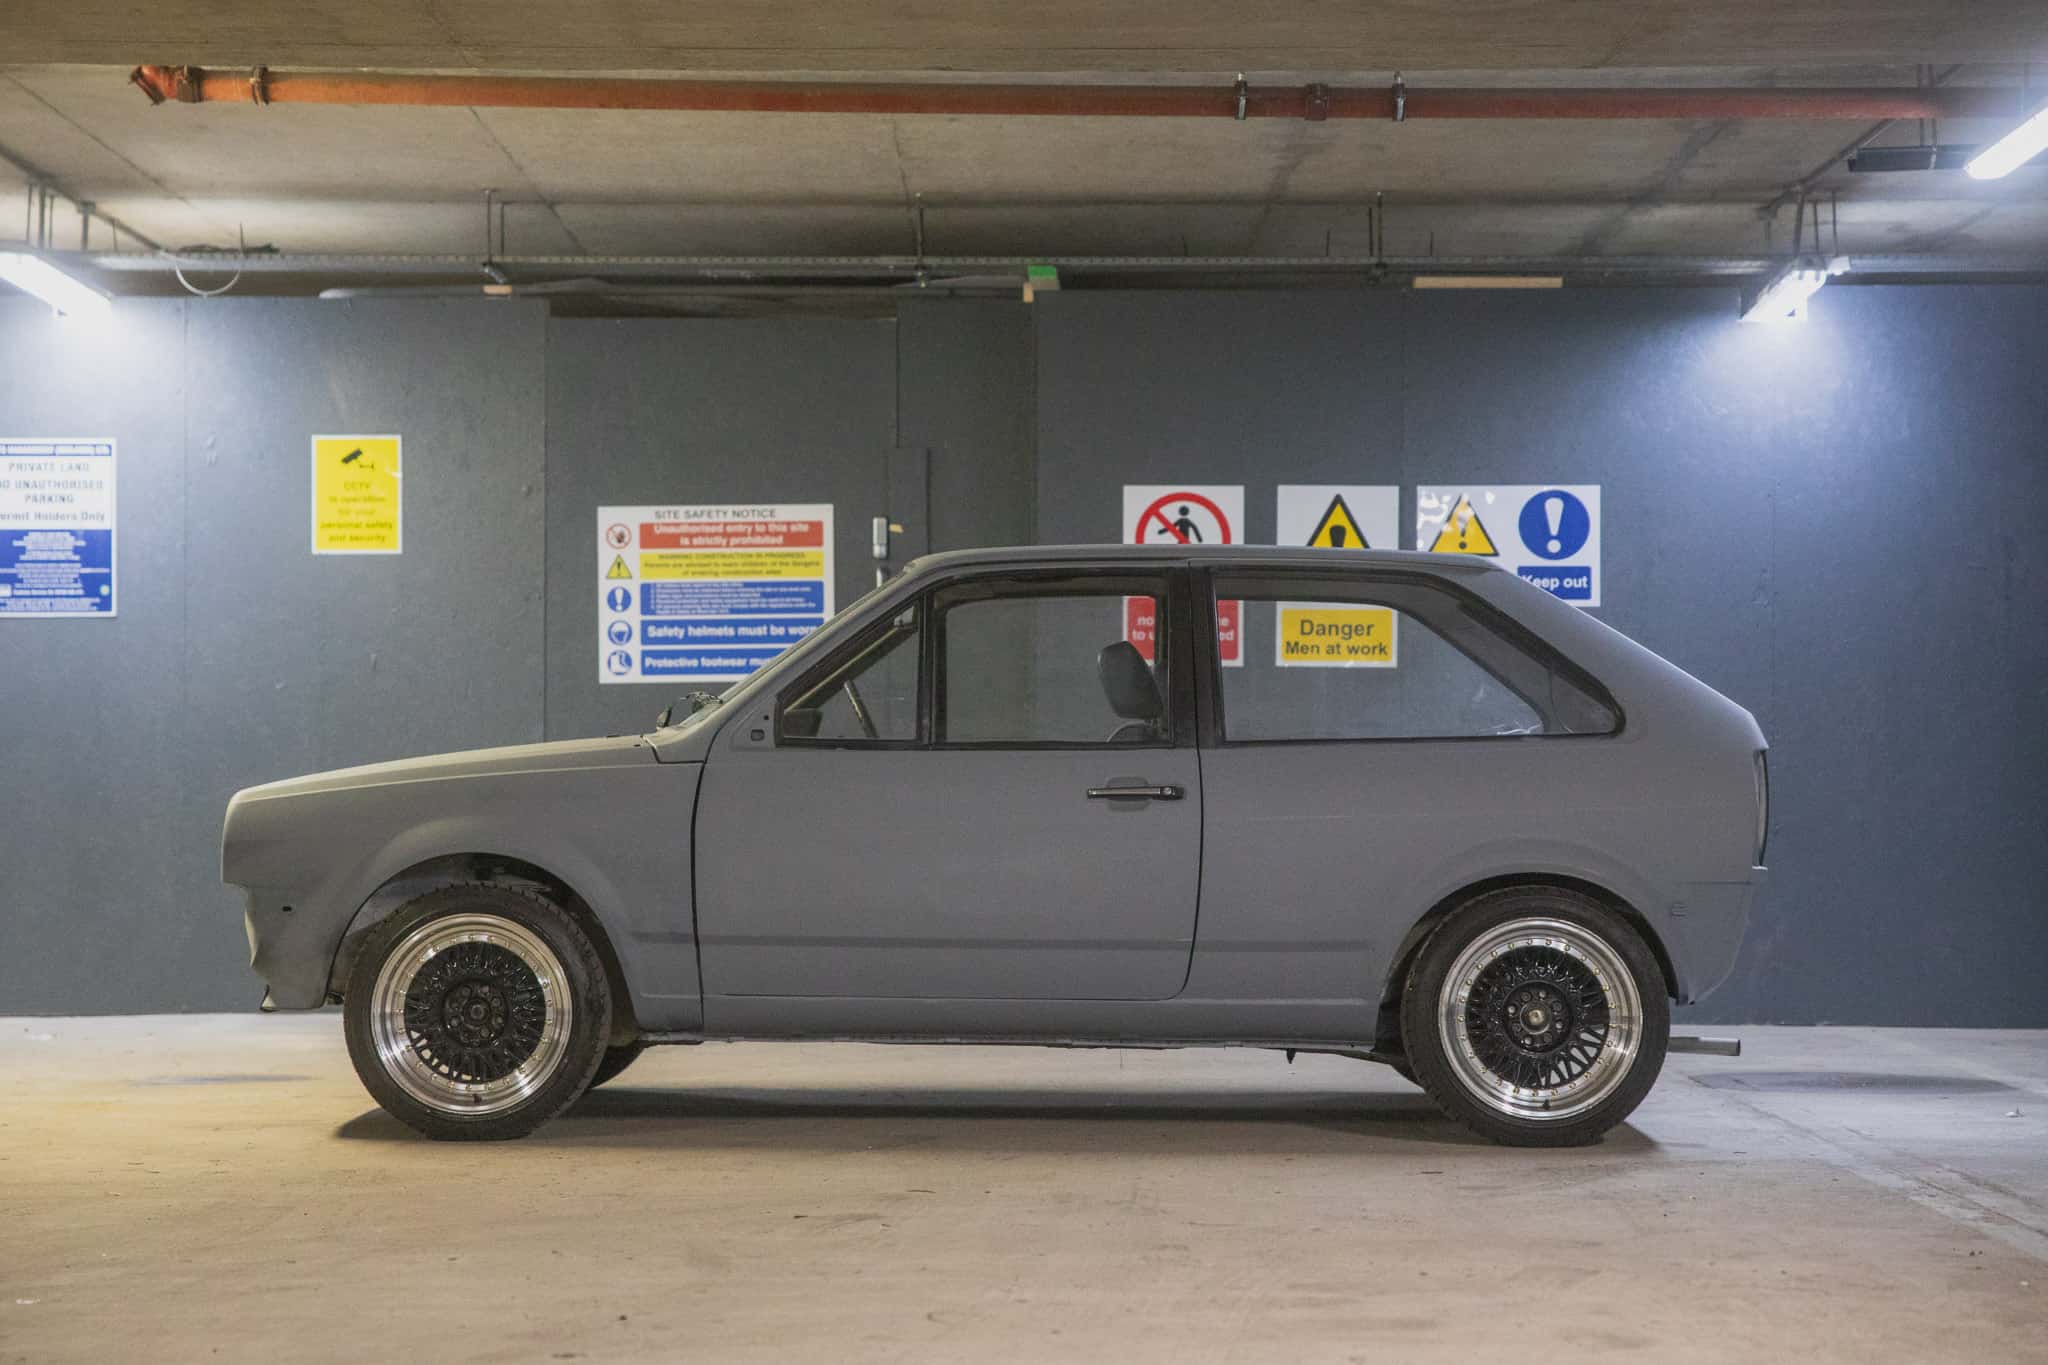
One final ‘extravagance’ whilst the car is in the garage will be finally sorting out my biggest bugbear with the car, the ride height! As much as I would love to be ‘bagging’ the Polo, I quite simply don’t have the money. Therefore, a great alternative is lowering springs and as I want some flexibility with ride height (we haven’t even got on to wheels and tyres yet!) adjustable coilovers seem like the best ‘bang for the buck’ option. So back to the internet for more researching!
So as everybody else’s year starts to wind down towards Christmas, work on the Polo will pick up pace and hopefully, by Christmas, Santa (or Pete the mechanic) may be dropping off a running, hole free Polo!
The season of giving… The Polo some love…
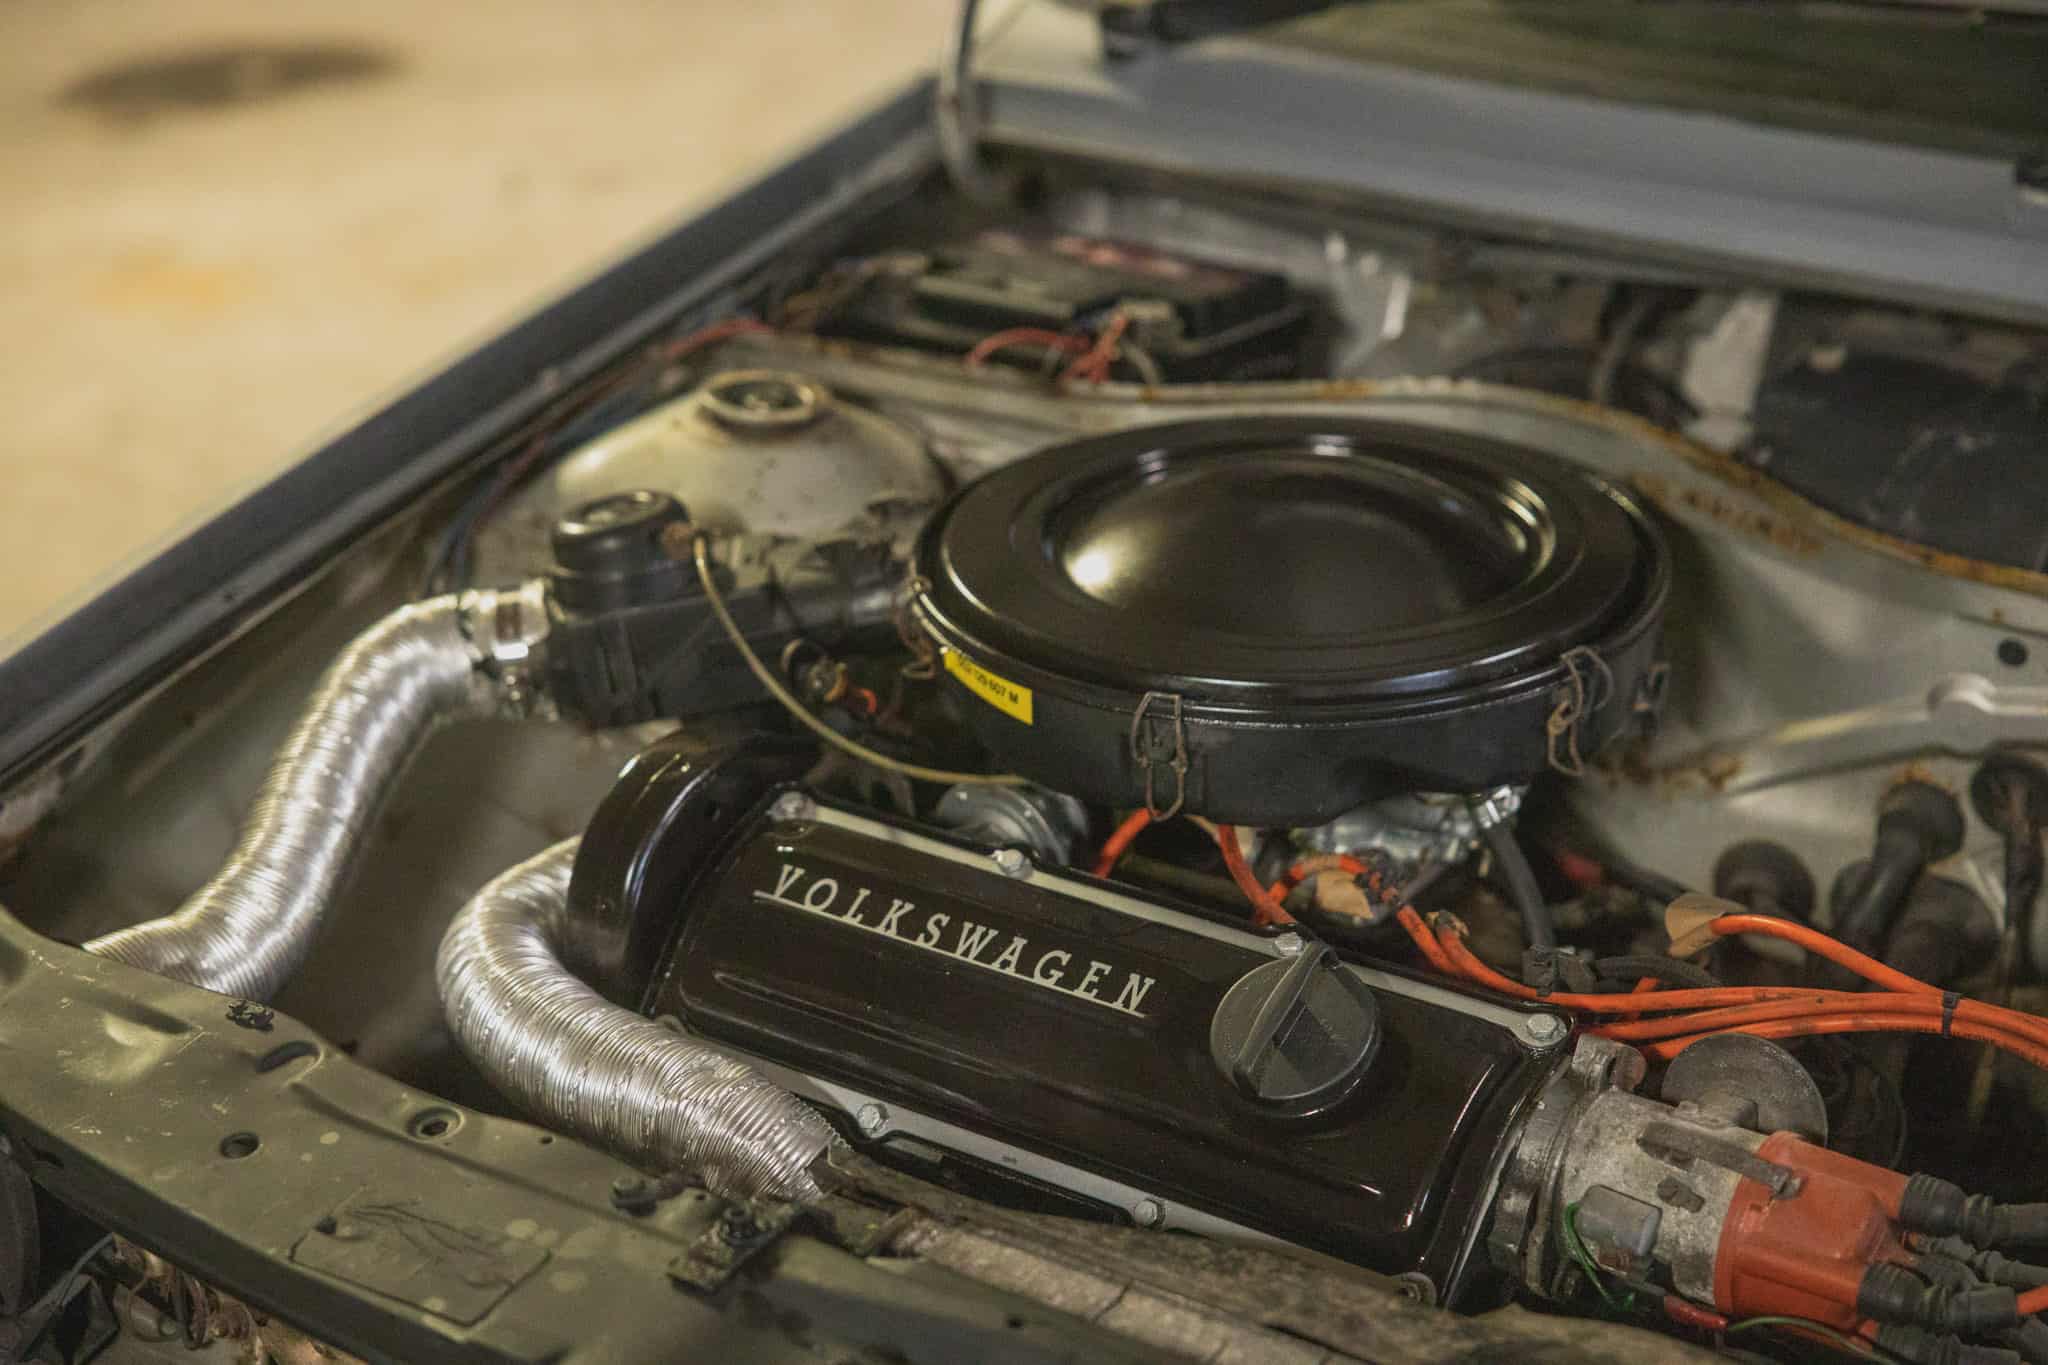
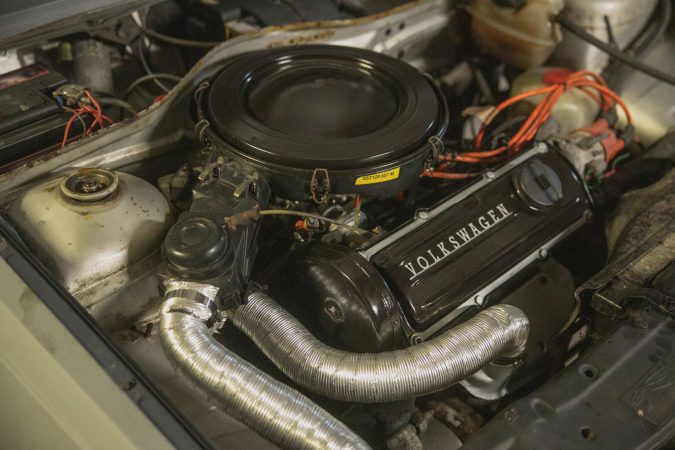
So, over the Christmas period, work has continued on the Polo. The main areas that received a bit of love were work on the body work and finally giving the engine a bit of a tidy up. Although the engine will probably be overhauled at some point, I’m a big believer that if you show things a bit of interest, they tend to work better – well that was the plan but it seems I’ve opened a can of worms!
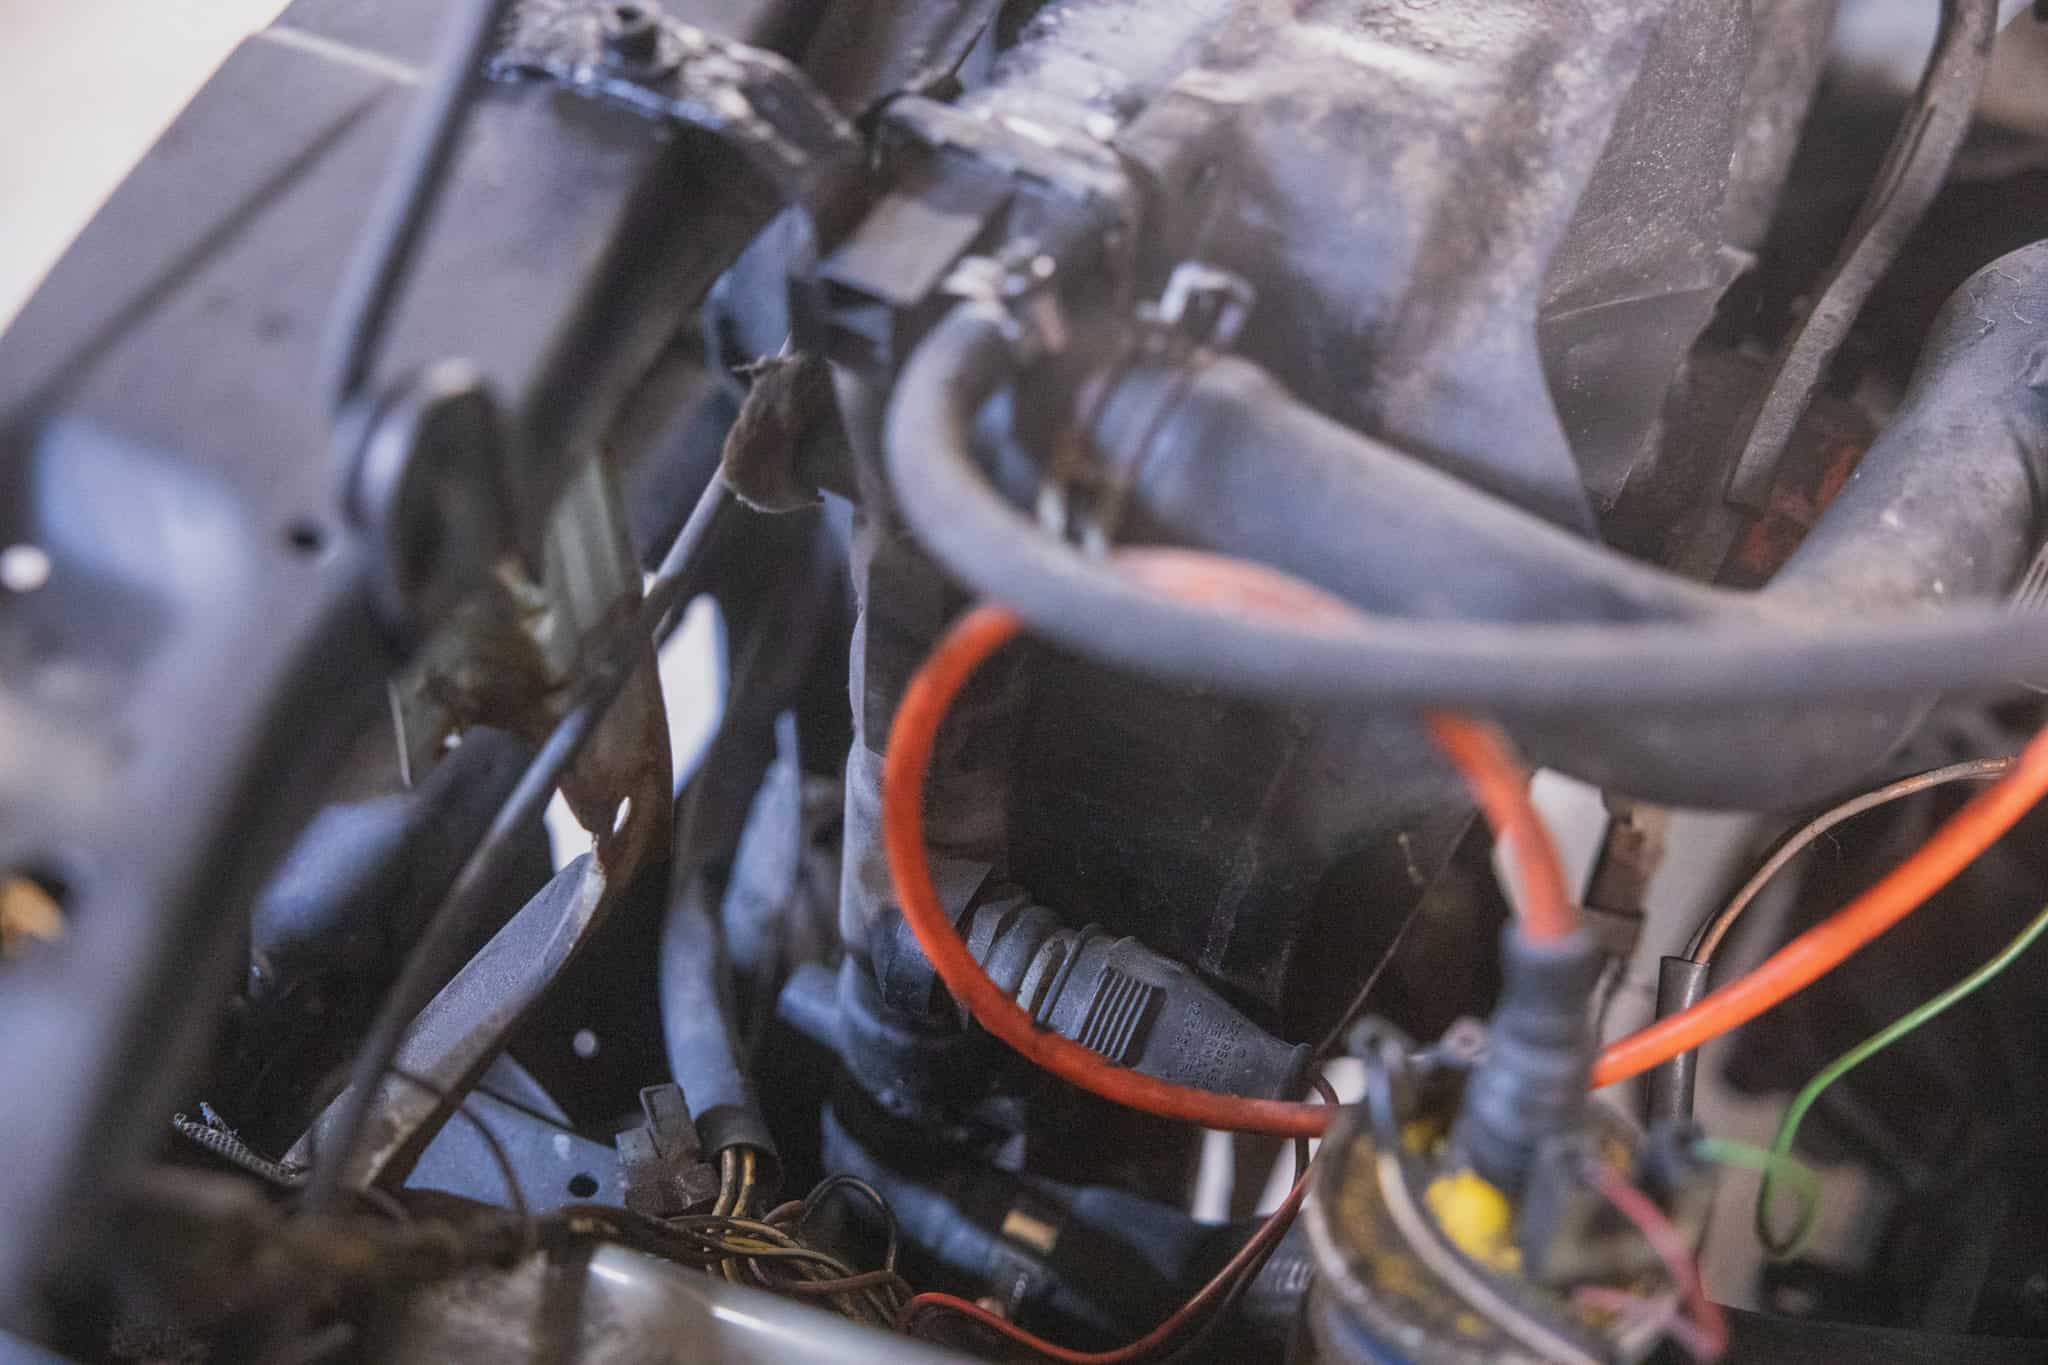
The first thing I did was change the fluids. The coolant system hasn’t been run in nearly 15 years so it was inevitable that what came out was well, pretty grim. After flushing through with around 30 litres of purified water, I then topped it up with Antifreeze, knowing full well that it would be changed again soon. However, whilst doing so, I noticed that all of the coolant hoses had solidified on the inside, a sure-fire sign of gunk and maybe even rust in the system!
On running the engine, I spotted that coolant was leaking and steam was coming from the radiator. The likelihood is that it is cracked somewhere but judging by the rust, it’s safer just to replace – so a new one has been ordered! The hoses will also need replacing while I’m at it. My approach is pretty much if something comes off the car, it either gets repaired or renewed so the old crusty hoses will go!
The engine itself isn’t running too bad but the next thing will be an oil & oil filter change to make sure all the crucial internals are protected. However, a common fault with Polo’s of this age is eventually, the head gasket is going to go! So, I’m fully expecting this particular gruesome headache at some point! However, thoughts could finally turn to tidying up the bay a bit so it got a new heatshield, which along with the air filter cover, rocker cover, and timing belt housing all got a lick of paint! Whilst apart, the spark plugs also got changed to period correct plugs.
New Year, New Body…
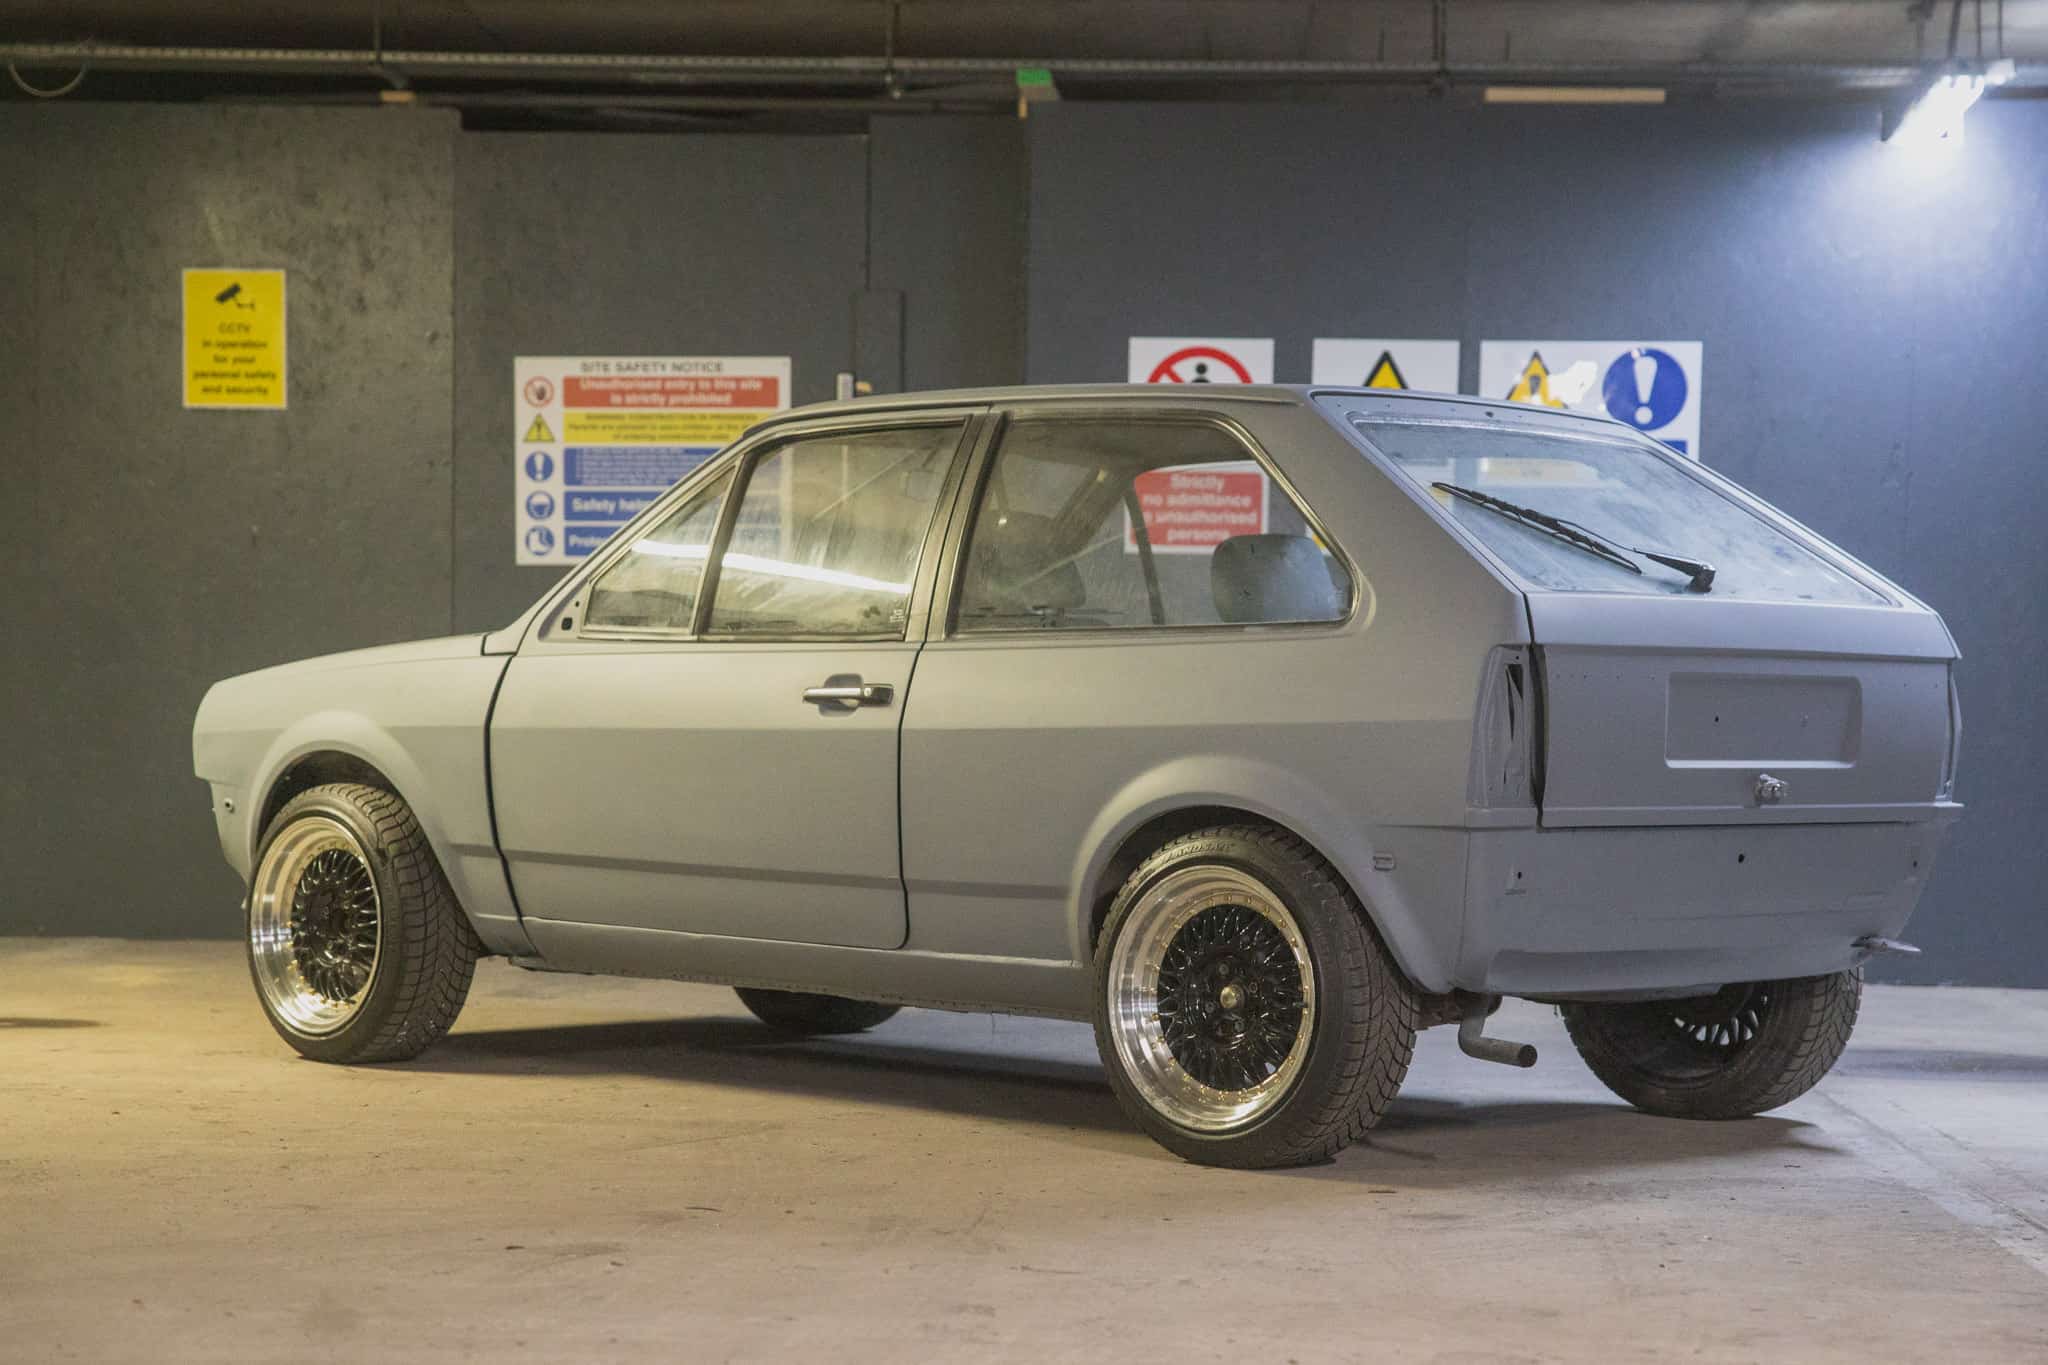
The other big action over the Christmas period was the continued work on the body. The front wings have now been replaced and although they will need to come off again, it’s nice to see the car looking like, well, a car again… The rear drivers side wheel arch is also proving to be a pain.
It had quite a nasty dent that even though it had been pulled out, has taken substantial filling. In hindsight, it may have been easier to replace the panel while the welding was being done. However, things are rarely that easier and I’ve committed to a life of sanding and filling…
The weekly routing of filling, sanding and priming continued whilst everyone else munched on Turkey and a good coat of Etch-primer went down.
The next steps for the body work will be to continue the filling but it’s getting close to moving away from the heavy grit to the more reasonable grits – a good sign that the bodywork is getting somewhere close – I can’t believe I’m actually looking forward to getting to the wet sanding stage!
What’s that on the Horizon…
With January rushing towards a close it’s a great opportunity to take stock and look at some of the big work that will happen over the next month or so. Firstly, the car will be prepared for a new suspension set-up. This is one of the most exciting parts of the build and I don’t want to say too much at this point, but to say that I’m looking forward to seeing the car sitting ‘pretty’ is an understatement. However, it’s all in the preparation so more on that soon.
Things will also start to move along on the interior strip out. The plan is to remove the seats, carpets etc. And start prepping the inside of the bodywork for painting. However, this will cause it’s own headaches as because of the car being stored in a communal car park, the car needs to stay secured and mobile – so the dashboard, window seals etc. Will all need to stay in place until the very last minute.

The big question mark over the car is what to do with the engine. Whereas I’d never planned on going down the replacement route – preferring the idea of keeping the car somewhat ‘stock’ – the growing list of potential issues means that the engine will need at least a refurb – but with finances being tight, this may be something that is looked at in a few months. For now though, there is plenty to crack-on with and even just skimming back over this article, it’s great to see how far the little car has come!
Don’t be a stranger…
We will keep you updated with the project over the Winter months but we’d also love to hear what you are working on – leave a comment below explaining what you are working on and what you plan to do and as always, feel free to share any tips, tricks or hacks that may help others (or me!) out.
This was my car back in 1985 – I can let you know a bit more history if you wish