I got the opportunity to spend some time at the Textar test track recently. This allowed me to get a proper understanding of all the Textar quality products, and learn about the correct brake-fitting component procedures.
Textar – Research and Development
We started off with a short tour of the site. This involved a bit of talk around the continual testing that goes into making some of the best braking components available. I got to see the cars used for the testing and some of the machinery that is used to analyse the discs and pads once they’ve been run on the test cars. It turns out a lot more goes into brake components than you think.
Replacing the Brakes
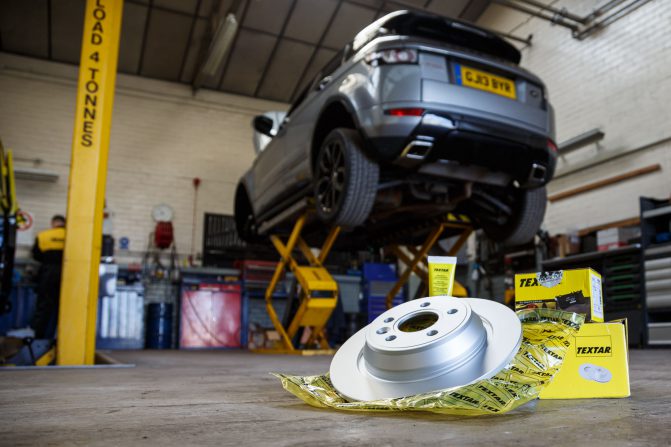
After that, we had the opportunity to replace the discs and pads on my Range Rover Evoque front and back. For background, I’m very much an amateur mechanic and have worked on cars for many years. However, being self-taught means you’re often unaware of the ‘official’ way of doing things.
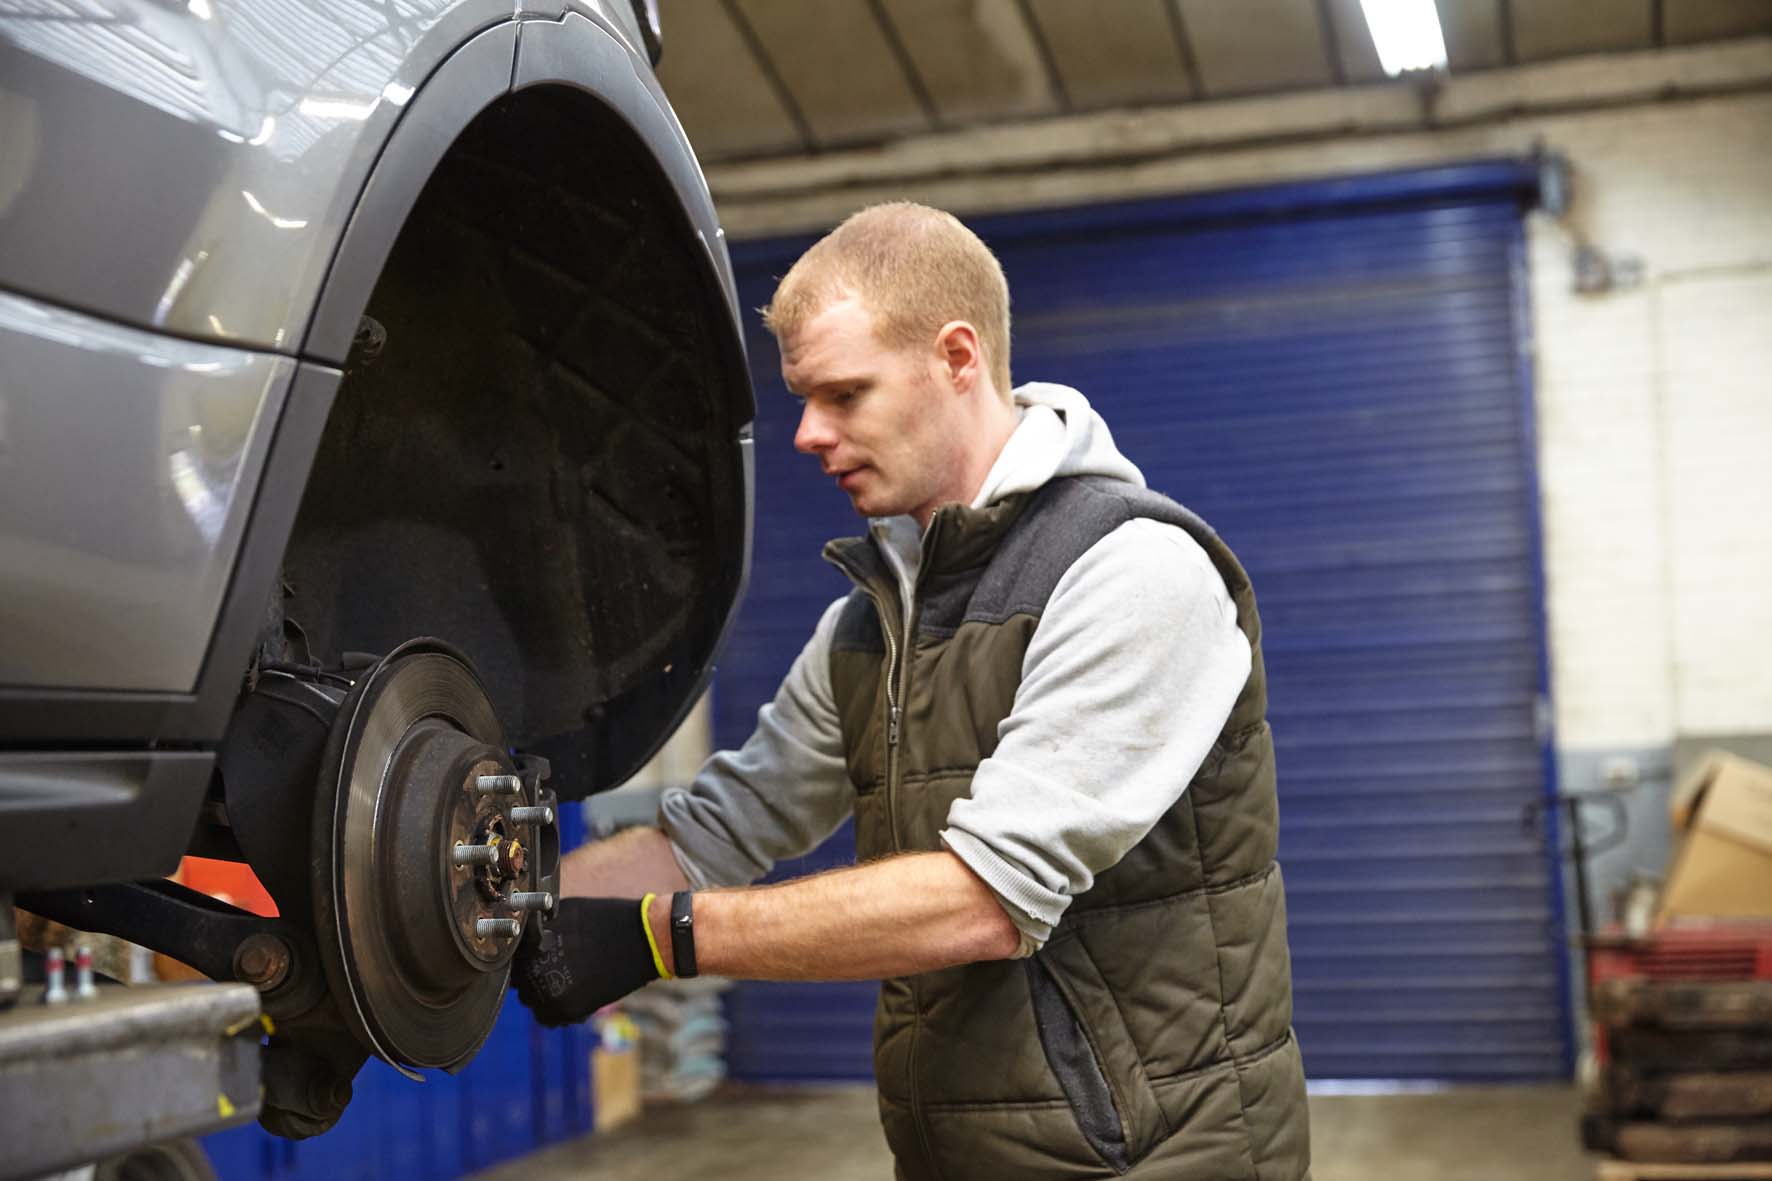
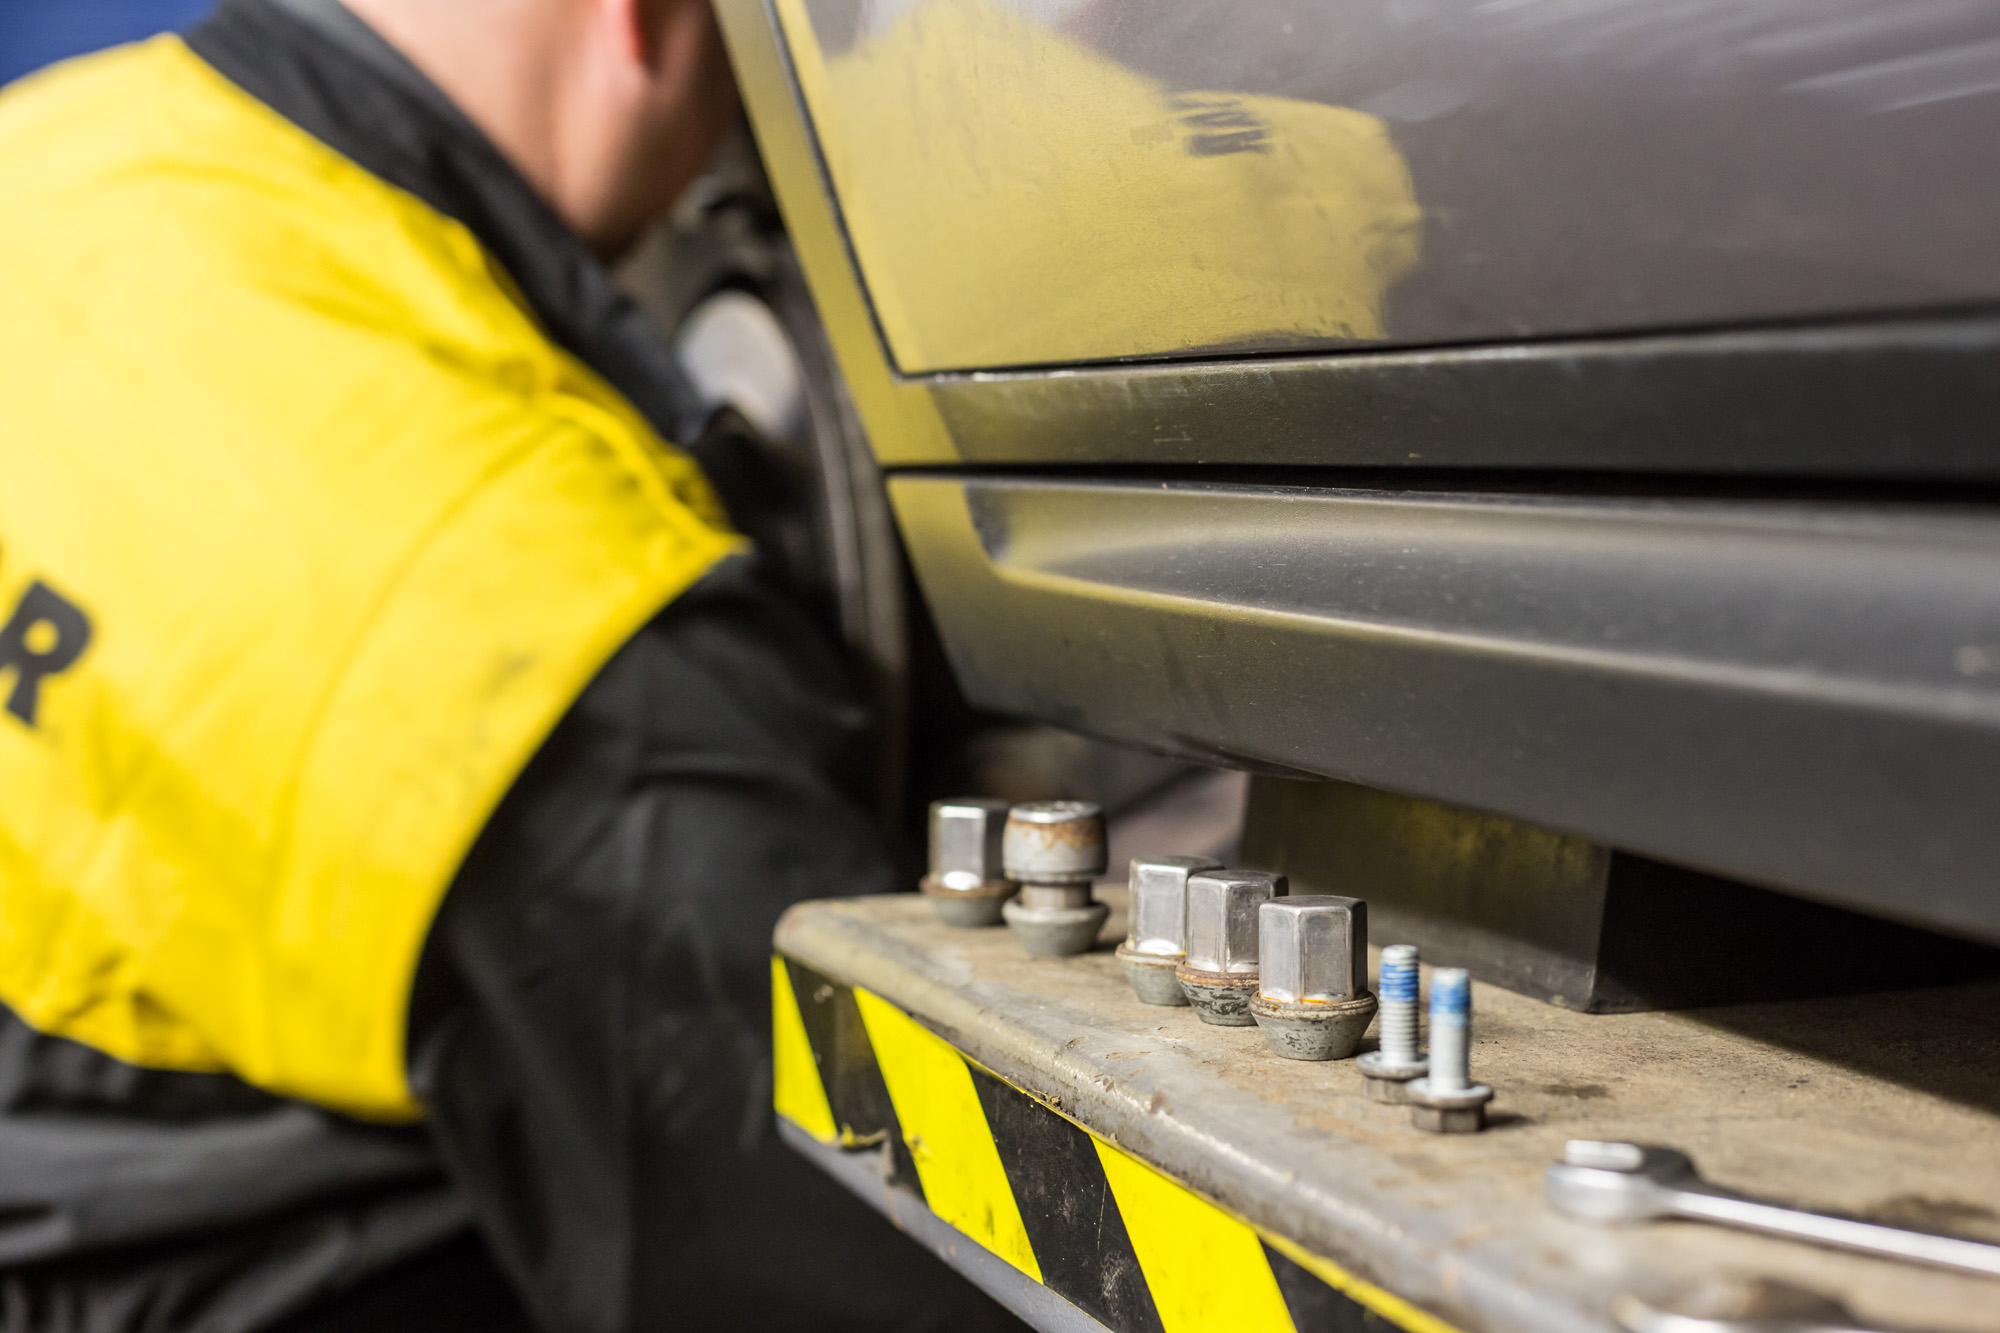
We jacked the car up, dropped off the wheels and took the cap off the brake fluid master cylinder. The brakes and associated components were inspected front and back for any obvious faults. It was clear it was about time to replace the brakes but there were no faults and concerns to report.

Starting at the Front
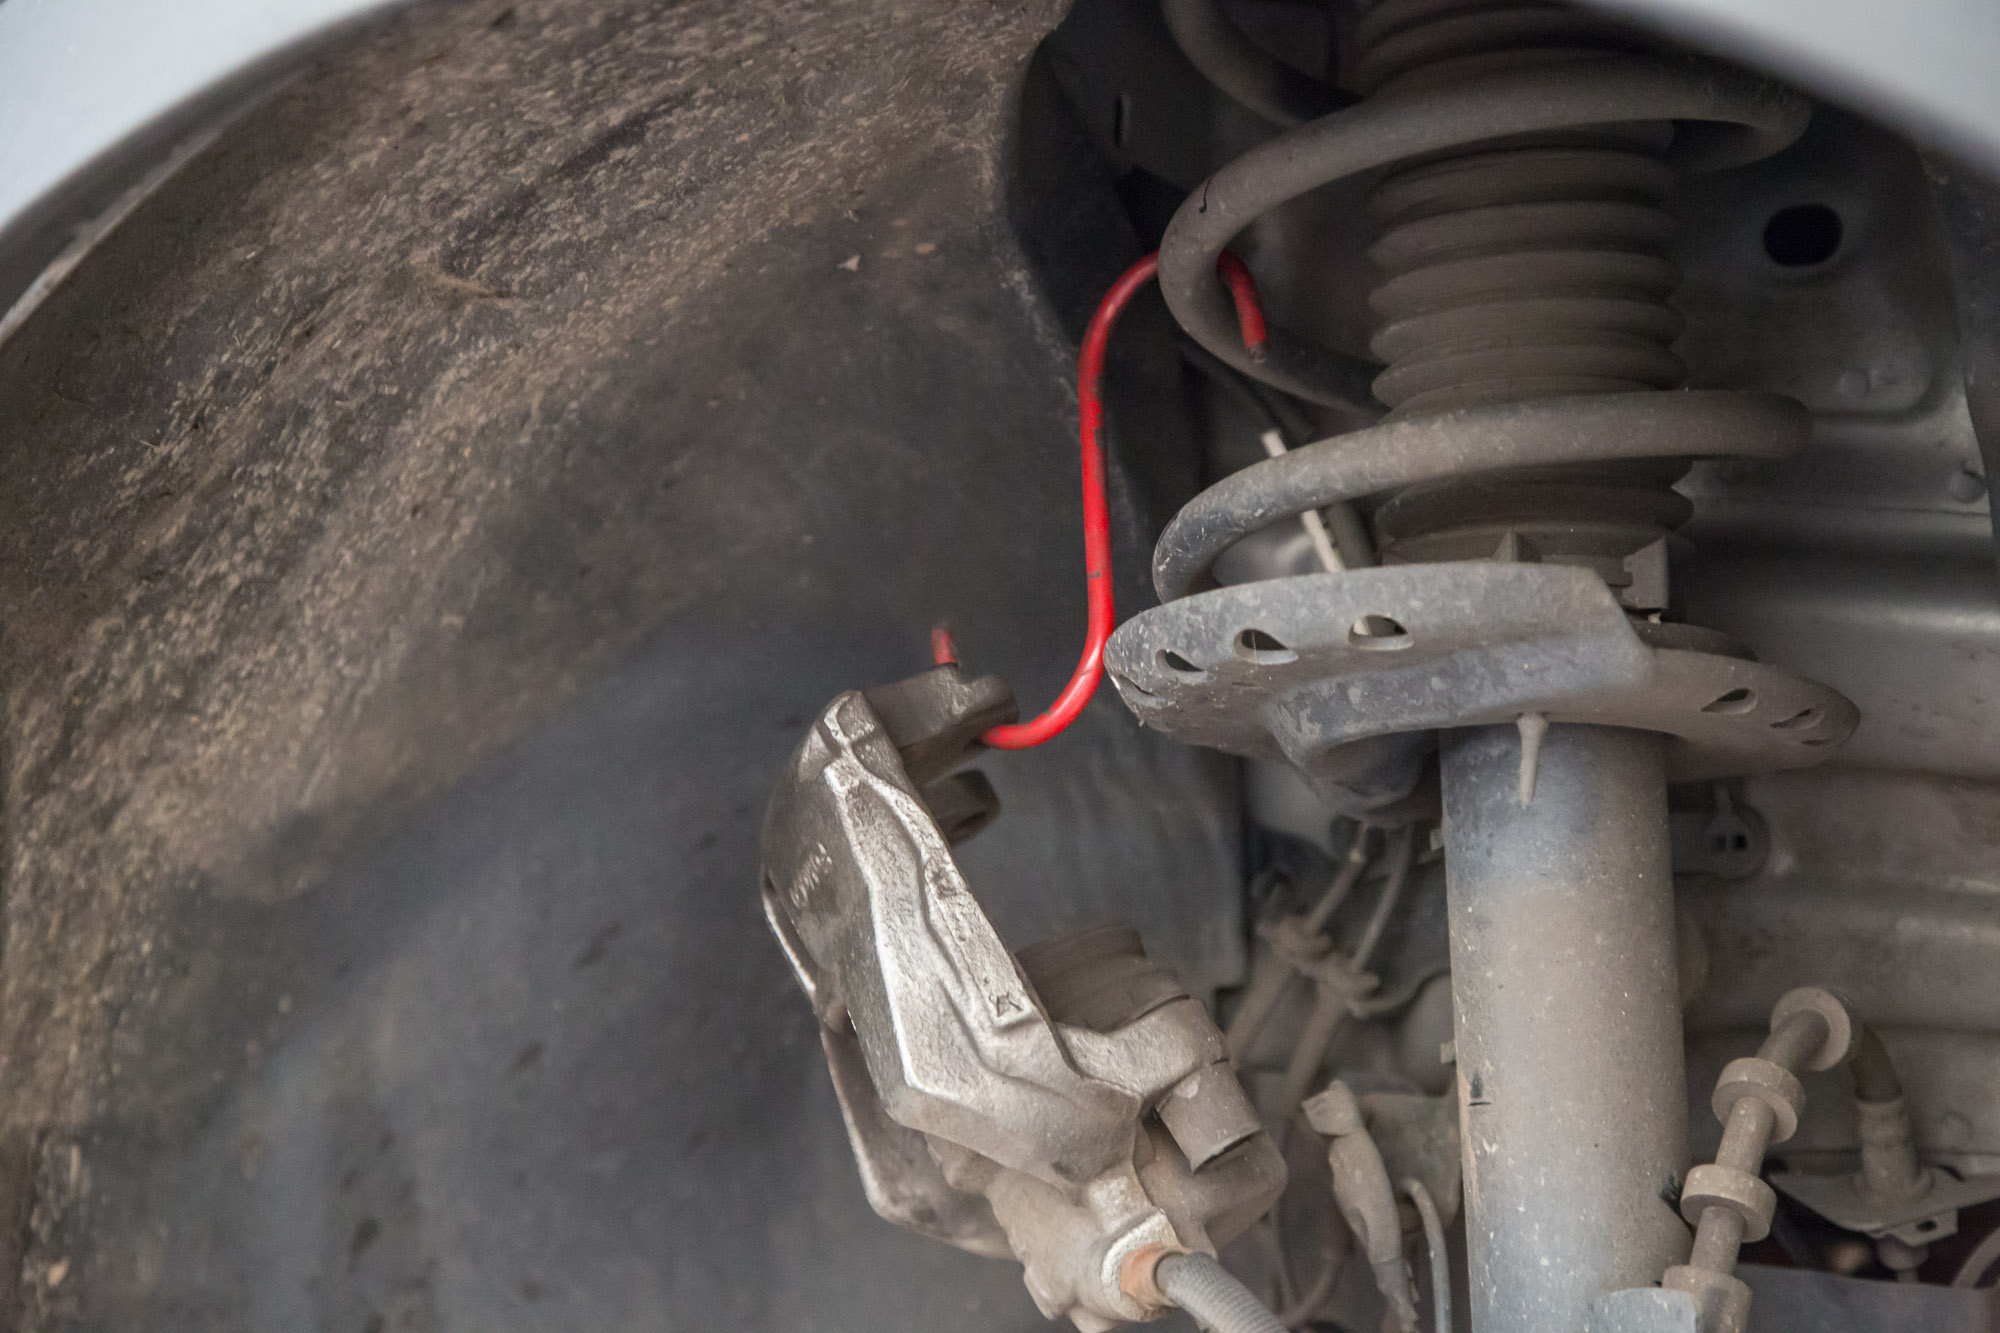
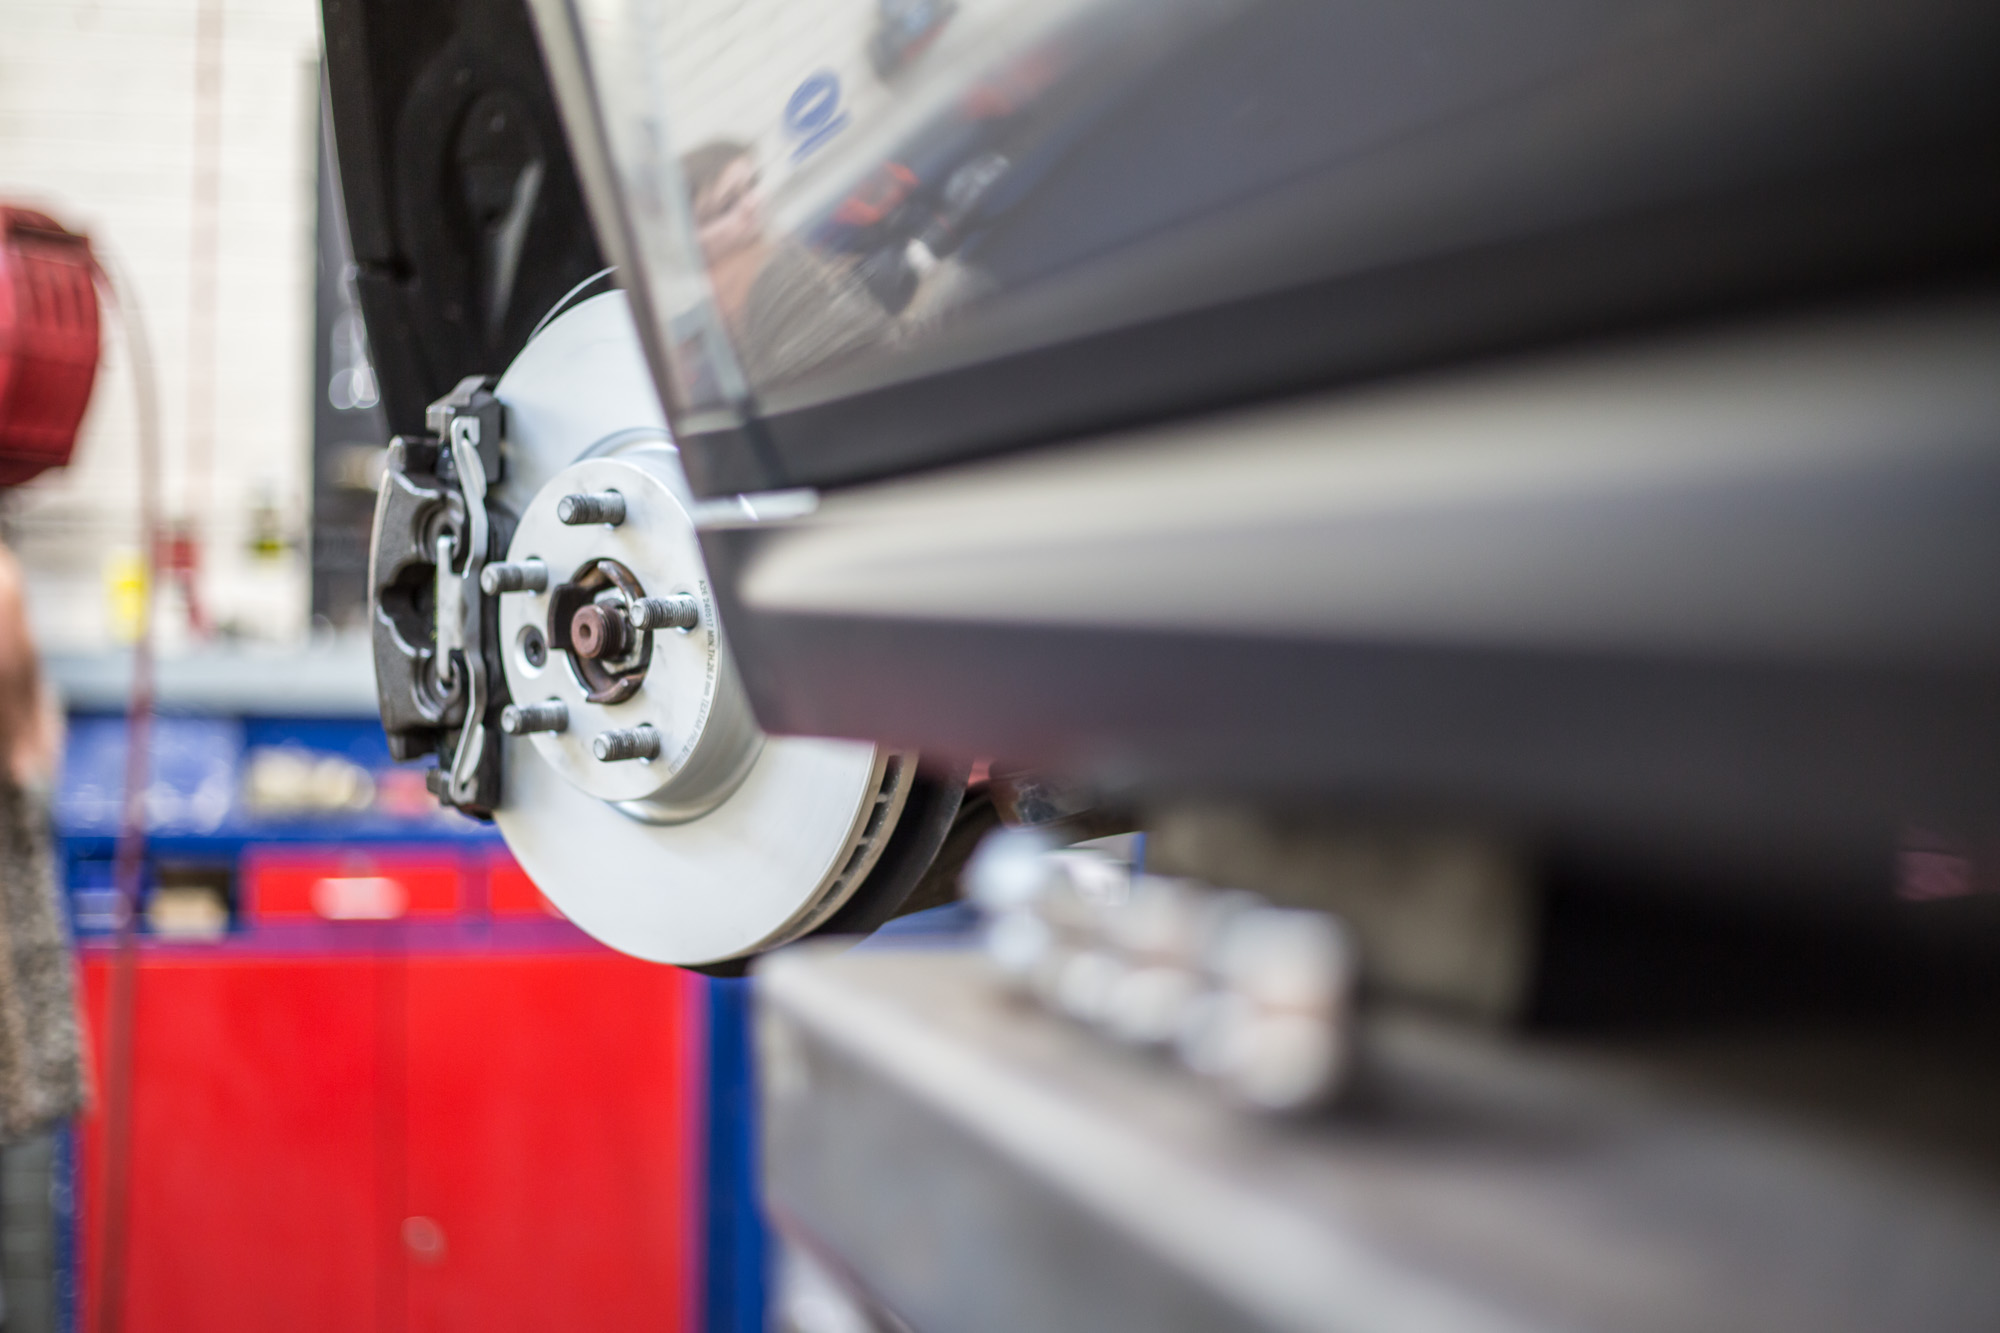
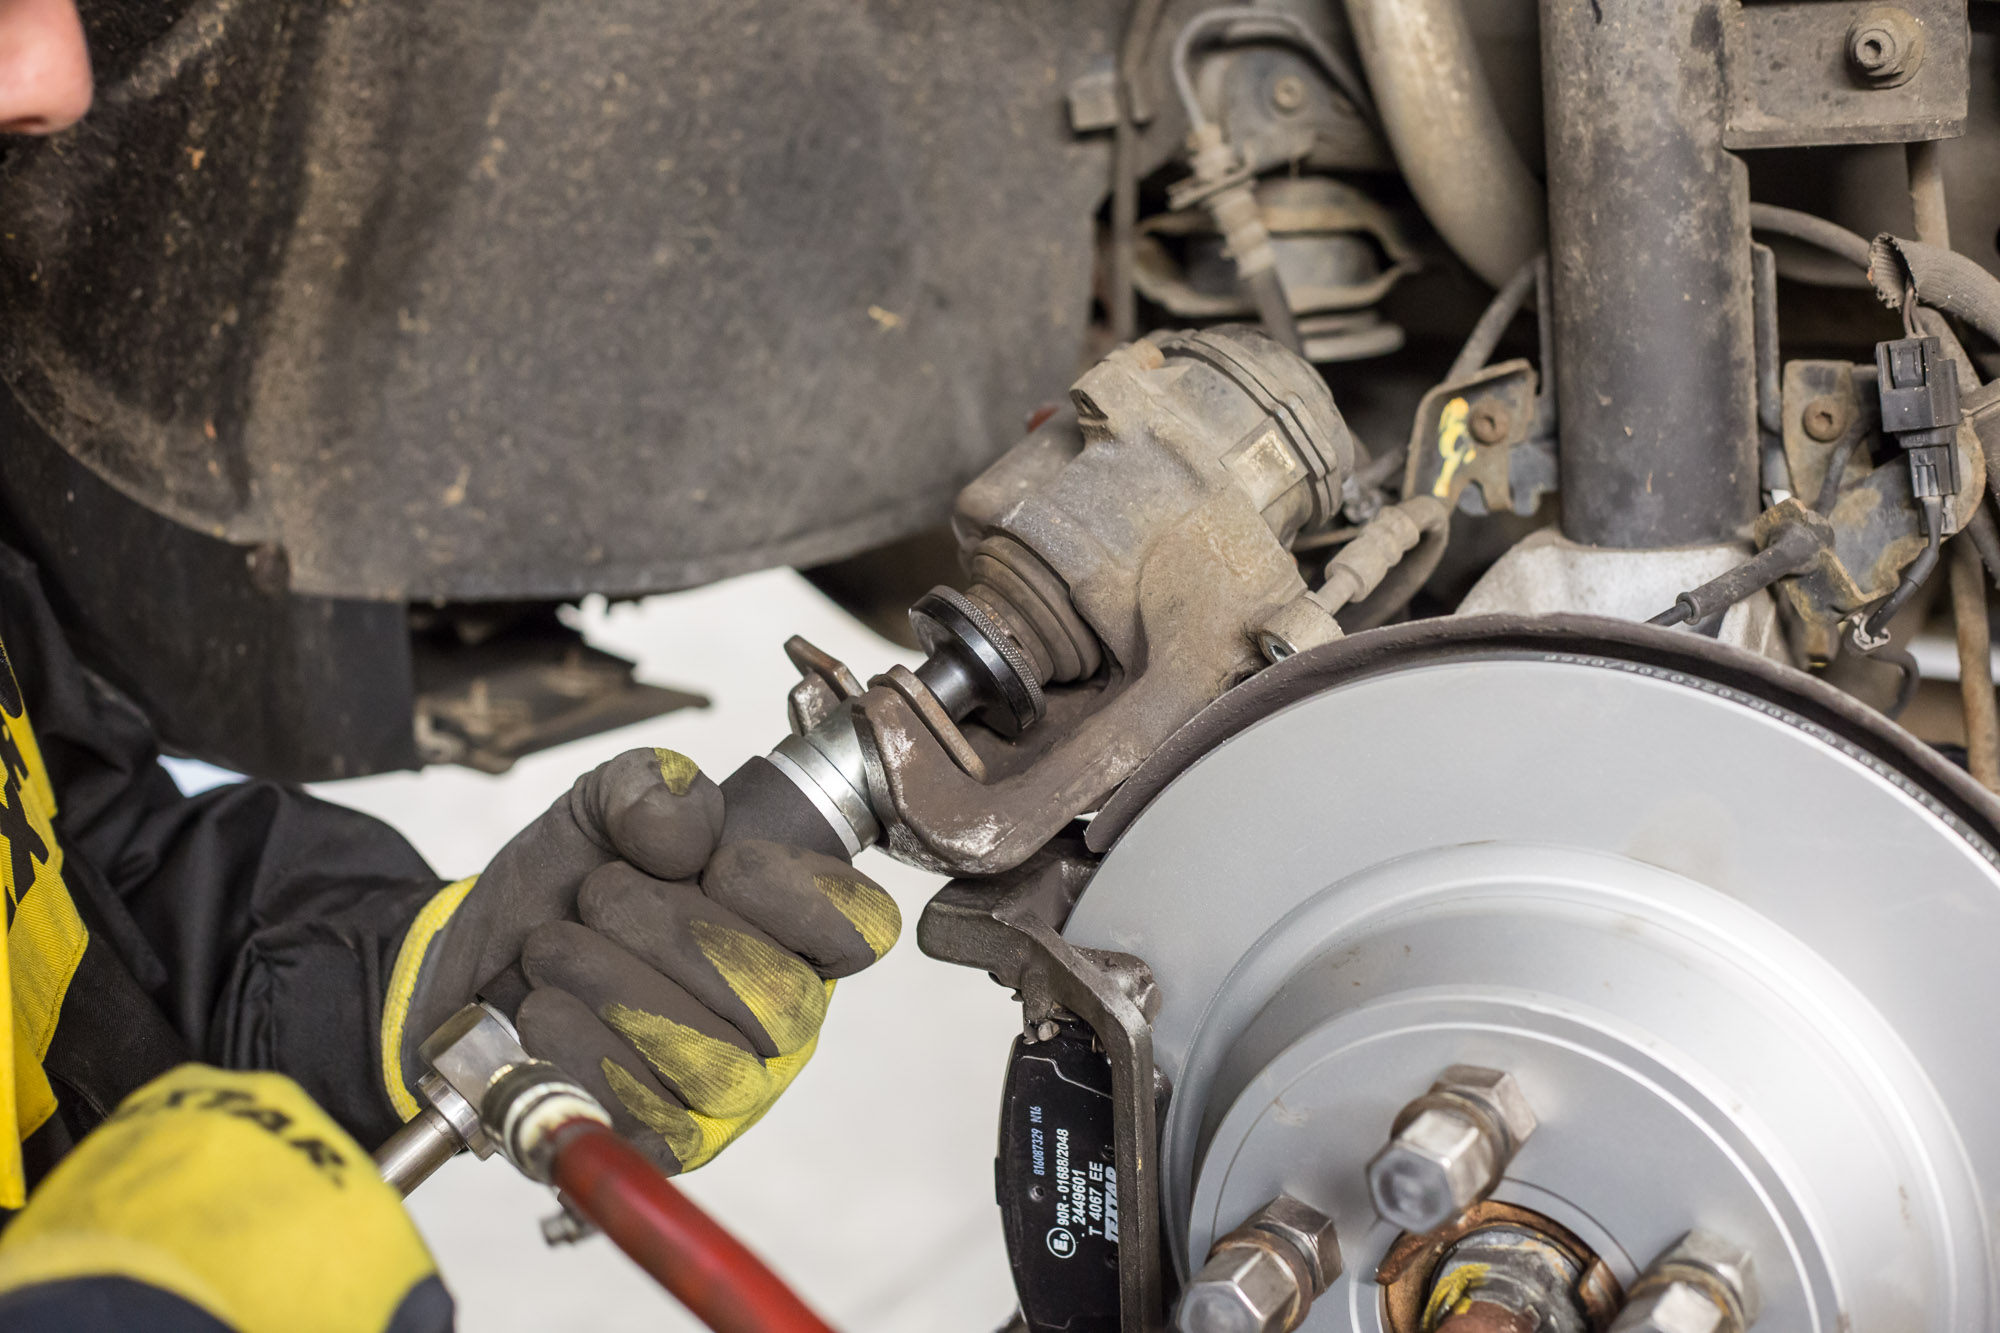
We went through the process of removing the braking caliper and removing the old discs. When removing the caliper we had to be careful not to damage the hoses when the heavy caliper was free from the car. We used an S-shaped caliper hook to hold the caliper up to the suspension spring and out of the way.
Preparation Before the New Components
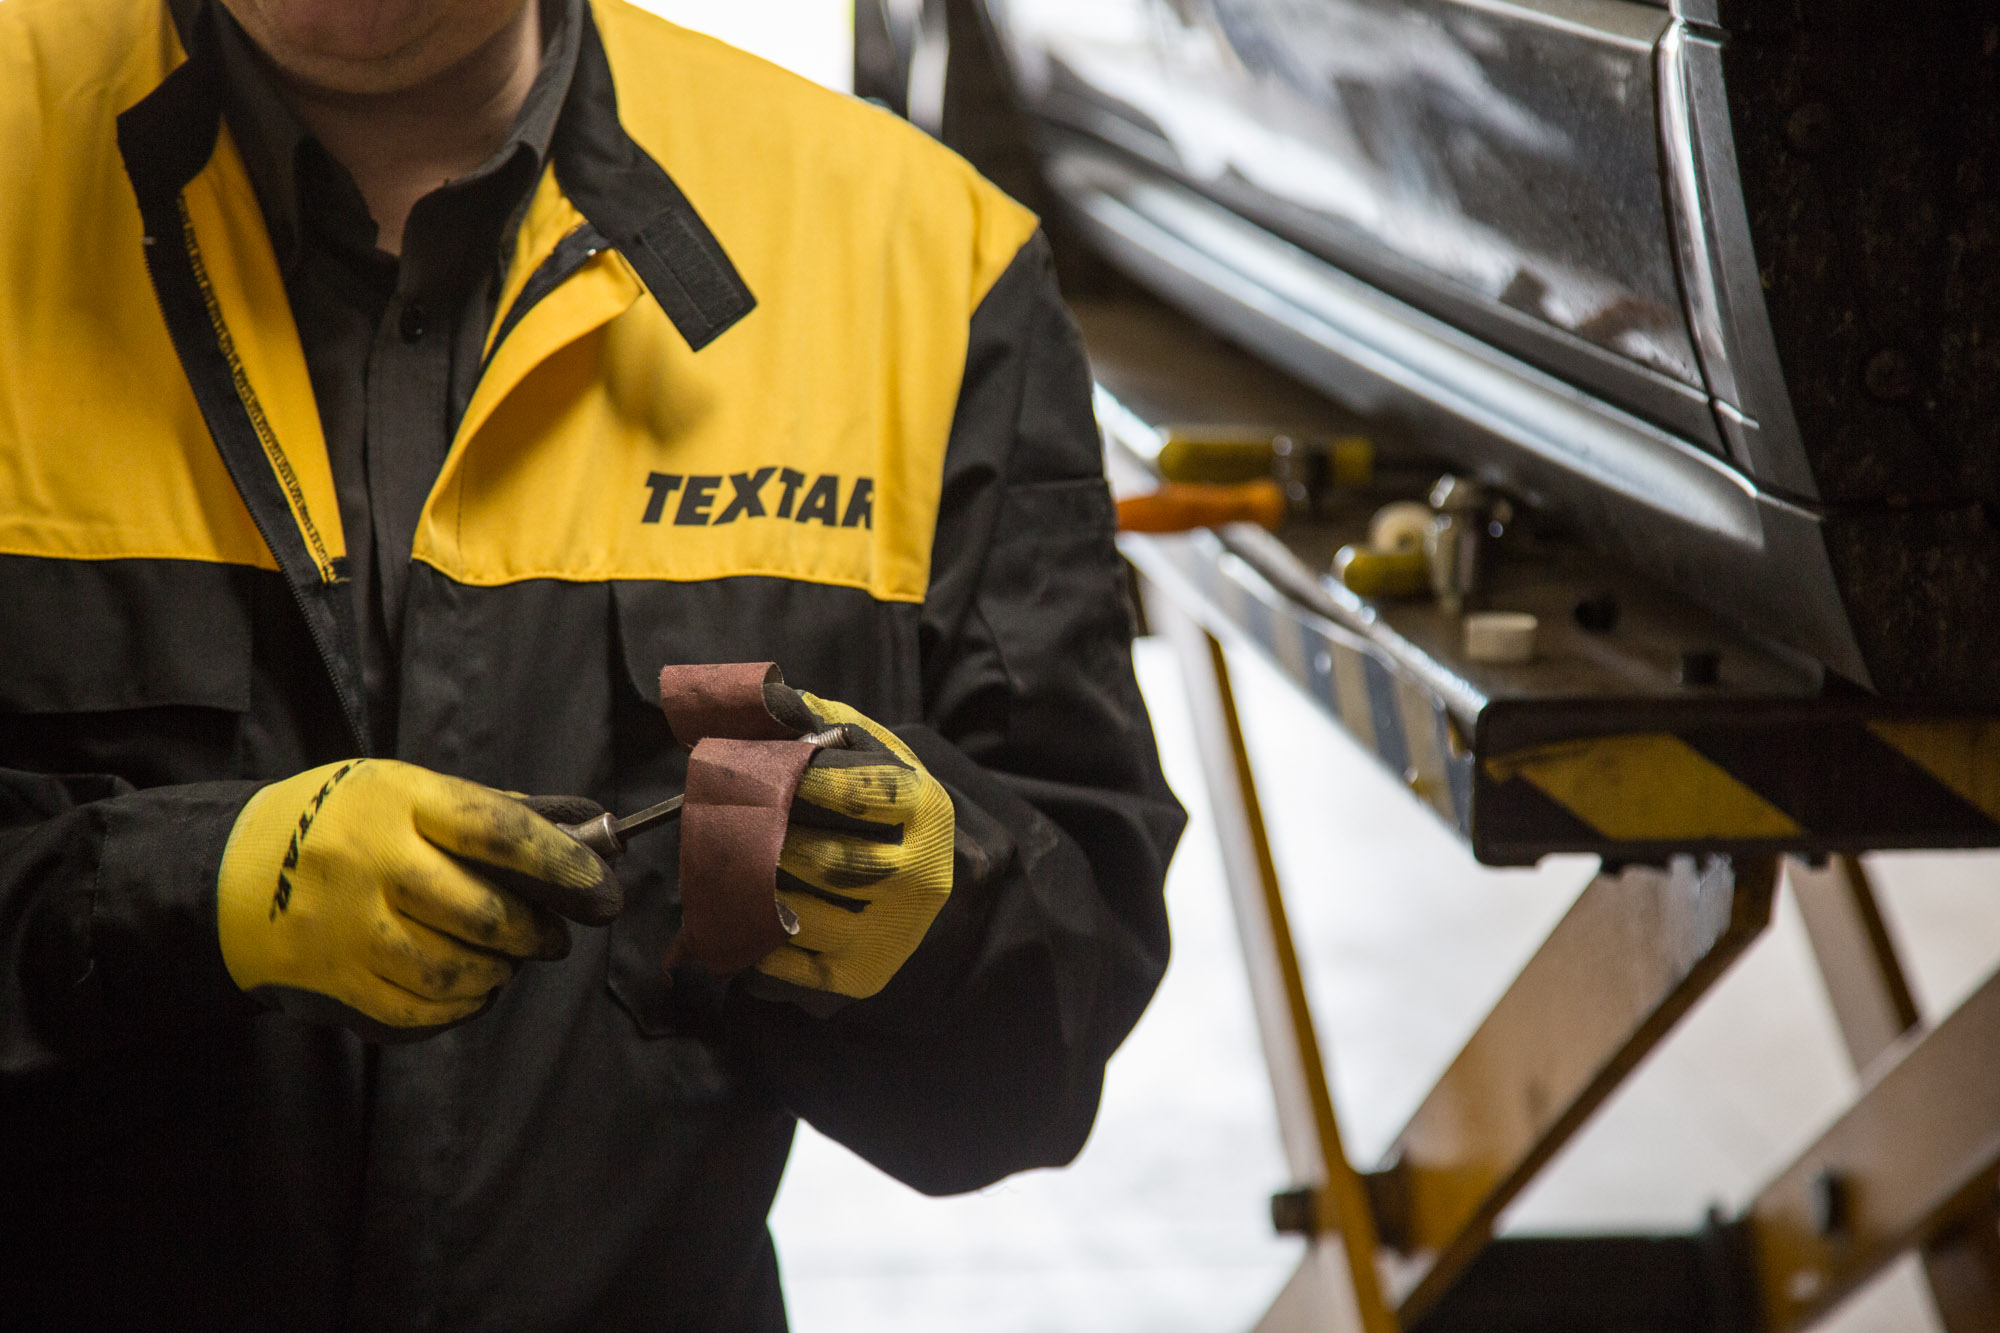
One of the big eye openers for me was the amount of work that should be done before fitting the new components. Under instruction from Textar, I was shown how to correctly clean up the wheel hub, caliper and even the brake pad housing.
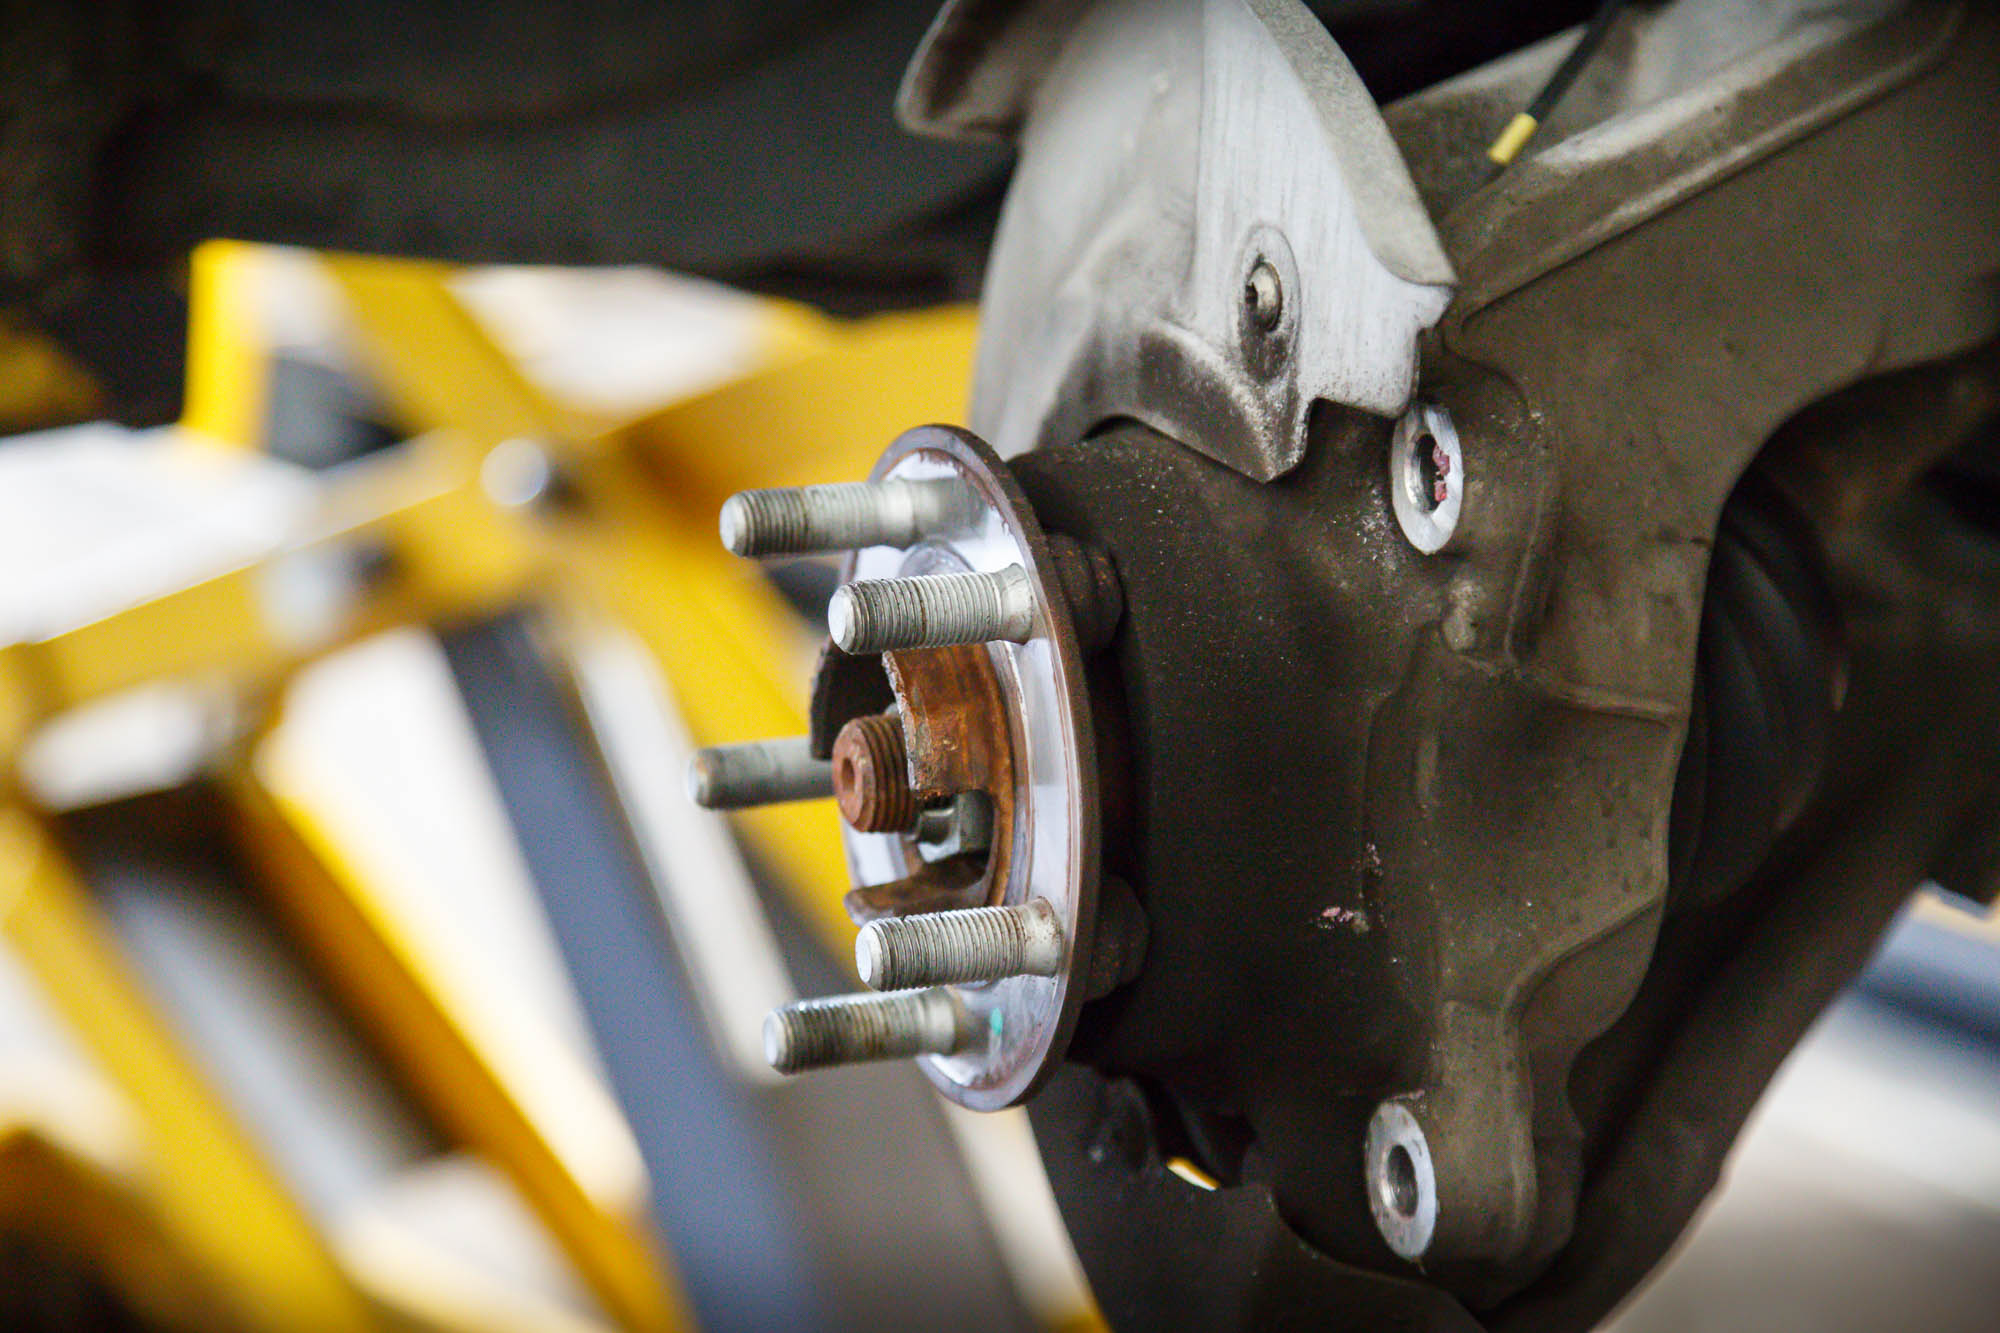
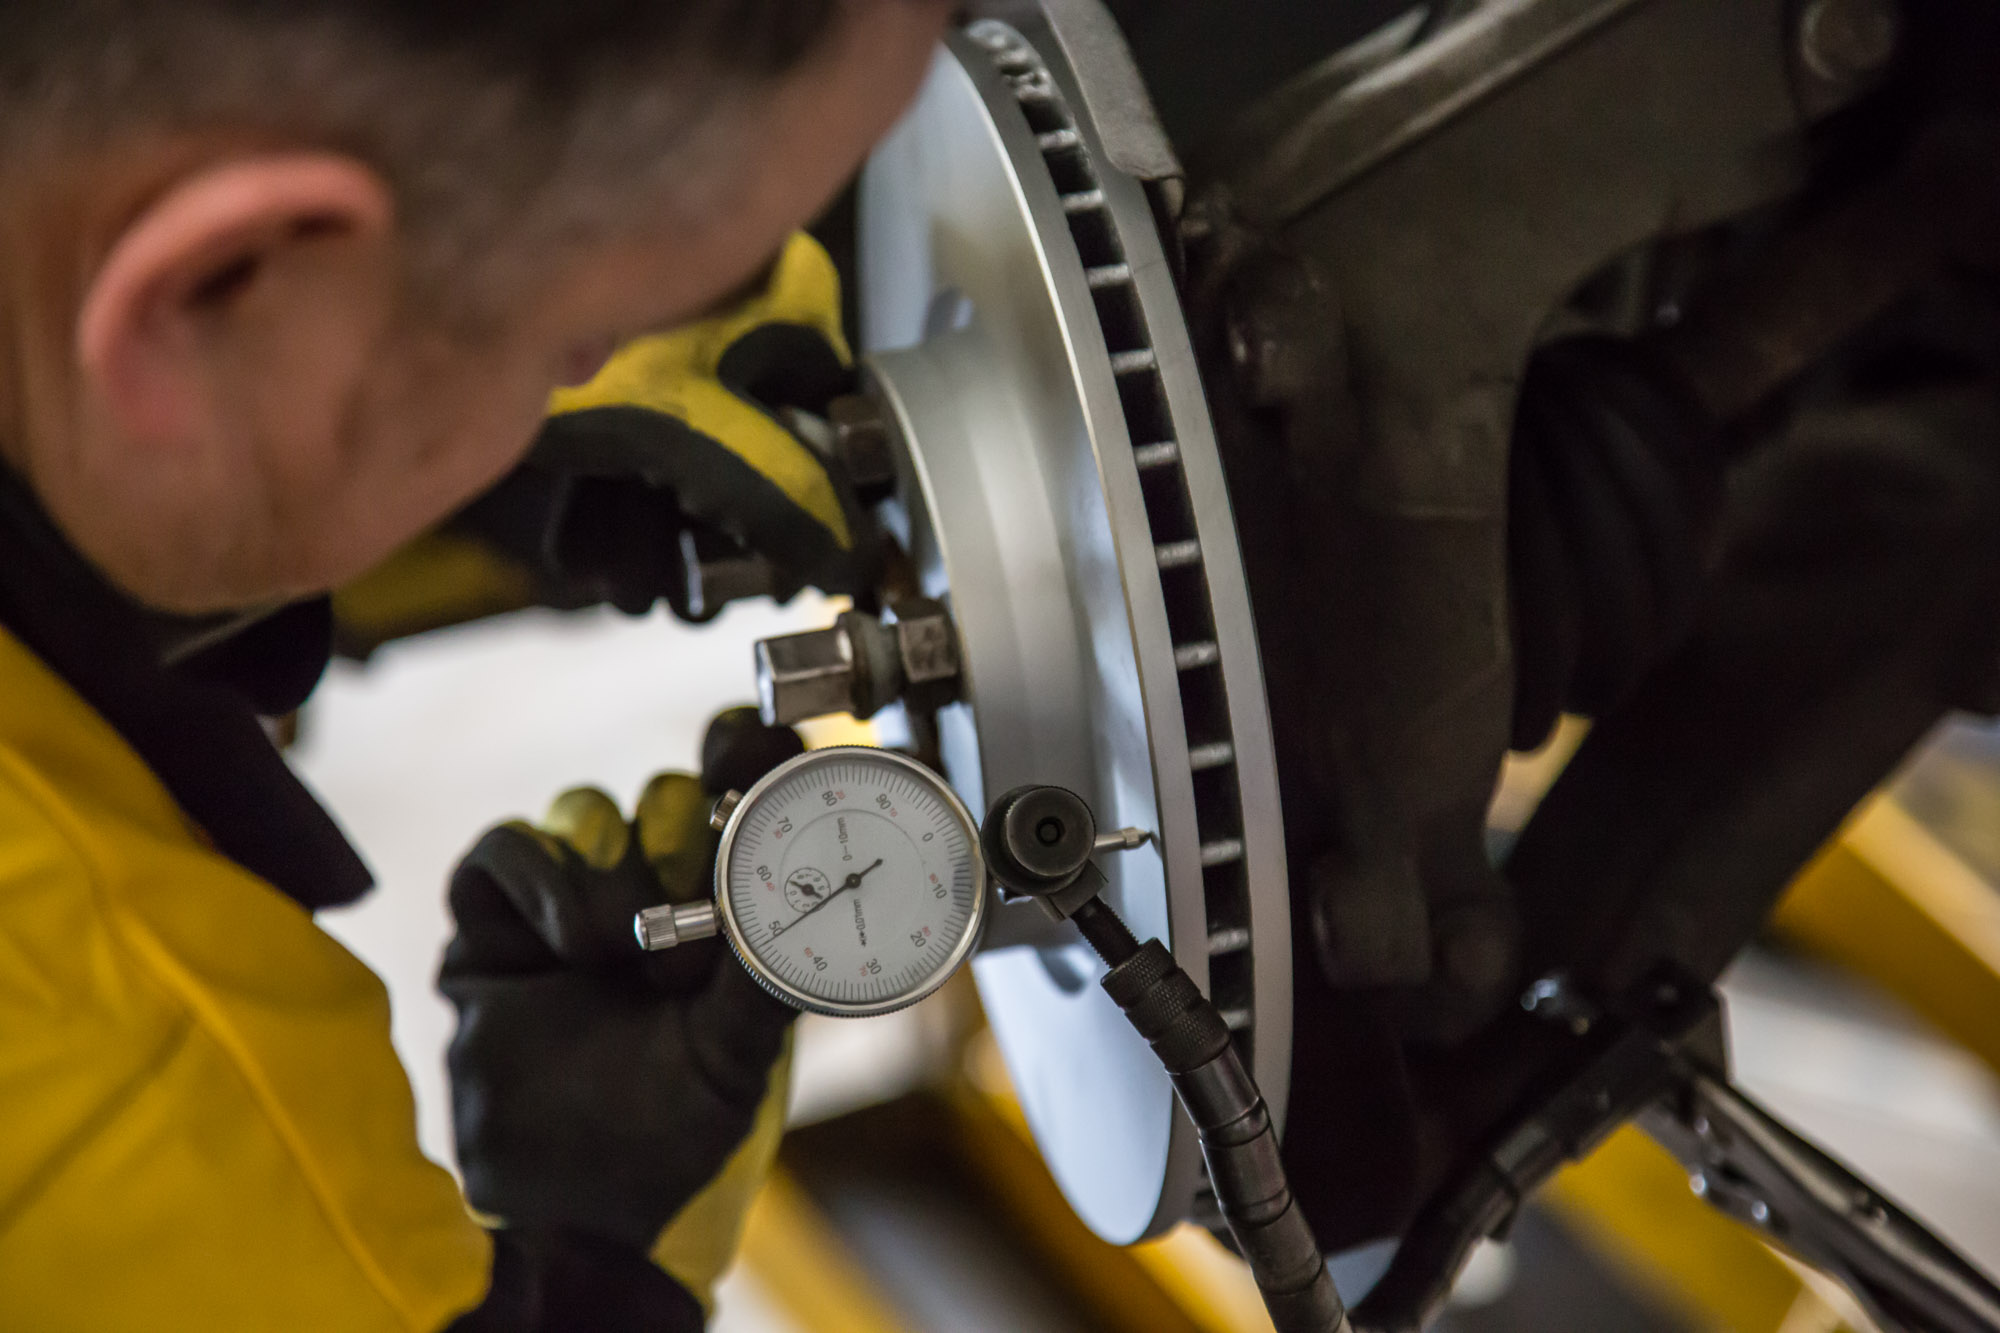
Cleaning the Hub and Making Sure It Runs True
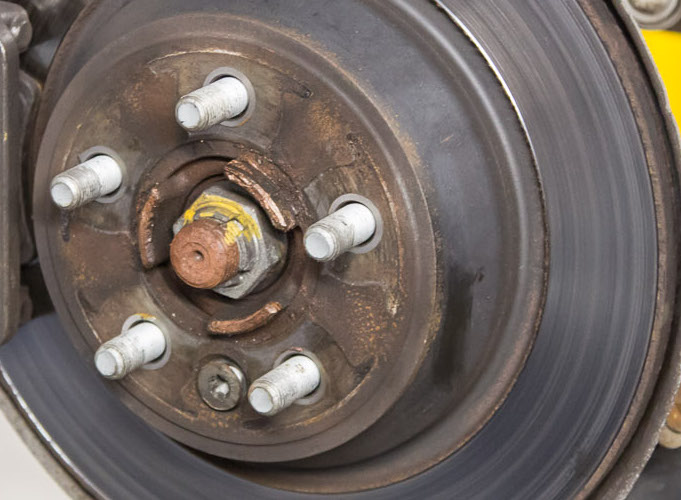
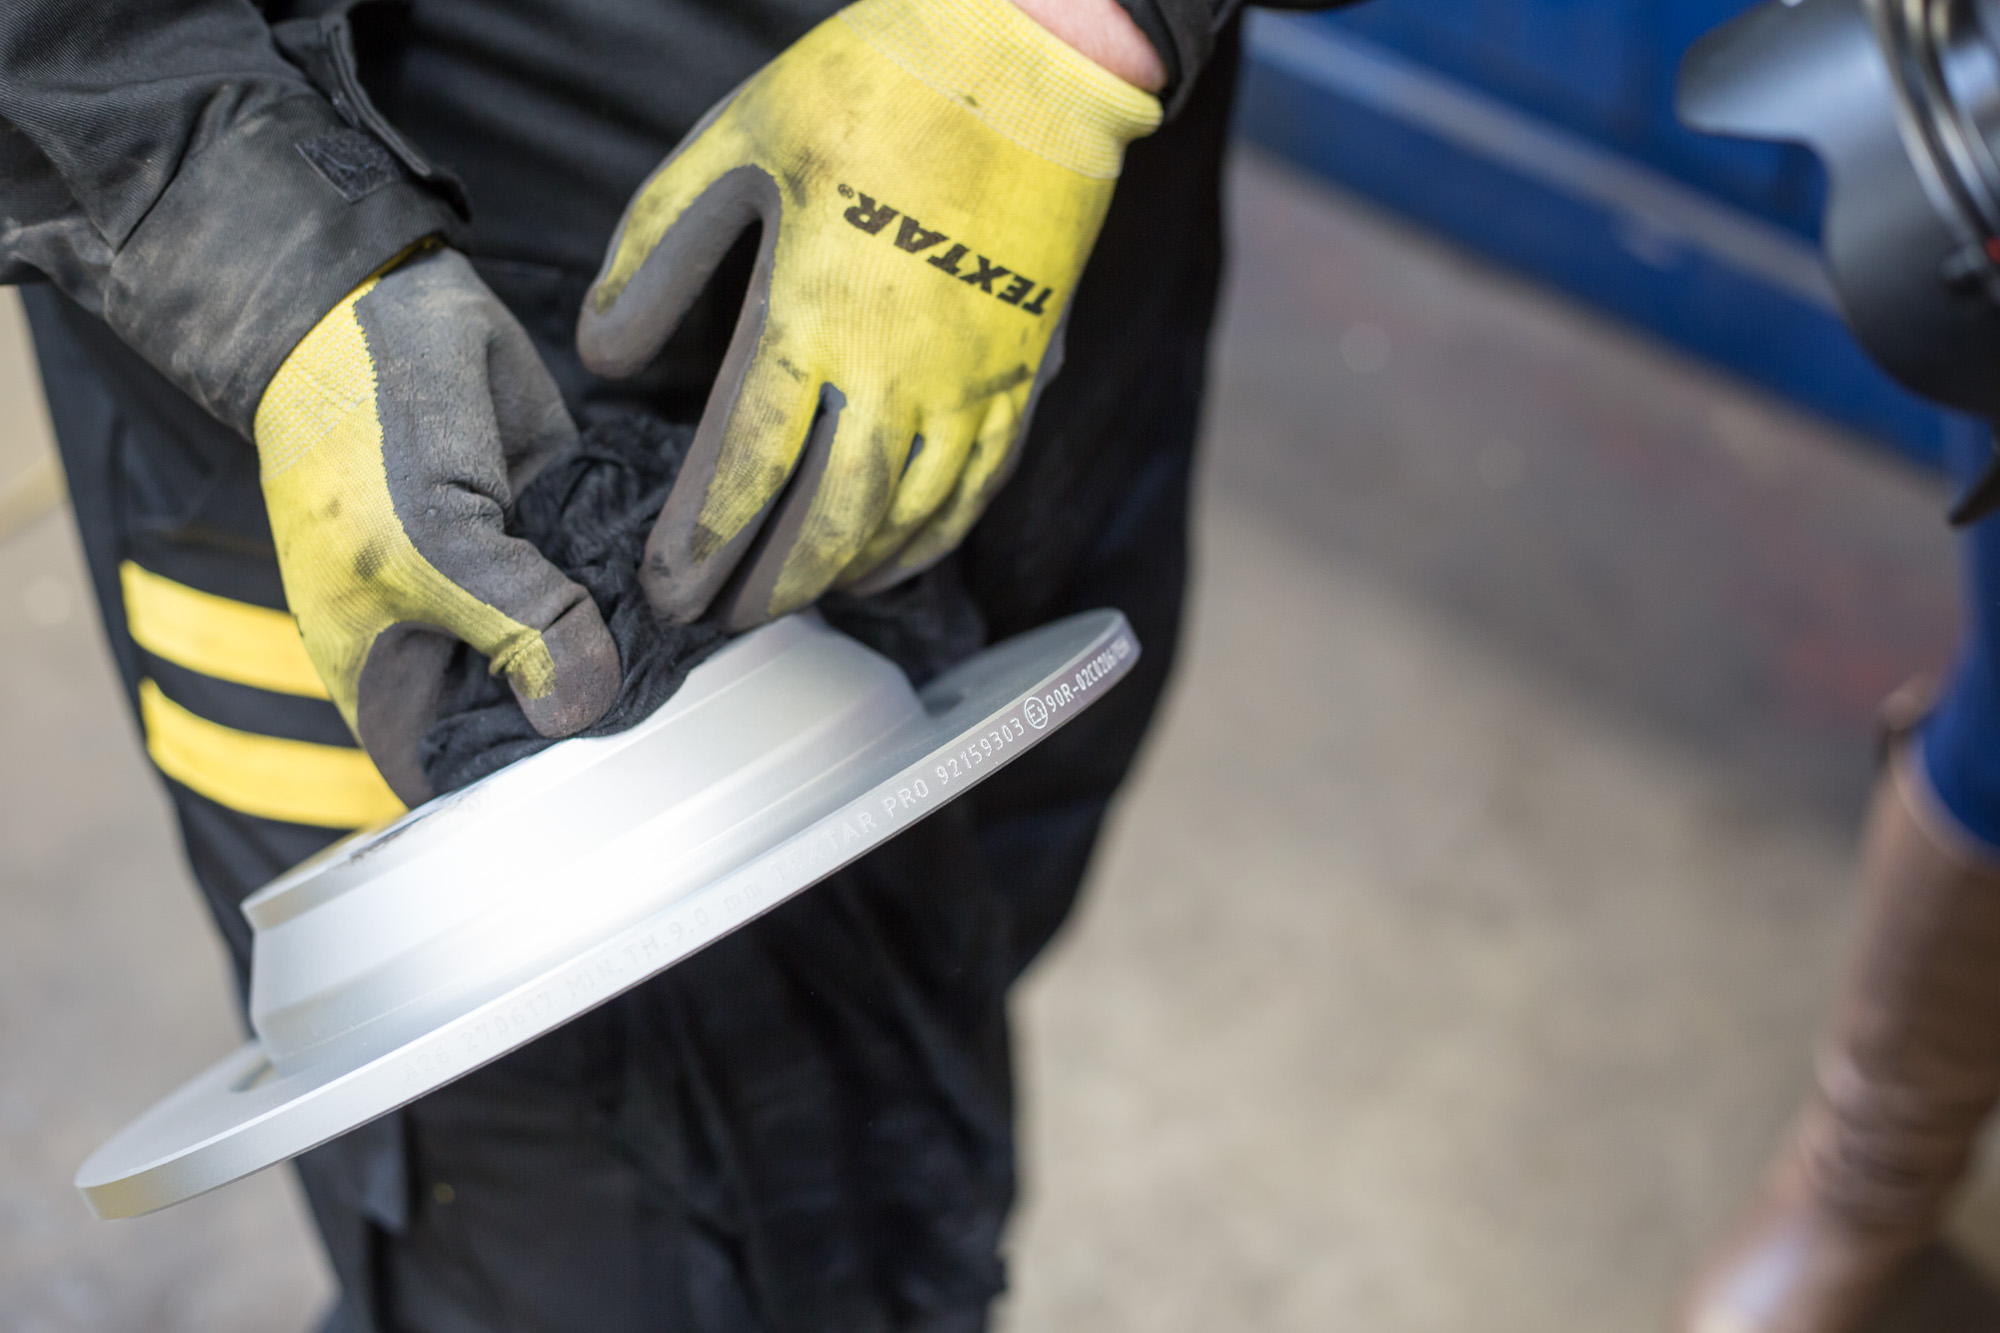
With the disc removed, I could easily see the wheel hub and there was a noticeable build-up of grime and deposits on the surface. We spent 5 minutes removing this with some emery cloth. This left a nice shiny surface for the disc to sit tightly against the hub. The benefits of this are that the disc, when fitted, should rotate truly without any signs of run-out for maximum efficiency. Next, once the disc was fitted we used a DTI gauge to measure the amount of lateral run-out during a rotation of the discs. This checked the tolerances of movement in the disc that wasn’t true to the hub. Textar recommends a lateral run out no greater than 0.07mm.
Caliper Preparation
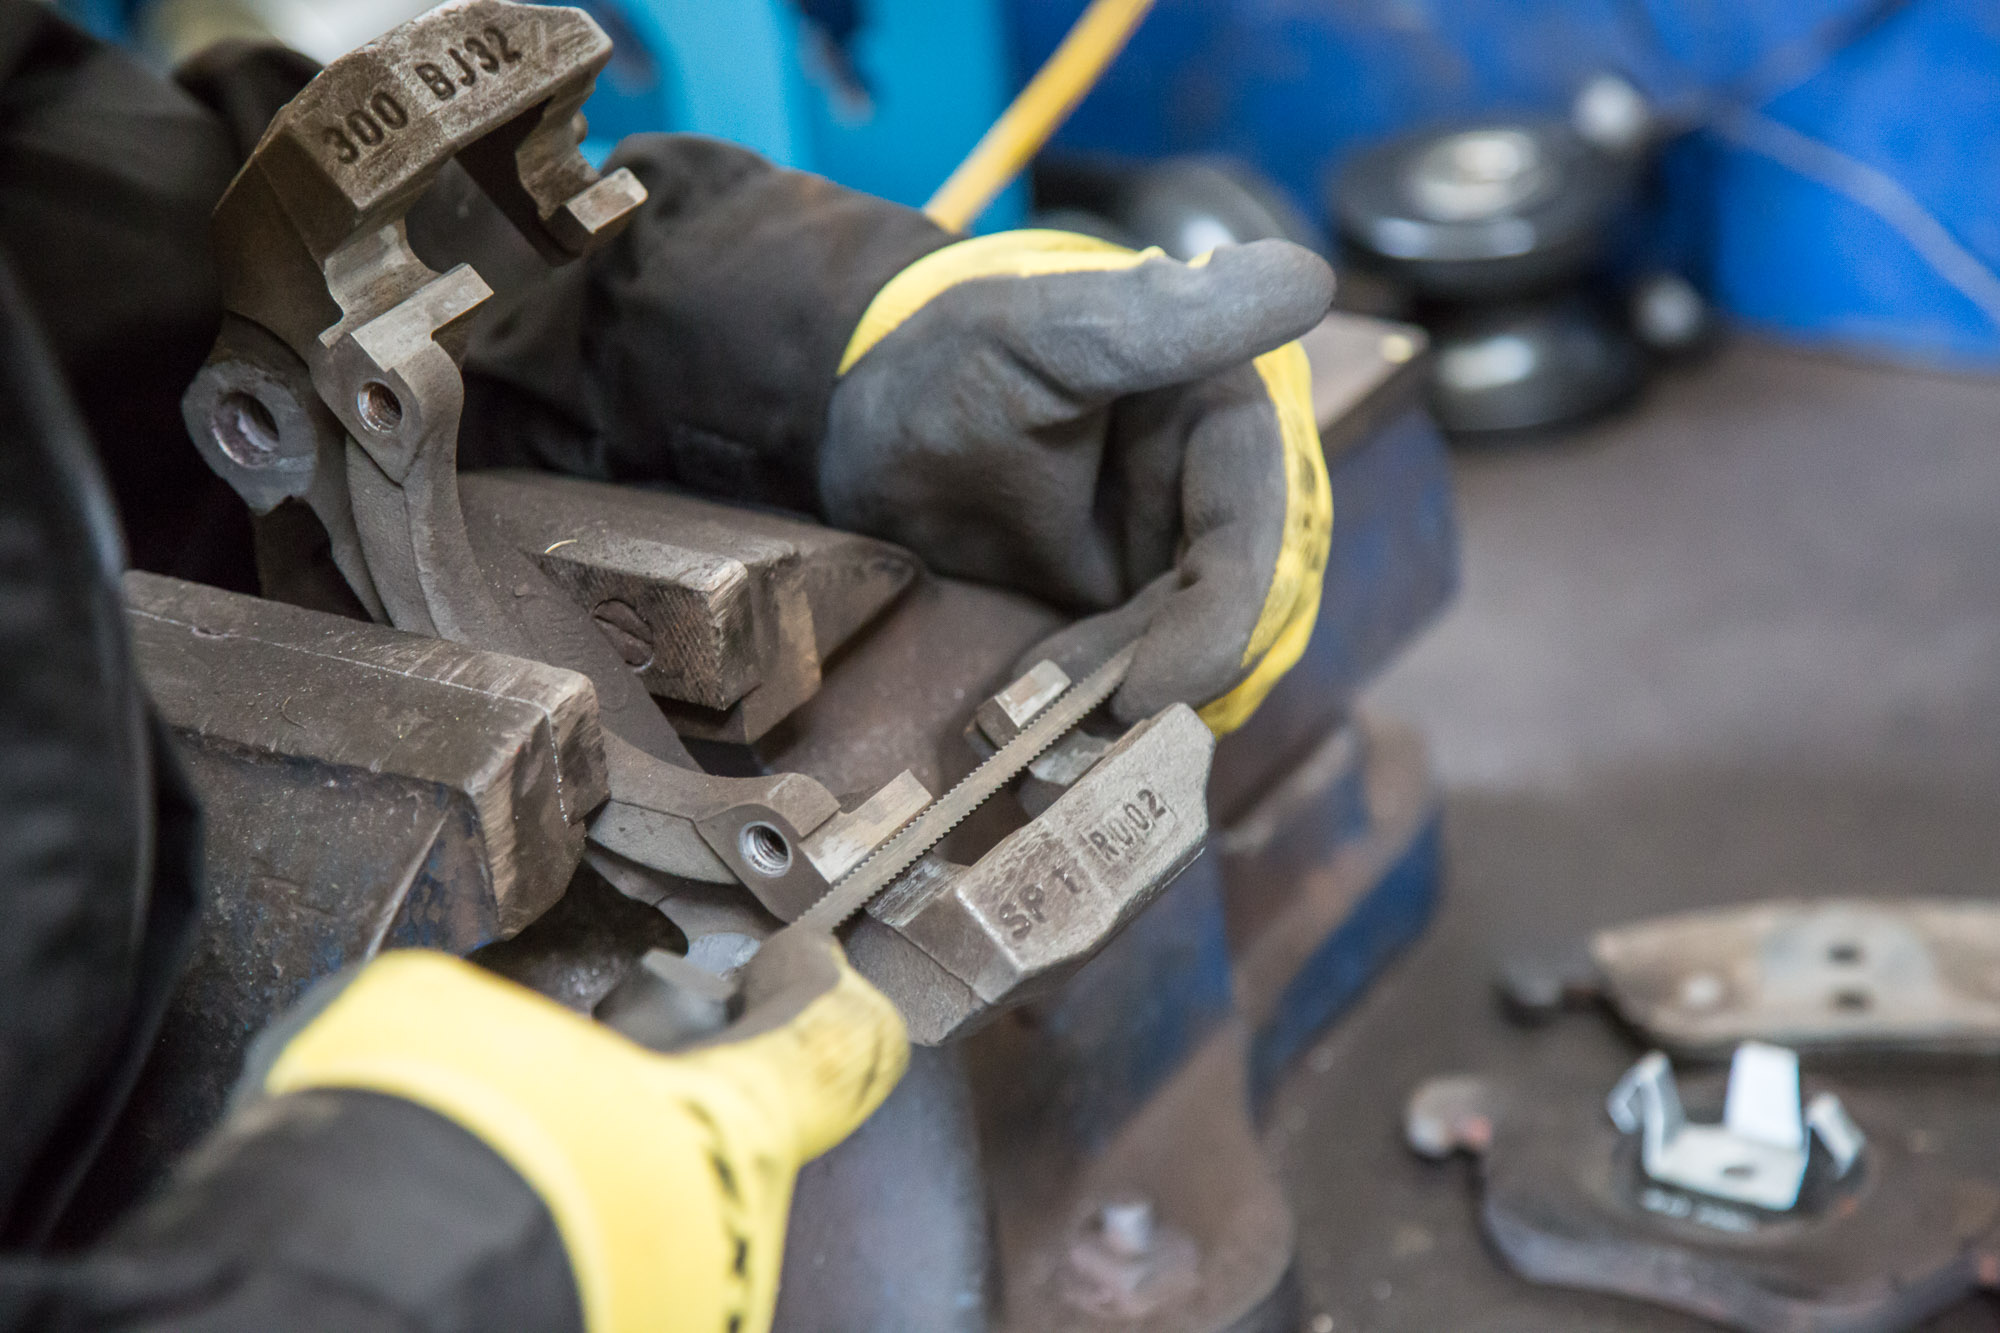
With the disc fitted and the pads out, we turned our attention to the caliper and caliper bracket. We used a wire brush and caliper file to remove any deposits from the areas where the pad ears would sit.
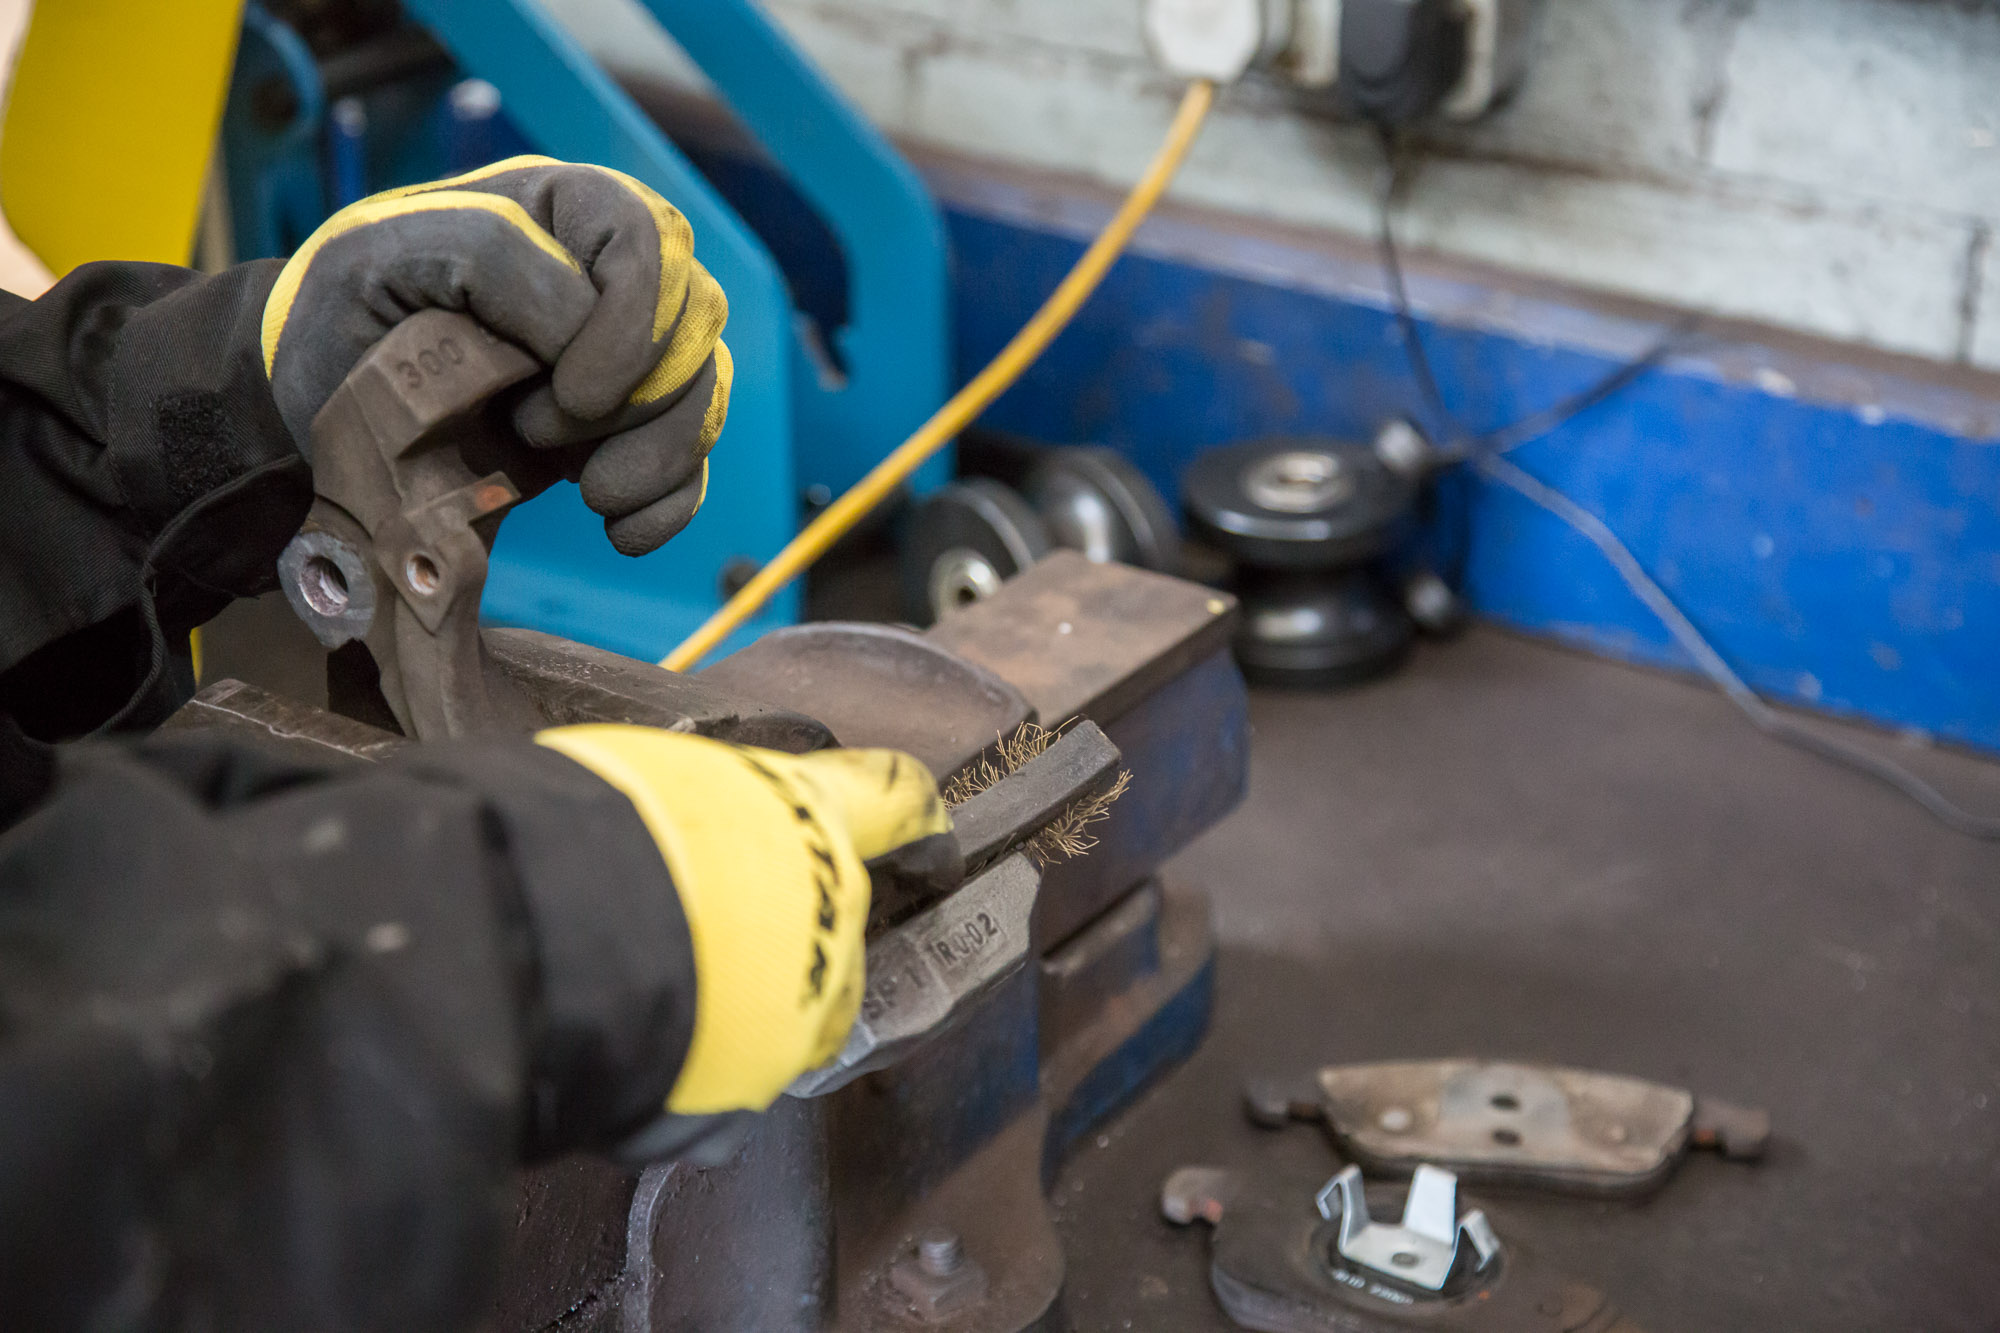
We did this to ensure that the pads can move freely. Following this, we inserted a new set of abutment shims ensuring prolonged free movement.
Applying Grease
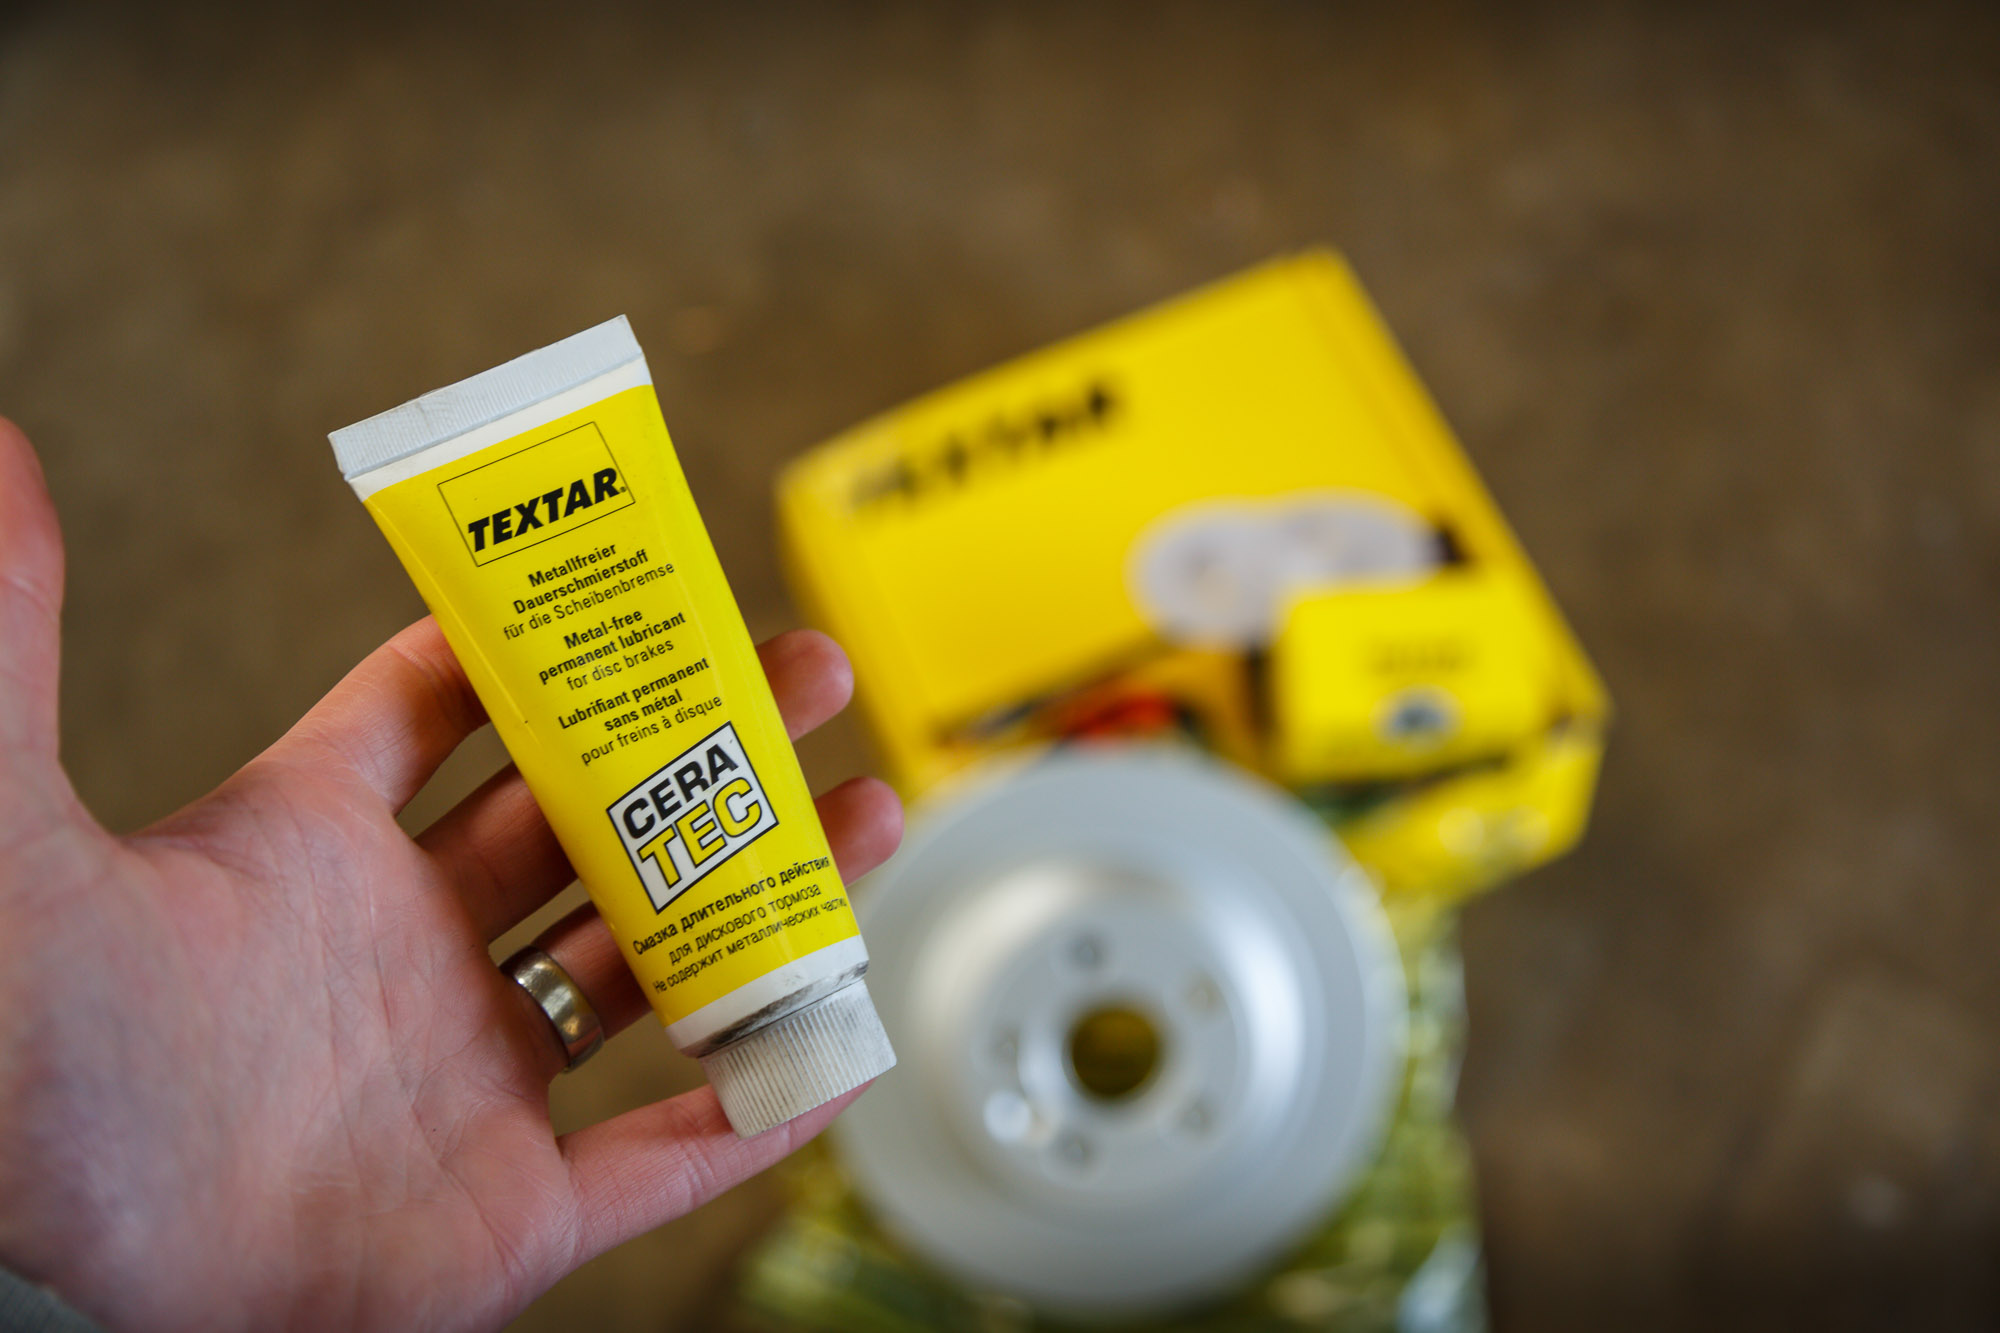
Next up we are looking at fitting the brake pads. This was a big eye-opener for me – typically I’d use copper grease around the brake pads. However, the specialists at Textar don’t recommend using copper slip for a couple of reasons.
Copper usage has multiple disadvantages. First, it’s conductive and can cause problems with ABS sensors. It can dry out and stick components to one another. Plus, it’s often put on the wrong places, like the back of the pad of a specifically designed material or Shim for minimising noise.
What not to do. Here is what copper grease looks like over time.
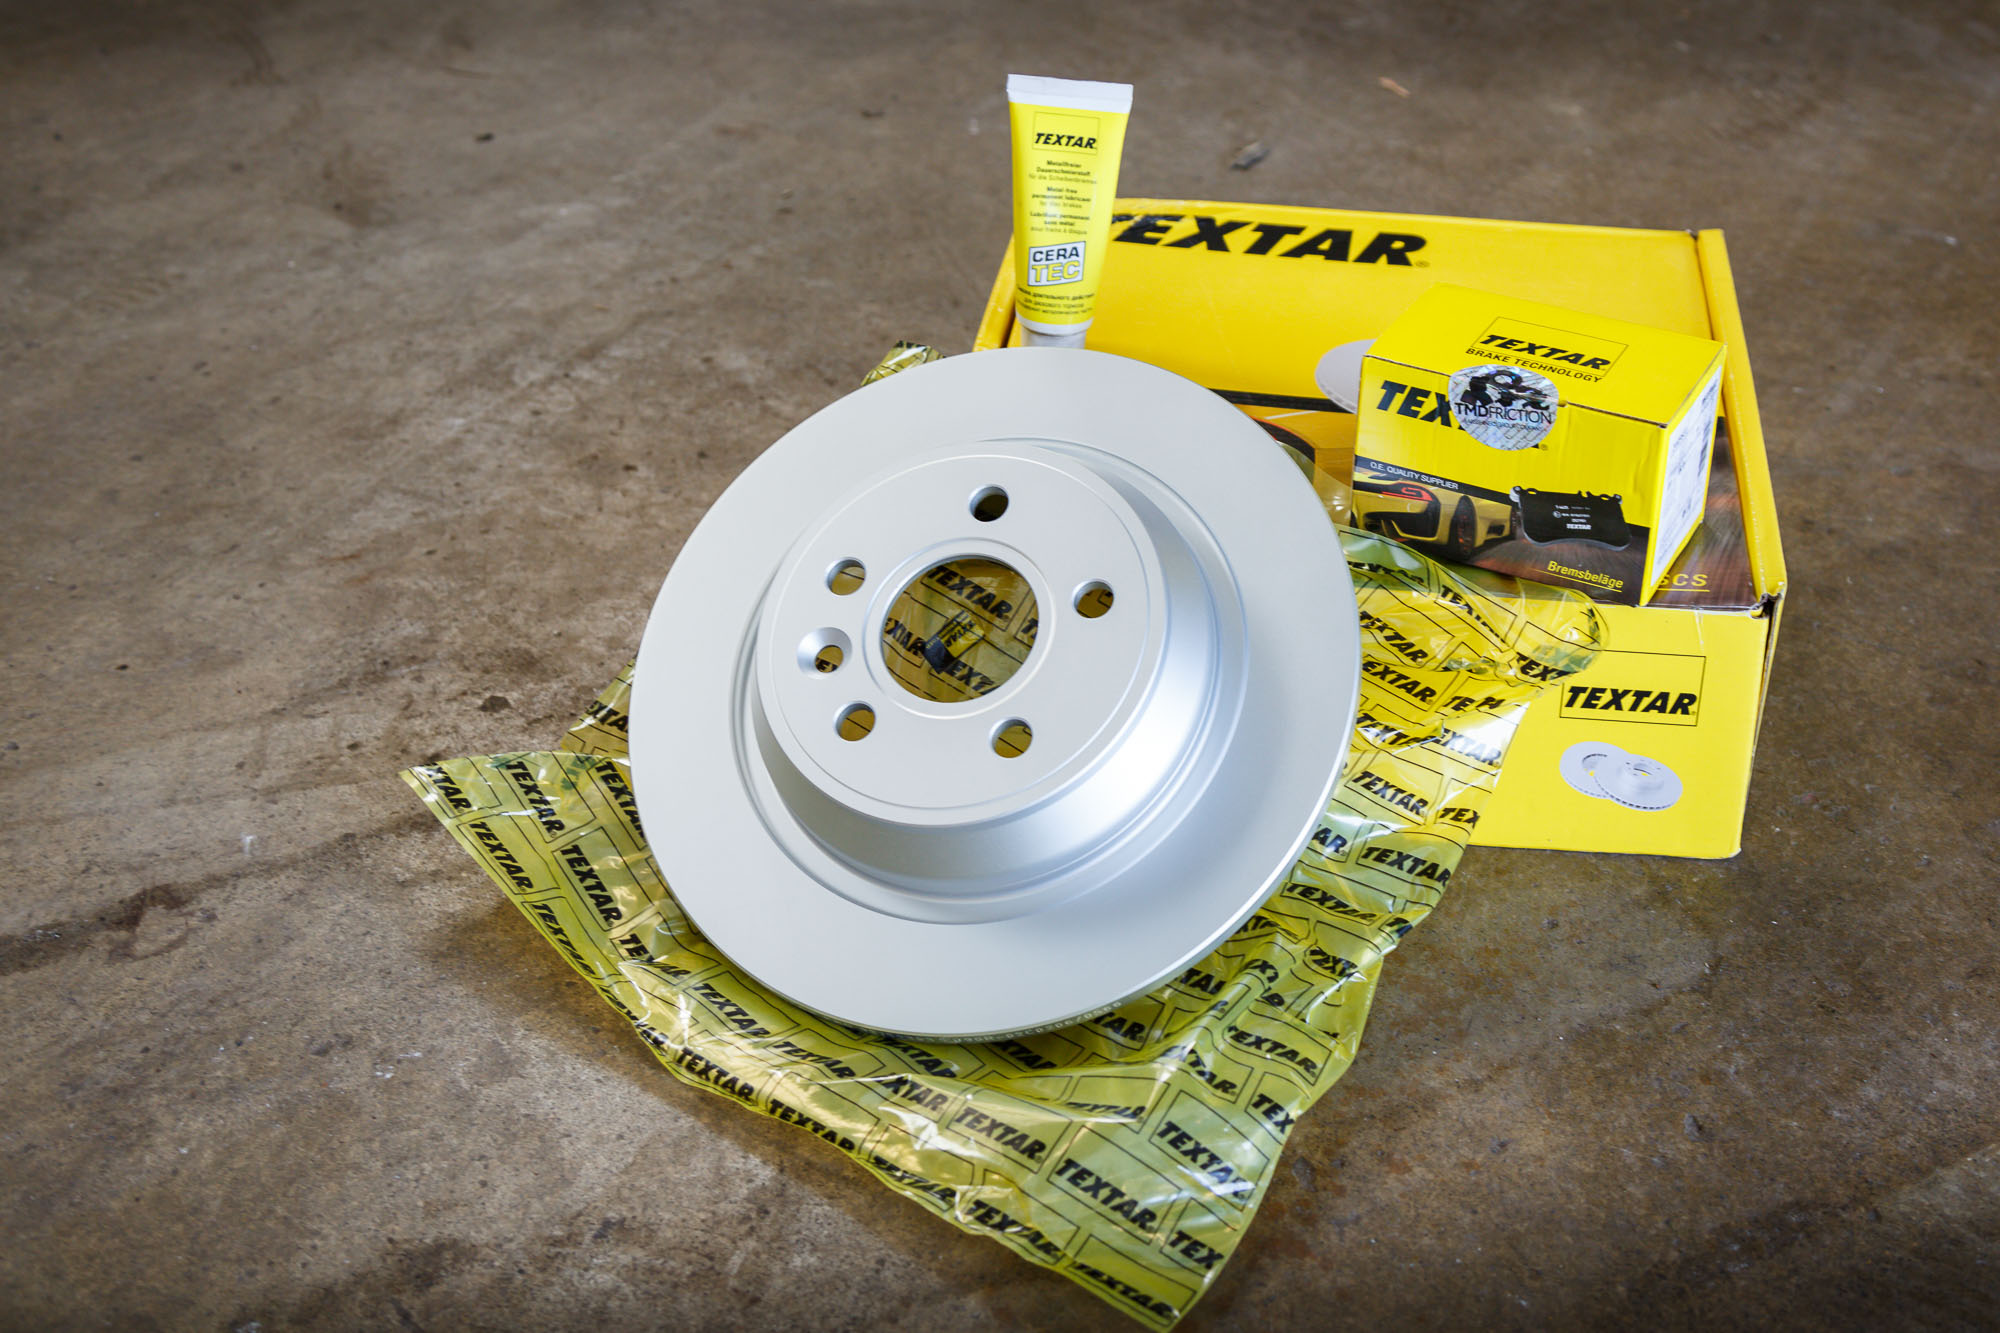
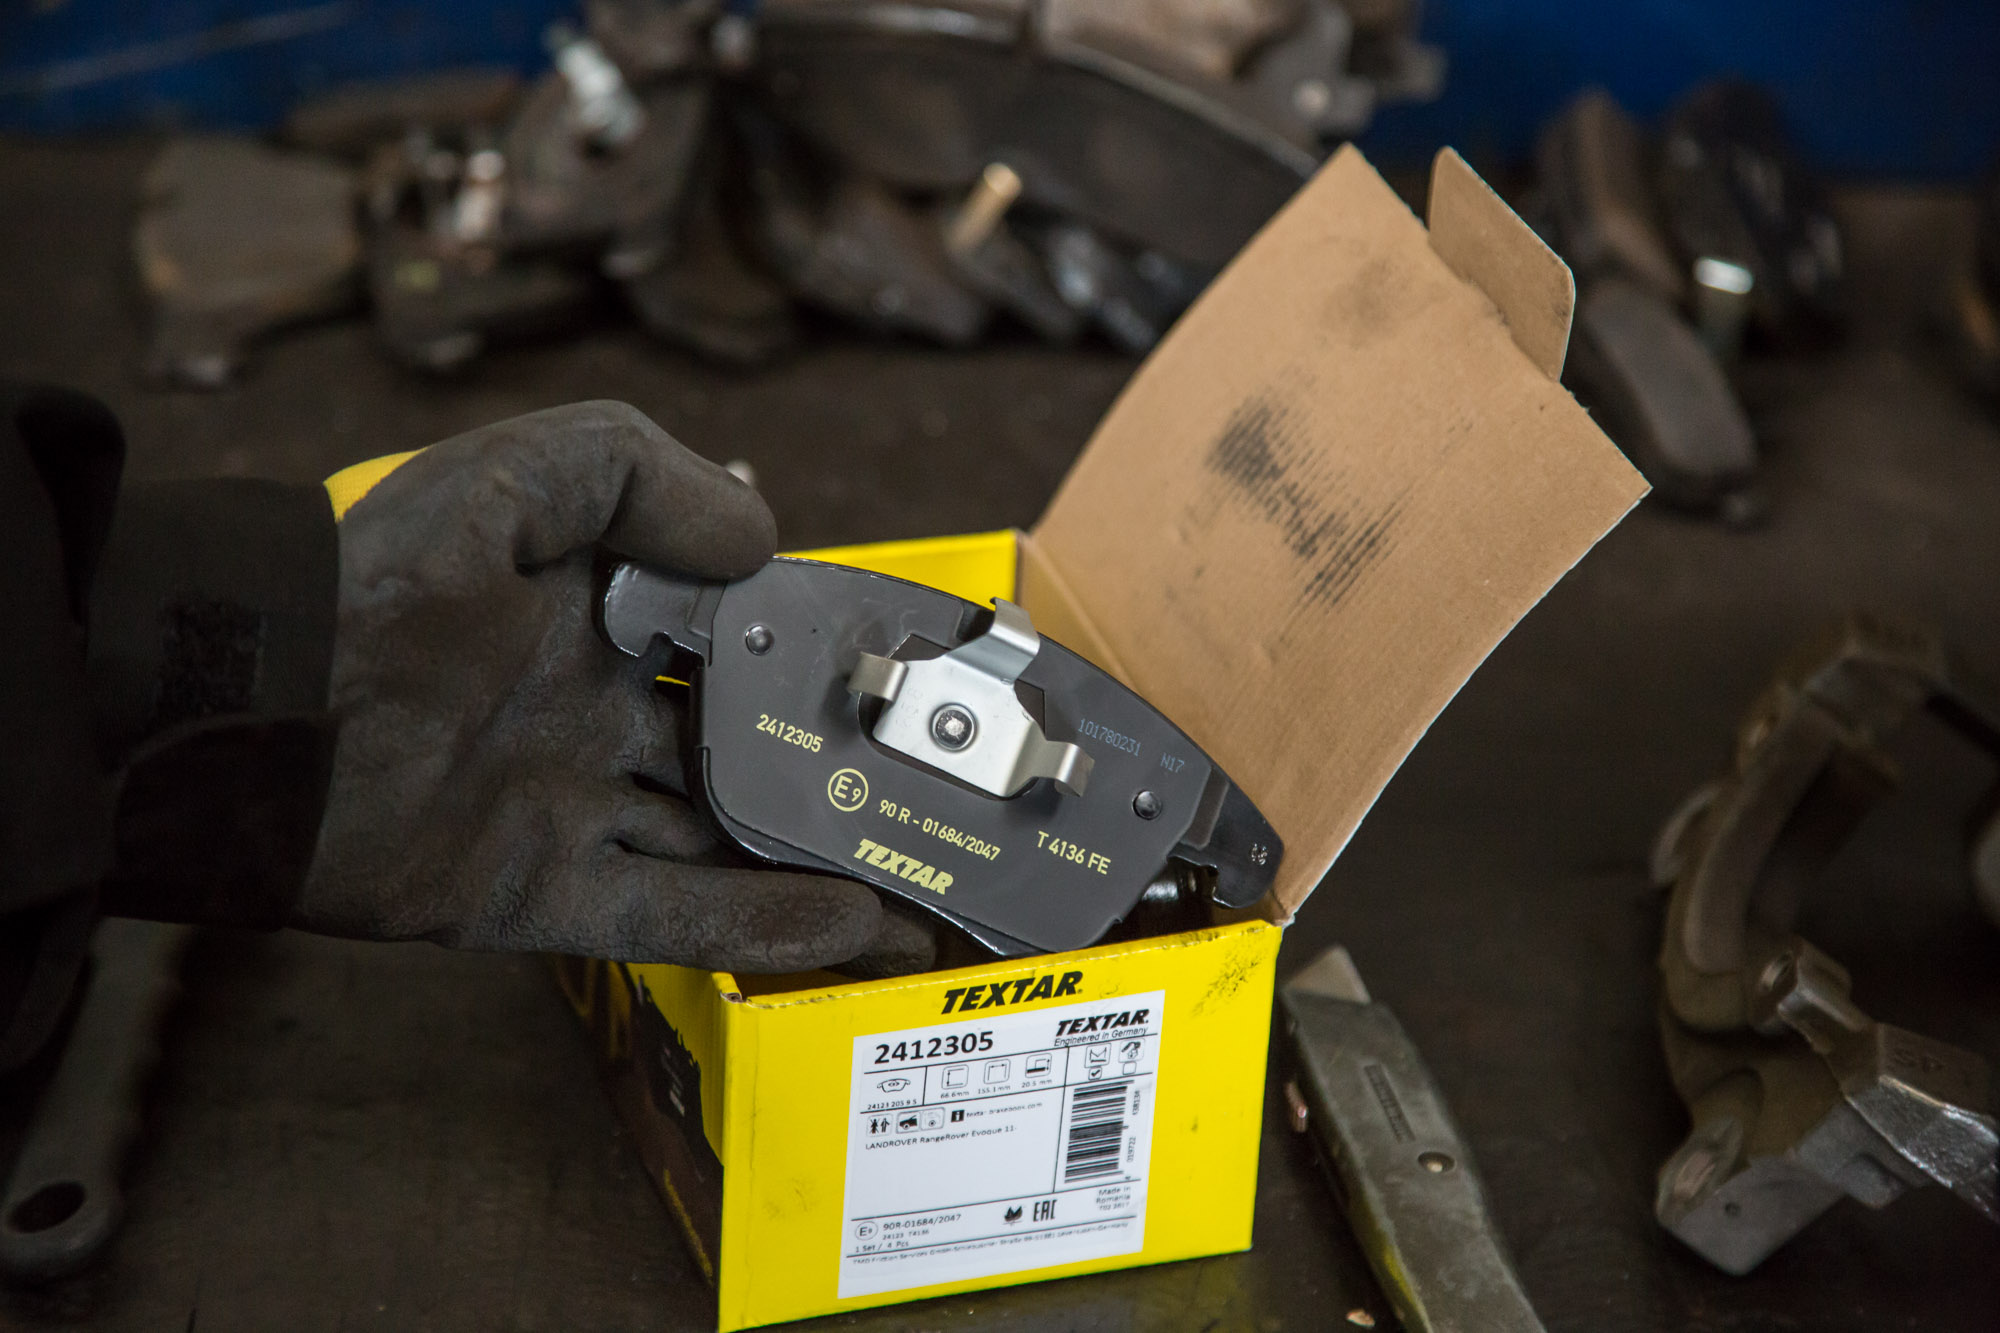
Textar recommends using Cera-tec – a premium, copper-free lubricant, which works better over a longer period of time. It’s better for the environment, and provides the best lubrication for this kind of braking function.
After inserting the brake pads we put in the last two bolts and torqued everything up to the manufacturer standards. This was the front complete, and done to a higher standard than I would not have achieved myself, without this expert knowledge.
I learned to:
– Prepare the hub thoroughly
– Prepare the calipers and pad holders
– Use Cera-tec rather than copper grease
– measure for Run-out on the new mounted discs
Moving to the Back Brakes
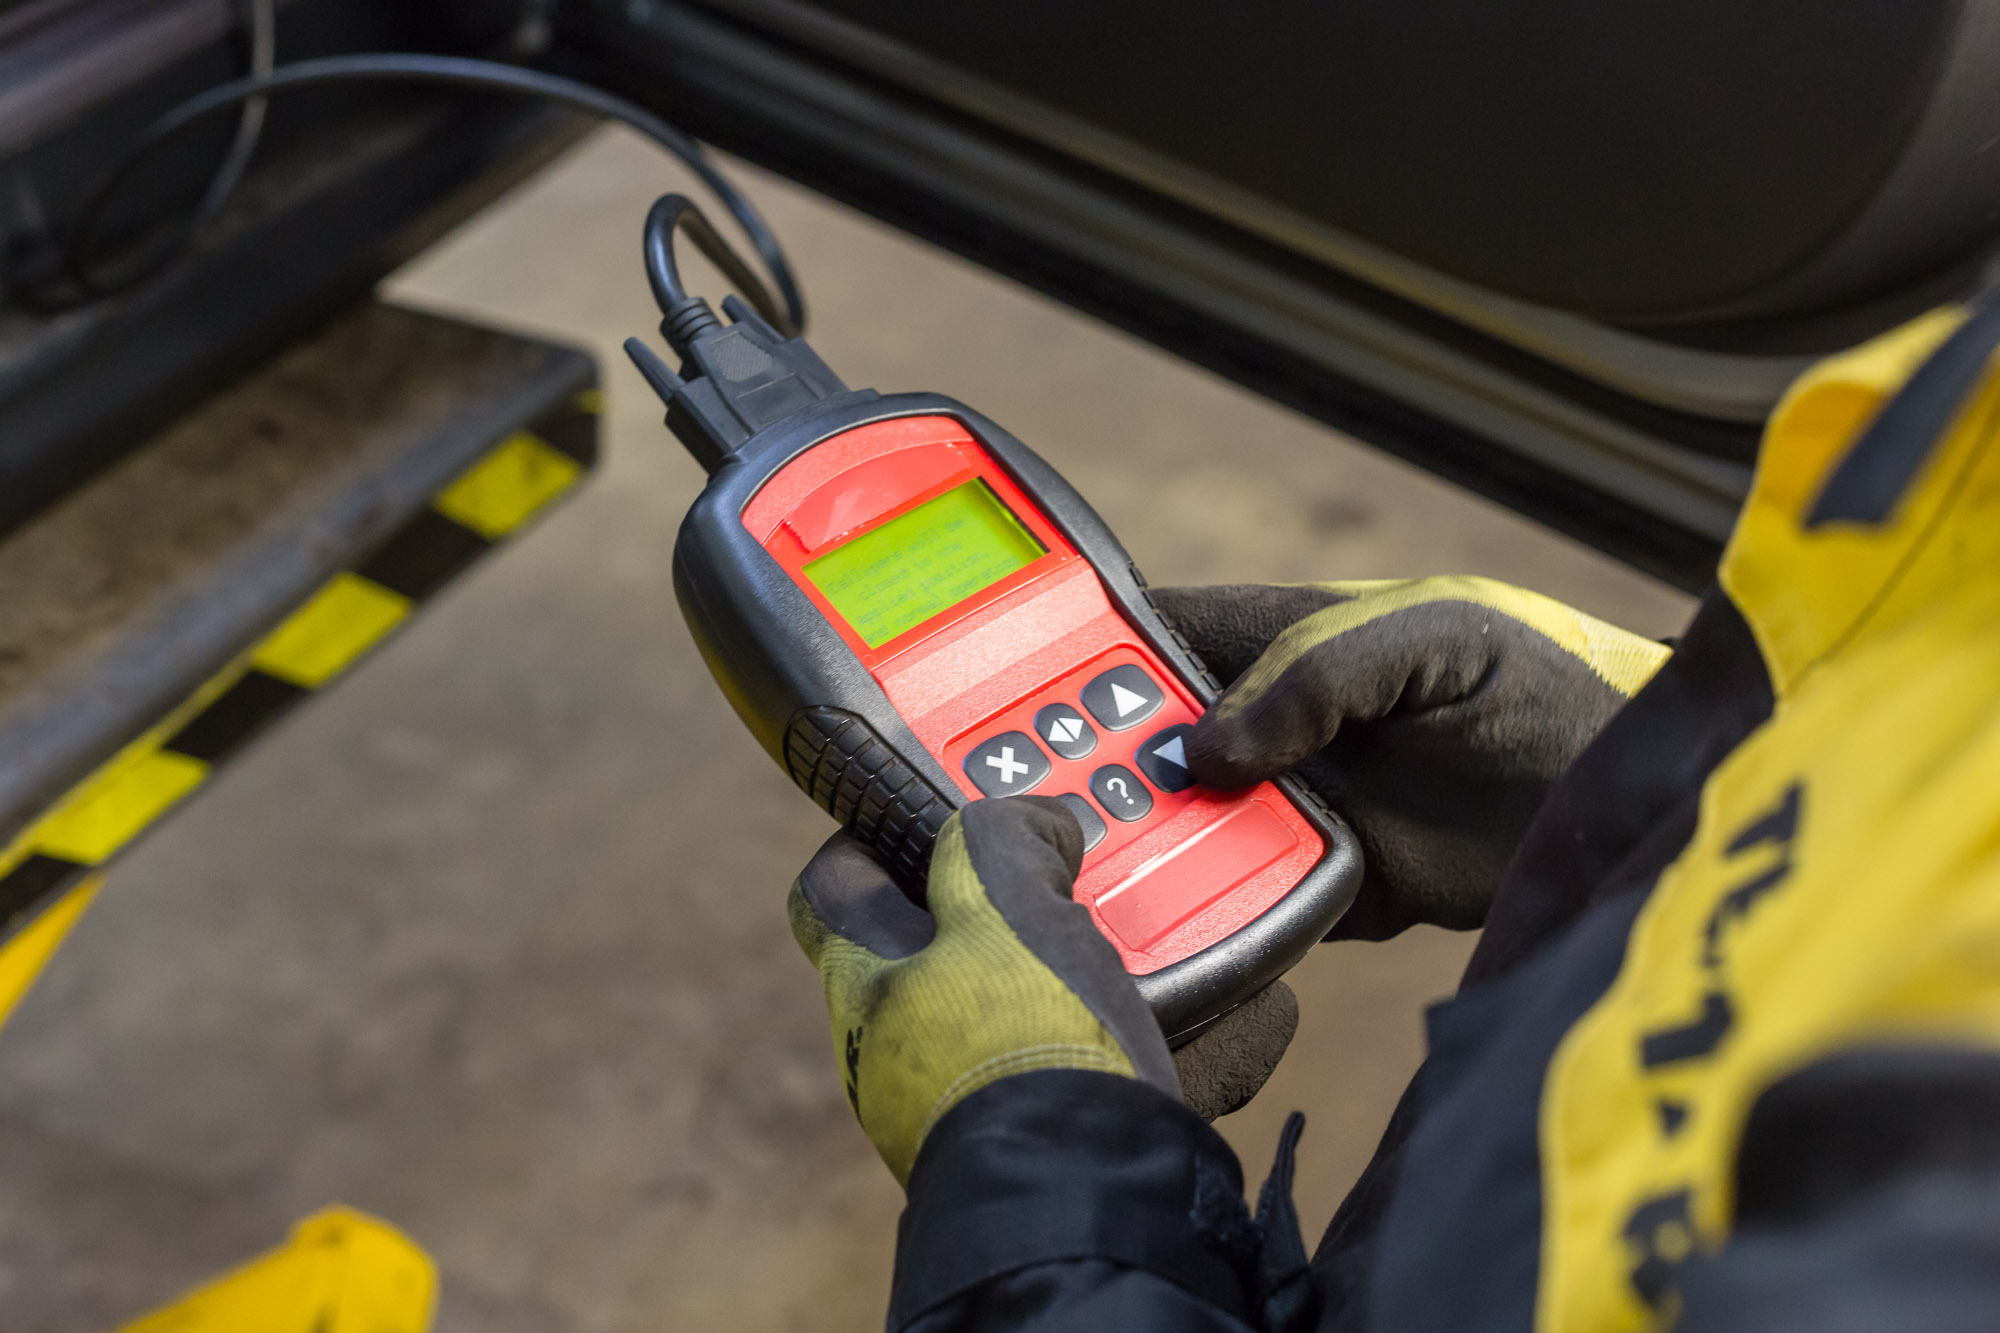
Next up, we moved to the back of the vehicle. The Range Rover Evoque has an electronic parking brake (EPB), which adds an entirely new dimension of complication to the job. To replace the parts you need to be able to completely rewind the electric actuator.
Rewinding the Electric Park Brake
To put the parking brake into a service mode, you need to connect a device to the OBD port and follow the on-screen steps. Once complete, you’ll hear the rear actuators run for at least 10 seconds while they rewind. Once rewound, similar to the fronts we started to disassemble the brakes.
Manual Rewind
Once the rear brake calipers were off we also required a special rewind tool to manually wind back the piston further than the automated electric rewind tool would allow. It took a few moments to ensure the piston was correctly reset, allowing more space for the thicker pads and discs.
Then we once again cleaned up the hub and caliper, fitted the discs, tested for run out when the discs are rotated. We used the Cera-tec on the brake pad ears, fitted the pads and correctly torqued things back together. Lastly, we took the car out of its parking brake service mode, and refitted the cap on the brake reservoir.
Quick Brake Check
Finally, all that was required was fitting the alloy wheels and moving the car off the ramp. This allowed us to check the brakes and electronic parking brake as required. It’s thus essential that the brakes are bedded in correctly. Textar recommends gently braking over the first 200 miles, giving the pads and discs plenty of time to bed into each other.
The Fitting Process is Key
Overall, Textar products are top-notch when it comes to performance braking, but fitted badly they might not last as long or work as well as you’d expect. Taking the time to fit the products the right way will be rewarding in the long run.